

Concord & 9th—All About Cake Pop-Up Card
Happy Thursday, Crafters!
Today I’ve got an adorable, playful, color-packed birthday card to share with you that I’m in love with! This card features the All About Cake bundle from Concord & 9th’s February release, and I know I’ve said it about each bundle so far, but I love this bundle! It’s ridiculously fun and the sky is the limit with what you can create with it, especially if you combine it with other products you have in your stash! What really makes this bundle unique is the interactive/pop-up feature included in the die set that is super easy to put in your card and makes it seem like you spent a whole heck of a lot of time on it. Concord & 9th also featured a pop-up like this in their Winter Wonderland die set that was released this past September, and the way they’ve designed them makes it super easy to create a pop-up, down to sections labeled with where you should put your adhesive.
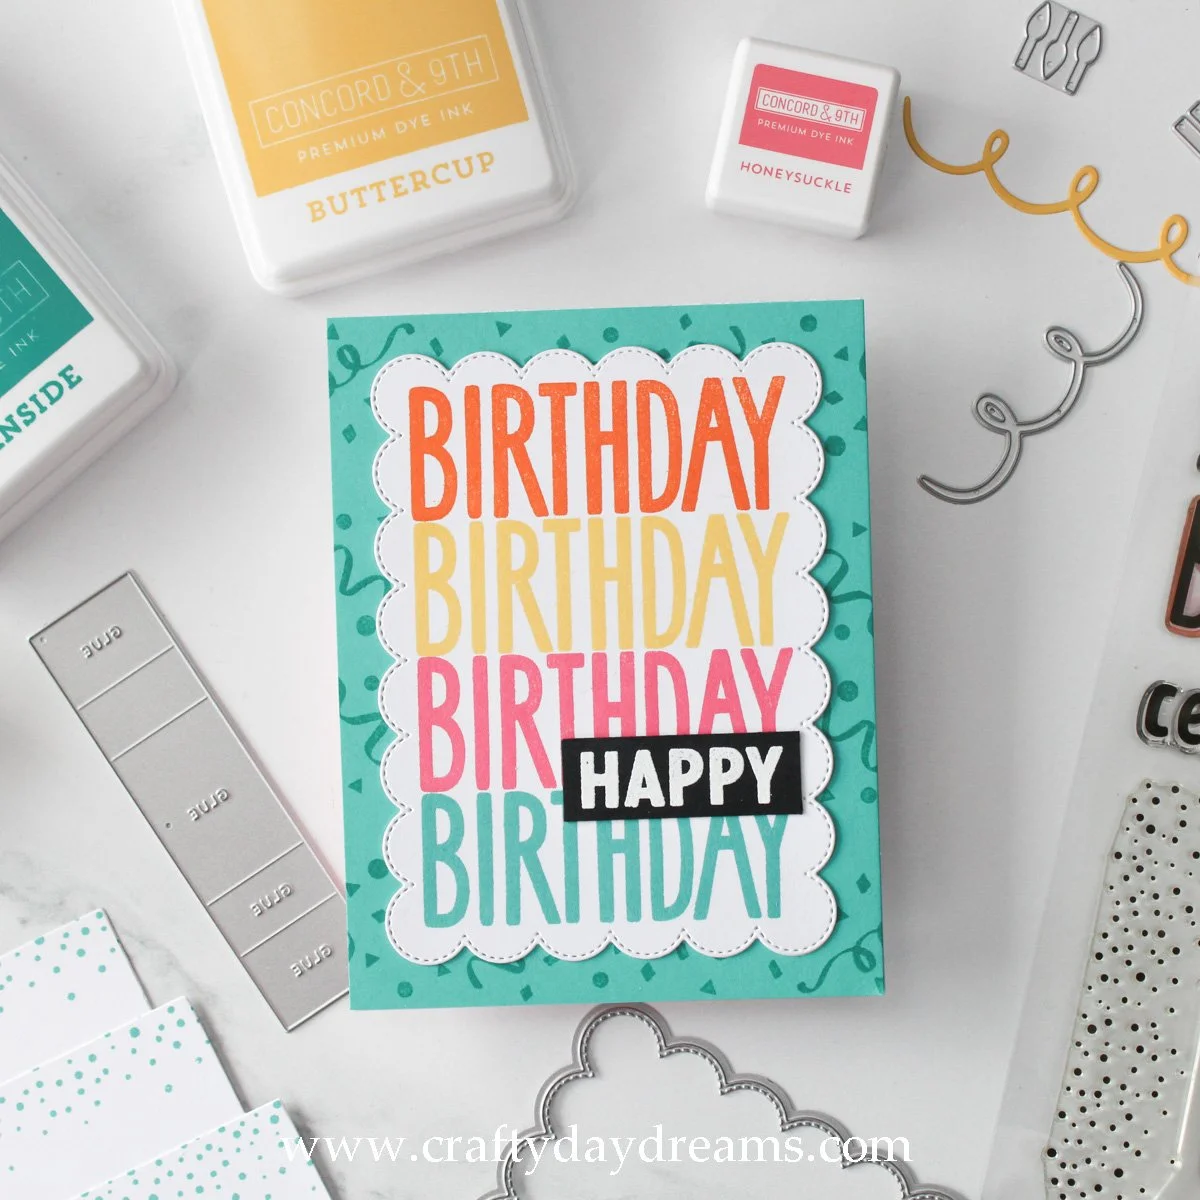
Enough raving about this bundle, and let’s get on to the details! I started this card off with the plan to make use of the larger ‘birthday’ stamp in the stamp set. One thing that I want to get better at with my crafting is using stamps for more than their intended purpose. This stamp is sized perfectly to fit on the largest cake tier, but I had the idea to stamp it repeatedly. After looking through my book on color palettes (Palette Perfect by Lauren Wager), I decided to choose a playful and colorful color palette with Marmalade, Buttercup, Honeysuckle, and Oceanside inks in mind. I love this color palette because it’s so vibrant, but I feel like it could also be passable for men since the pink isn’t too overwhelming. Sometimes I’m tired of using only blues and greens for men, why not get a little crazy sometimes! I lined the stamp up in my MISTI, stamped it in Marmalade ink, moved my cardstock up just over 4 squares or so on my MISTI grid mat, then stamped it in Buttercup ink, and repeated the process with Honeysuckle and Oceanside.
Once I had my stamping completed, I decided to use the scalloped rectangle die from the Simply You die set to cut the panel down since it would make a nice, close crop. I feel this scalloped edge also brings a fun playfulness to a birthday card too! For the background of the card front, I pulled out the Celebrations Turnabout stamp which I thought would be perfect since it’s a confetti explosion! I stamped all four turns of the stamp on an A2-sized piece of white cardstock with the same 4 ink colors. After looking at this panel and my greeting together, I felt the patterned white cardstock was a bit overwhelming, so I decided to restamp all four turns of the Turnabout in Oceanside ink on Oceanside cardstock. This definitely toned down the background to the perfect level, and the blue card front can help it to feel a bit more masculine (though I would have no problem sending this to anybody who’s a blue lover!). What’s great is now I have a patterned panel to use on the inside of my card!
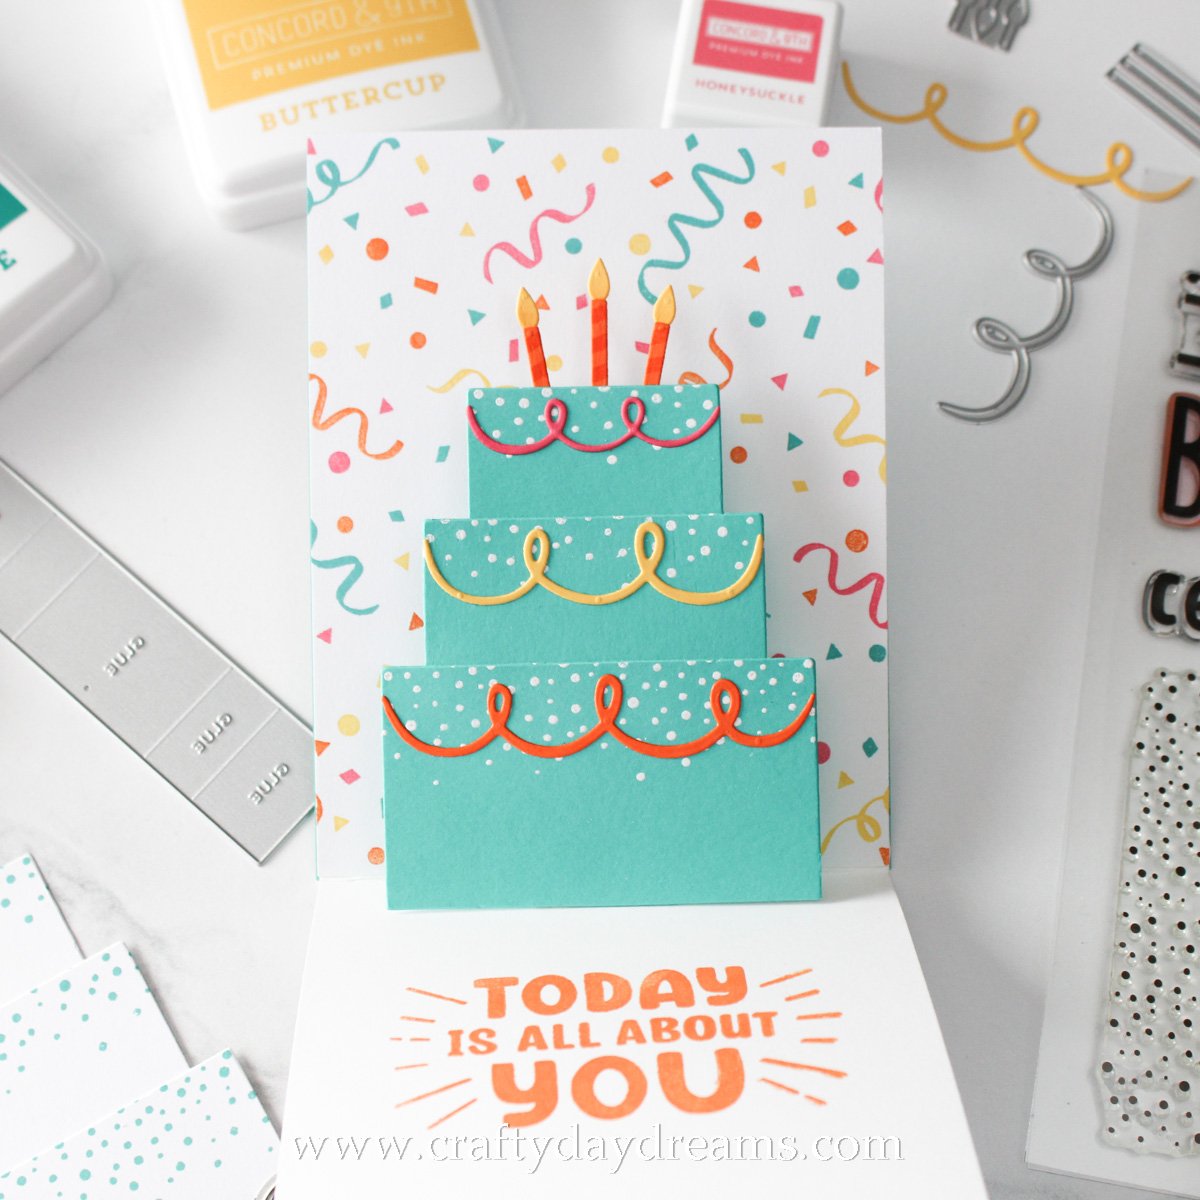
Since I wanted a three-tiered cake for this card, I decided to make a top-folding A2 sized card. You can make a side-folding card with this bundle too, you might have to be a bit more mindful of your tiers and decorations! For the cake, I die cut all three tiers out of Oceanside cardstock, and the piping/squiggly decorations out of Honeysuckle, Buttercup and Marmalade cardstocks. I decided to white heat emboss the speckled/small polka dot stamp on the top of each cake for some added detail, then glued on the piping pieces. Concord & 9th made assembling these cakes super easy by adding a little foot to them for you to add glue to— so smart and thoughtful! After assembling the cake, I decided to add some candles to the top tier, so I die cut the flames out of Buttercup cardstock and the candle sticks out of Marmalade cardstock. I lightly blended on some Marmalade ink to the base of the flames for a little dimension, and stamped striped candle details in Marmalade ink on the candle sticks.
Now for the assembly of everything! I tend to be a create everything at once and assemble it all at the end type of crafter (because I’m an overthinker) but know that however you craft is the way to go! I first started by gluing my Turnabout stamp pieces onto the front and the inside front of the card base. Since I was too antsy to get the cake piece in, I worked there next. I die cut the pop-up piece out of C9 white cardstock so that the interactive piece would have a bit of strength to it. I added 1/4-inch double-sided tape to each section of the pop-up piece where it was labeled ‘glue’ (the die cuts these words in, and the direction that this piece goes is that the section of it that has no words on it faces up). I removed the backing on the largest glue section—this is where the cake goes—and stuck it on the back center of the cake. I took the backing off the smallest glue section (the one right below the cake) and centered this on the inside bottom part of the card base (the part where everyone normally writes their personal message), NOT the inside top flap of the card base, that comes next. Next, I removed the backers to the other two ‘glue’ sections and flattened them so that the bottom edges were touching each other on the back of the cake (I’m so sorry if my description is confusing, so here is Laura Bassen’s walk through). This pop-up feature makes a rectangle, so you are flattening it on the back of the cake, then you’ll close the card, which will attach the back pieces of the rectangle to the card and leave you with the perfect pop-up! It may seem intimidating, but this pop-up feature is easy to make once you get oriented!
Now that I had the pop-up situated, I could glue my candles on and figure out the right height to glue them so that they wouldn’t poke out of the card when it’s folded shut. To finish up the inside of the card, I stamped the ‘today is all about you’ greeting in Marmalade ink on the inside of the card. I love how playful this message is, I think it fits this card perfectly! After the ink was dry, I taped the card closed with some low-tack tape so that I could glue the greeting onto the front of the card. I die cut an additional scalloped rectangle out of plain white cardstock to glue behind my stamped one to add a little bit of dimension, I didn’t want to go too crazy since there will be a small amount of bulk with the pop-up feature. To finish off the greeting, I white heat embossed the ‘happy’ from the stamp set on black cardstock and trimmed it down. Originally I had planned to add one of these ‘happy’s between each ‘birthday’, but I felt they were a bit too big and hid too much of the colorful stamping. I added a strip of white cardstock behind my small black sentiment strip and glued it down on the lower right of the card. The front of this card gives a subtle hint to the crazy on the inside!
I hope you liked this card! It was so fun to create, and though the pop-up feature may seem intimidating, you can do it!! I can’t wait to make more cards with this bundle! Thanks for stopping by the blog today, I hope to catch you next time with more inspiration! 😊