

Concord & 9th— Bonus Friendly Florals Cards
Happy Wednesday, Crafters!
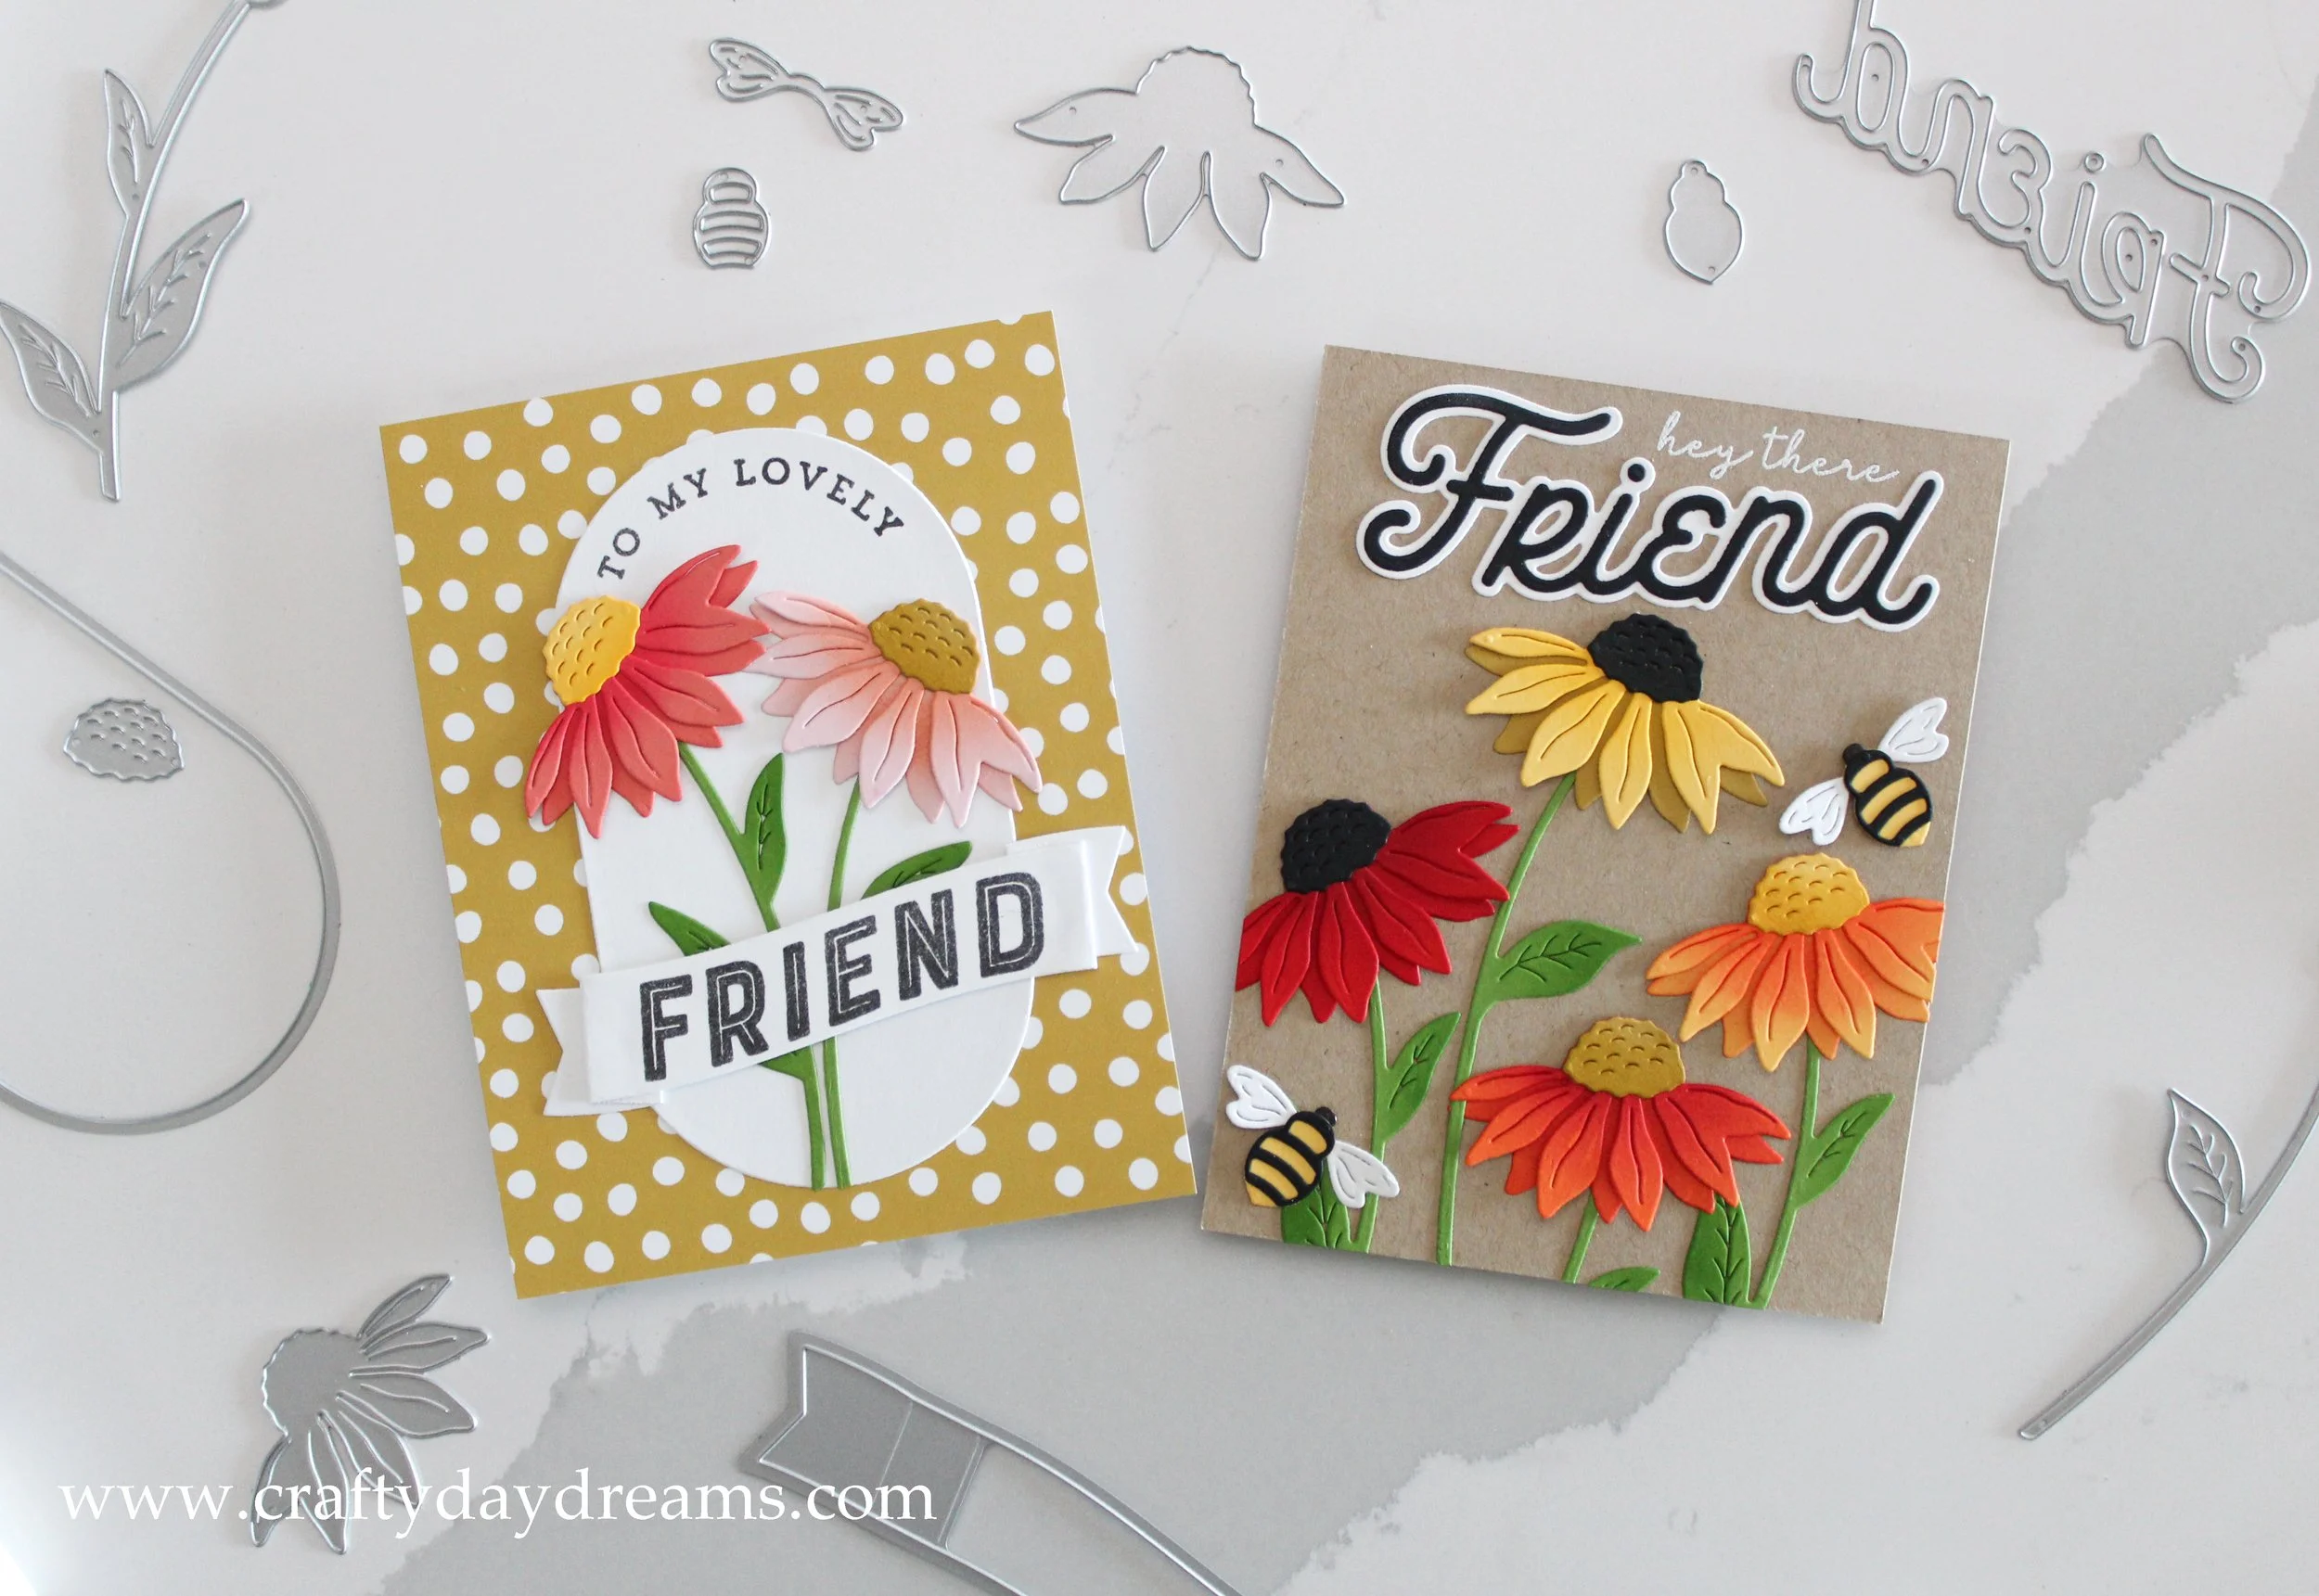
Today I’m sharing two bonus cards I made using my leftover florals from my previous post. These two cards do still have a bit of a fall feeling to them, but without a fall specific greeting so they could be used for any occasion! I couldn’t wait to start making these cards so that I could use the other items in the Friendly Florals bundle, so if you want the details, scroll on!
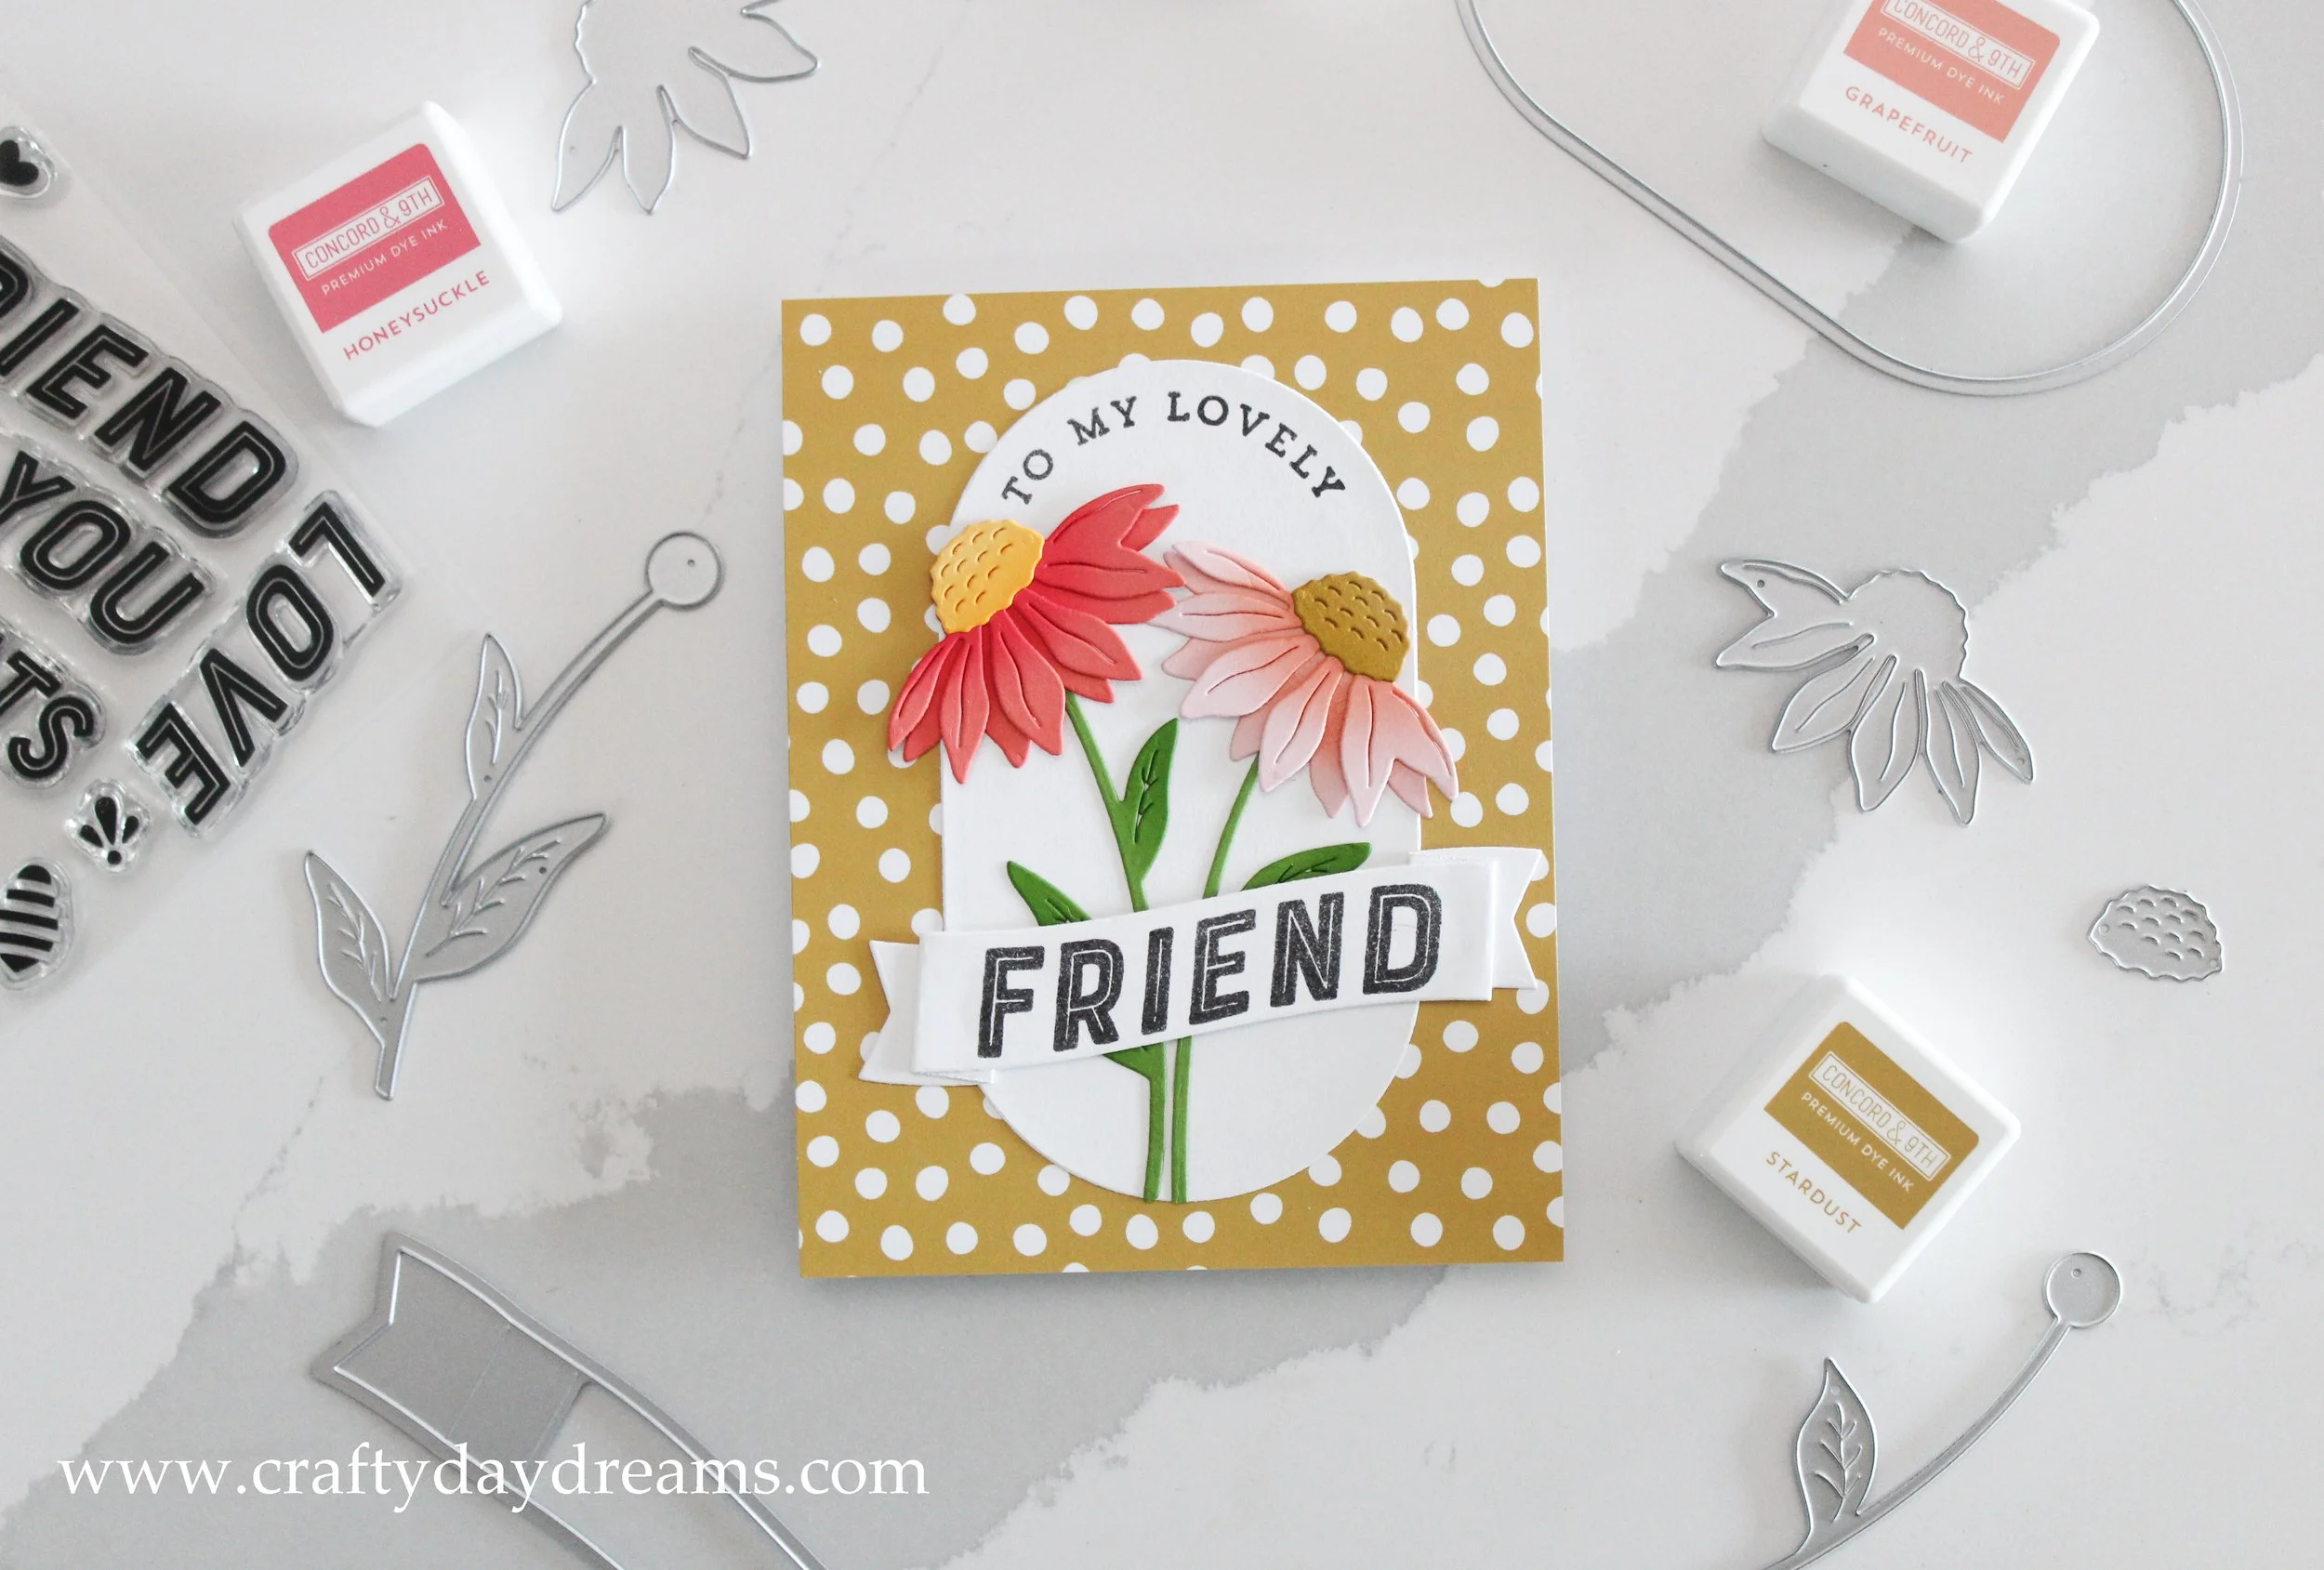
I love how sweet this card turned out, and I love the warm, fall feeling the patterned paper brings to it. The flowers on this card are:
Left flower: Sorbet cardstock with Honeysuckle ink blended on both layers. The flower center was cut out of Buttercup cardstock with some Buttercup ink blended on the bottom edge of the die cut
Right flower: Ballet Slipper cardstock with Grapefruit ink blended the same as the previous flower. The flower center was die cut out of Stardust cardstock, also with some Stardust ink blended on the bottom edge of the die cut
I started this card off by die cutting a white oval out of plain white cardstock and stamping “to a lovely” on the upper arch of it with Simon Says Stamp Intense Black ink. I adore how the sentiments are arched perfectly to fit on the die cut! Since I decided to use the pink florals, I wasn’t sure at first what I wanted the background to be, but after a bit of back and forth, I decided to use the Stardust with white polka dots patterned paper from C9’s Garden Party patterned paper pack.
I centered the oval and glued it down, positioned the florals how I wanted and glued them down as well. I ended up using Glad Press’nSeal for this (which is amazing—my first time using it and I could not recommend it more!) and lightly applied glue on the stems. The way the left stem was sitting, it felt like it had way too many leaves (and would be distracting to the eye), so I trimmed the lowest one off.
I worked on the banner and stamped ‘friend’ in the same black ink. After die cutting and folding the banner, I figured out my placement. I felt my right stem didn’t have enough foliage on it with where the banner was going to sit, so I performed a little bit more leaf surgery and trimmed it and glued it down so it would stick out when the banner was glued down.
This card is a bit simple (as in no embellishments), but I like how it turned out! It’s sweet and cheery, and just what someone would need to make their day.
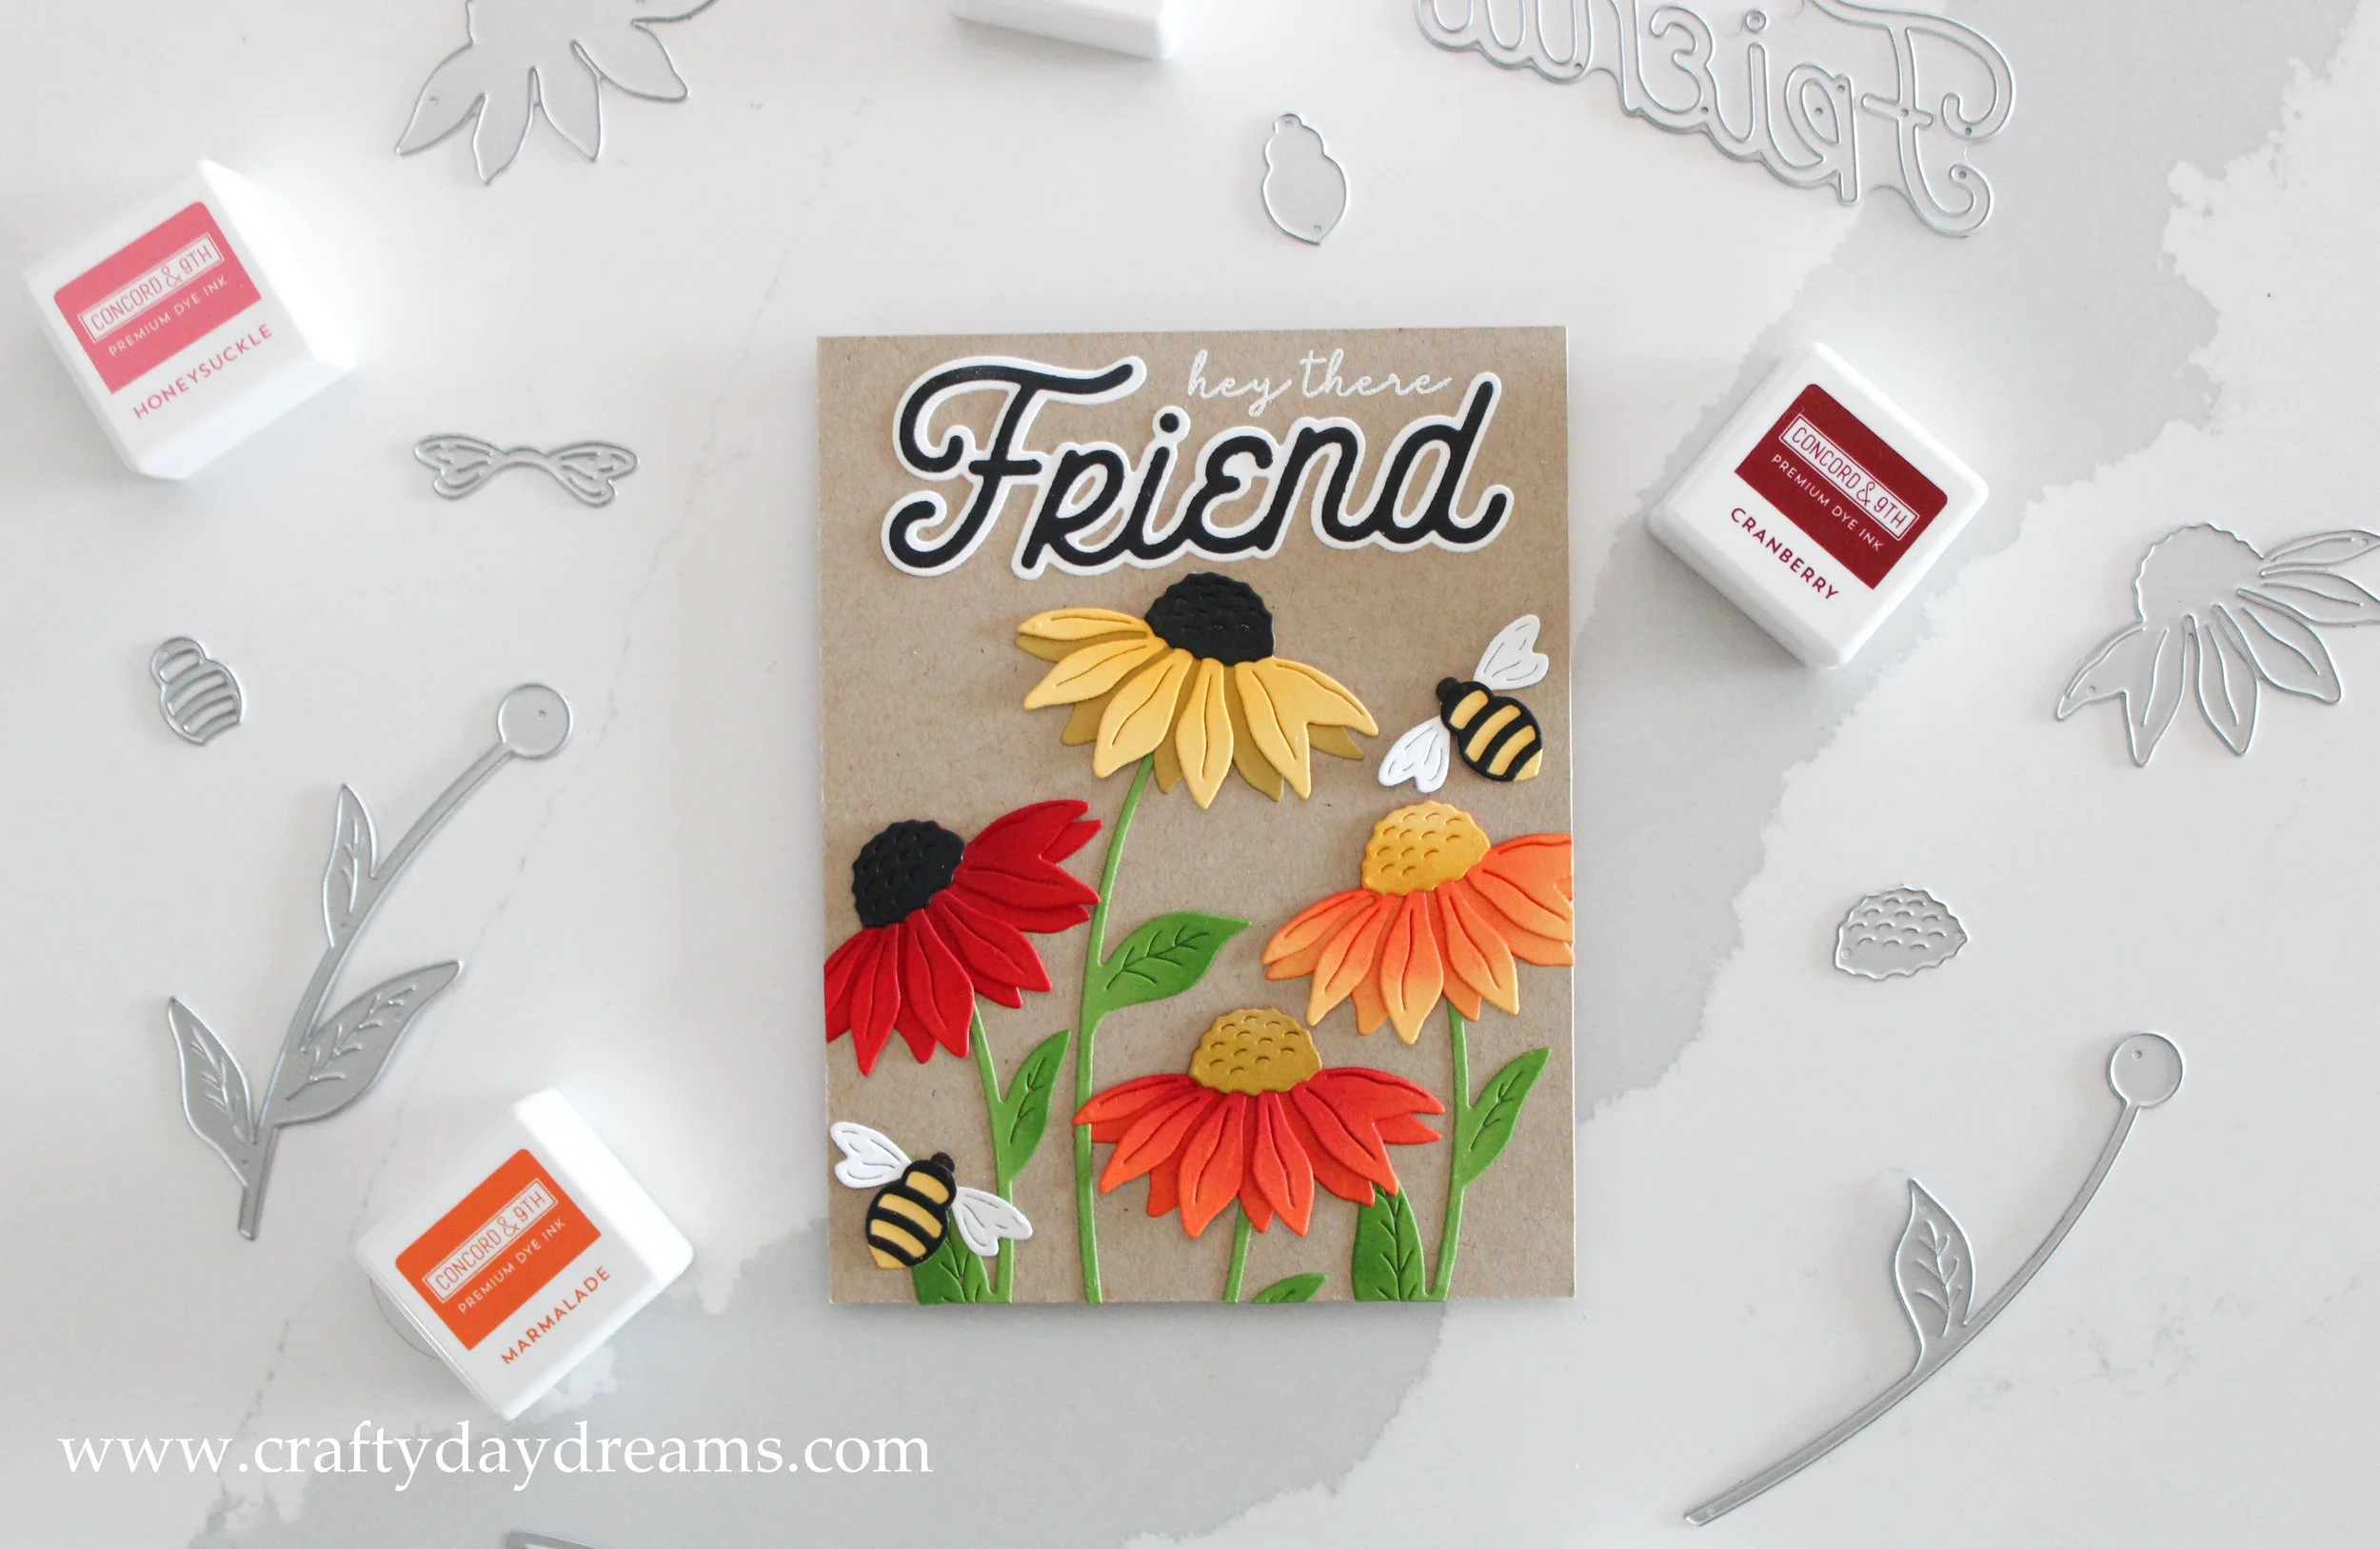
First off, let me just say I LOVE the arrangement of the florals on this card. I figured out the placement to get more florals on this card front than I did for my original card, and I adore it. I’ve also been a huge sucker for these fall-colored florals, and I think this batch has a lot of my favorite color combos.
Color combos in order from left to right:
Poppy cardstock with Cranberry ink blended on, and a black flower center
Lower layer of Stardust, and top layer of Buttercup with some Buttercup ink blended on, and a black flower center
Marmalade cardstock with Cranberry ink blended on, a Stardust flower center with some Stardust ink blended on the bottom edge
Buttercup cardstock with Marmalade ink blended on, a Buttercup flower center with Stardust ink blended on the bottom edge
I decided for this card to sorta be the opposite of the one I posted Monday, so I decided to have a Wheat card front, but not to use a textured card front die since I was 50/50 on using one on Monday’s card (it looks great both ways 😍). I laid the flowers out trying to make them look as varied as possible and with as many different perspectives since three of them faced the same direction. Once I had the arrangement down, I used my same piece of Press’nSeal to pick them all up to make gluing easier, and let me tell you, it made it an absolute dream haha!
I die cut bees using Buttercup, black, and plain white cardstock, and I love how sweet these little guys are! I wish they also released other bugs with this set, I tried to make a ladybug, but it did not look right at all haha! I decided to wait on gluing the bees down until after my sentiment was done so that I could place them better.
I die cut the ‘friend’ die included in the die set out of plain white cardstock for the shadow layer and black cardstock for the detailed word layer. I love the style of this die cut, so I really wanted to incorporate it in this card. I went through my stash a handful of times trying to find the perfect sub greeting, and eventually settled on ‘hey there’ from the Triple Step Hi stamp set. I was thinking of using a simple ‘hello’ or a ‘grateful for you’, or ‘so very grateful’ from a couple different stamp sets, but I didn’t have enough room on the card to make them work.
So, I stamped the ‘hey there’ in black in, cleaned off the stamp and put it away before I realized I probably should have white heat embossed it. I lined the stamp back up and did just that, and I think it makes it look a little bit better. The black ink made it look like I hand wrote the sentiment, and I just didn’t like that look for this card.
Once the greeting was completed, I glued down the two cute bees and called this card good. I feel like I had a lot more ‘oh I should have done this’ moments for this card (like leaving bees off and adding gold sequins so the left corner wouldn’t feel so empty), but hey, each project is a learning experience! And I could just be overthinking, since that’s a skill of mine 😅.
I hope you enjoyed these cards and that I inspired you a little bit. Hopefully you’ll stop by again to see what I’m up to next!