

Concord & 9th—Lush Christmas Cloche + a Bonus Card!

Hello and happy Tuesday!
I’ve got another set of cards to share with you, this time featuring the Christmas Cloche bundle from Concord & 9th. The vibes of these two cards are opposites—one is more traditional, and the other is soft and Sugar Plum Fairy like (or at least that’s what I’ve been calling the cards that have Briar Rose and other cool toned colors). This die set is really fun and I think I’ve only scratched the surface of what you can create with it!
Traditional, Lush Christmas Cloche
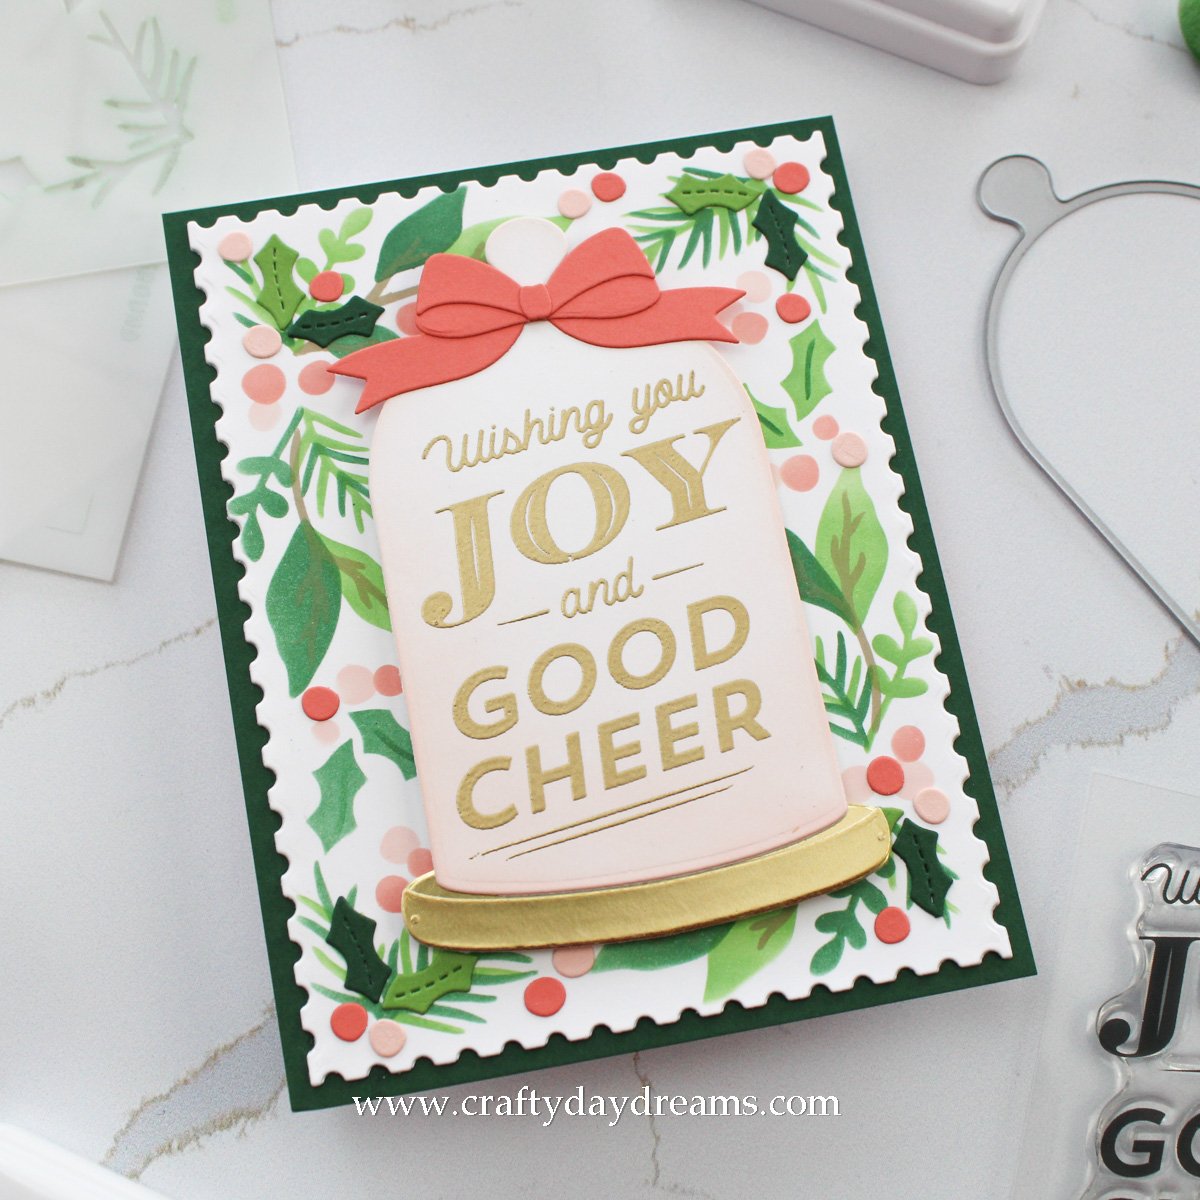
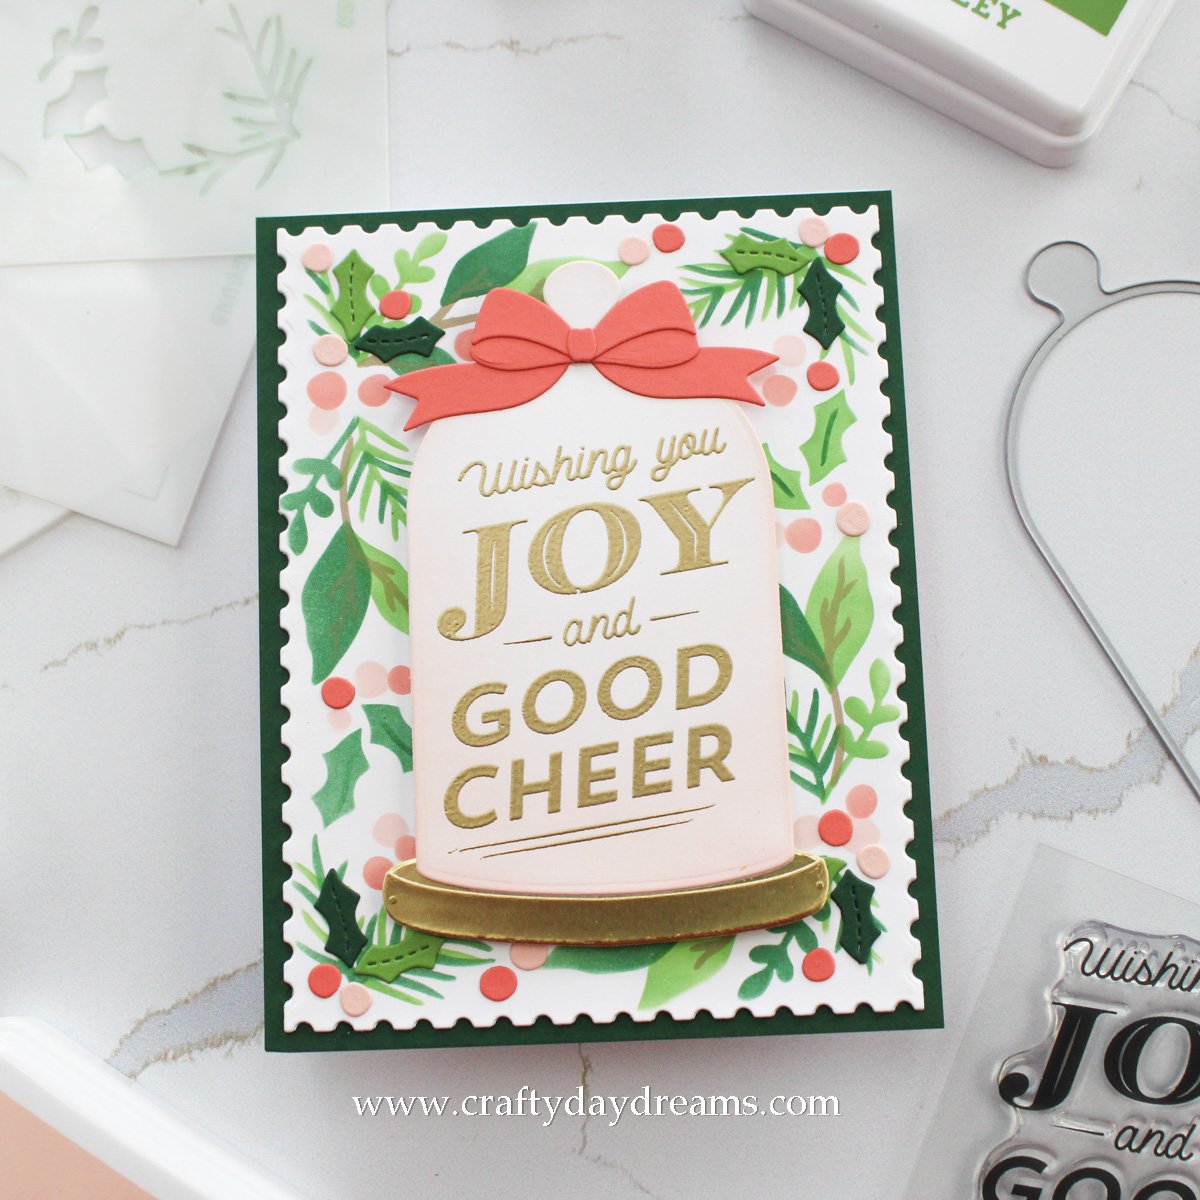
When I saw the sneak peeks for the Christmas Cloche bundle, I immediately thought it would look amazing with a backdrop created by the full greenery stencils in the Boughs & Holly Stencil Pack. Since I knew for sure that I wanted the stenciled background, I got to work on that first. I pulled out an A2-sized piece of Concord & 9th white cardstock and my 8.5 x 8.5-inch grip mat and got to blending. This stencil set has 2 stencils that are meant to be rotated 180 degrees and inked a second time (the greenery one and the berries), so I blended Parsley ink on the first stenciling of leaves, rotated the stencil and realigned it, then stenciled the leaves in Evergreen ink. I stenciled the berries in Nectar and Sorbet ink (I had originally planned on Nectar and Grapefruit, but they looked too similar and that wasn’t the look I was going for), then stenciled the stems in Wheat ink. I really like how this turned out!
For the cloche, I knew I wanted to use that big, beautiful ‘wishing you joy and good cheer’ sentiment from the Christmas Cloche stamp set, so I gold heat embossed it on some C9 white cardstock. I did use the smaller cloche die here since it fit my greeting better than the larger die (the one that when you cut the two together gives you an outline piece, if that makes sense!). Since I was using gold for my sentiment, I decided the base of the cloche should be gold as well, so I die cut it out of matte gold cardstock from Simon Says Stamp. Holding the cloche over my stenciled background, I thought it fell too flat, so I decided to lightly blend Nectar ink on it from the base to about two-thirds of the way to the top, while lightly feathering the ink out as it got higher. This allowed the cloche to be separated from the background a bit and gave it a bit of dimension.
I assembled the gold base, then stuck the cloche onto it. I decided a bow was needed, so I die cut one out of Sorbet cardstock and glued it down. I loooove this bow and how it looks on the cloche! At this point I felt like I had too much white in my background (though I’m sure I’m just a bit crazy haha), so I went through my dies and pulled out the Postage dies from Ellen Hutson (these are available on their Amazon store front—lined below!). I thought the postage edge would be so cute, so I used the largest die to cut my stenciled panel. This trimmed my panel a little smaller than A2-size, so I decided I would mat it on Evergreen cardstock for some drama. Because this card was going to be going through the mail, I decided to stack up a few postage die cuts rather than use foam tape since I would be popping the cloche up on some.
Since I was basing this off of a card I made last year with the Boughs & Holly stencil pack, I decided to add some die cut berries and holly leaves for just a little something extra using the Boughs & Holly die set and the cardstocks that coordinated with my ink blending. I love how this filled in some small gaps and brought more dimension to the card. Lastly, I popped the cloche up on some thick foam squares and popped it down in the middle of my blended panel. Gorgeous, right?! I think this card feels very polished and elegant.
A Quick Bonus Card!
While my last card was pretty traditional and lush, this guy is more light and airy. To be honest, I’m not sure how I feel about this one for some reason! I think it’s all the white space and my sequin placement, but I could just be being hard on myself for no reason!
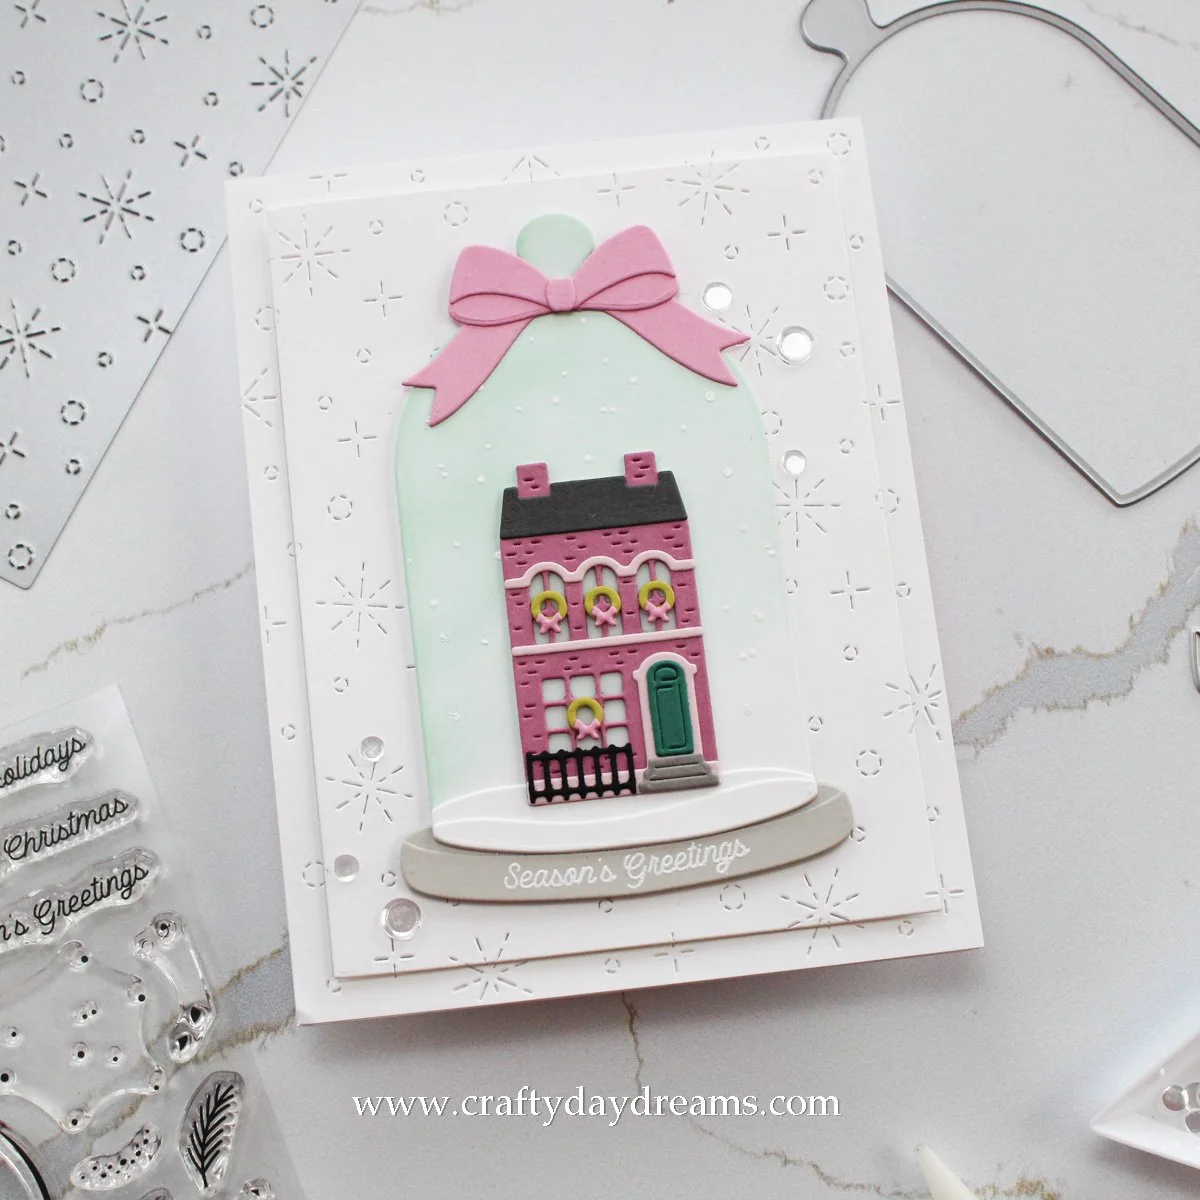
I loved one of the mock up/samples that C9 shared for this release that showed one of the houses from the Over the Rooftops die set inside the cloche, so I just had to give it a go! I decided to go with some colors I’ve been loving for some Sugar Plum Fairy vibes, and die cut the house out of Briar Rose, Ballet Slipper, Juniper, Mushroom, Lemongrass, Carnation (for the wreaths), black, and Cobblestone. I think this house is so super cute! I also added a layer of vellum behind the windows to give them a frosty look. To create a snowy scene, I die cut the larger cloche die out of C9 white cardstock, then white heat embossed some falling snow using the stamp in the Christmas Cloche stamp set. I pulled out Sea Glass ink and lightly blended it on the cloche, starting from the knob and feathering it out as I got closer to the ground. I love the soft look here!
I die cut the base of the cloche out of Pebble cardstock, then decided to white heat emboss the ‘season’s greetings’ sentiment on it. I thought this was my best choice with sentiments since if I used the ‘merry’ die in the die set it would cover up too much of the cloche/house. I finished the cloche off with a Carnation bow, then got to work on my background. If you can’t tell, I’m obsessed with the Snowfall card front this year—though to be honest, I’ve been obsessed with it since it came out last year! I die cut a piece of C9 white cardstock with the card front die, then pulled out my A2 Layers dies from Waffle Flower and cut the panel so that I had a 0.75-inch frame. I glued the frame down on my notecard, then popped the inner portion up on some foam tape and stuck it in the space on my card front. For some reason I’m really digging this look lately! I popped the cloche up on some thin foam squares, then centered it on my card front. Lastly, I thought some shine was needed, and after a lot of fussing, I glued down some Rock Candy sequins from Trinity stamps.
So what do you think of these two cards?! The first one is truly my favorite, there’s just something about it that I love! I hope to catch you tomorrow where I’ll be sharing some sorta mass produced cards! Until then, have a great rest of your day!
Affiliate disclaimer: all links to Waffle Flower, Altenew, Scrapbook.com, and Spellbinders products are affiliate links. These links allow me to get a commission at no extra cost to you if you use them to shop! All other links provided are links to supplies and shops I am not affiliated with and I do not get a commission from.
