Spellbinders—Club Blooms Mother’s Day Card
Happy Tuesday, Crafters!
I’ve got a couple Mother’s Day cards to share this week, and I’m kicking them off with this gorgeous card I made using the Club Blooms die set from Spellbinders. This die set came out as a Large Die of the Month in January of this year, and after watching a video where Jennifer McGuire used it, I was obsessed with it. At the time, I was trying to rationalize with myself that I didn’t need it because I had the Be Bold Blooms die set and had just used it. Buuuut, after a bit of waiting for it to come back in stock, I finally snagged it last month and I have no regrets!
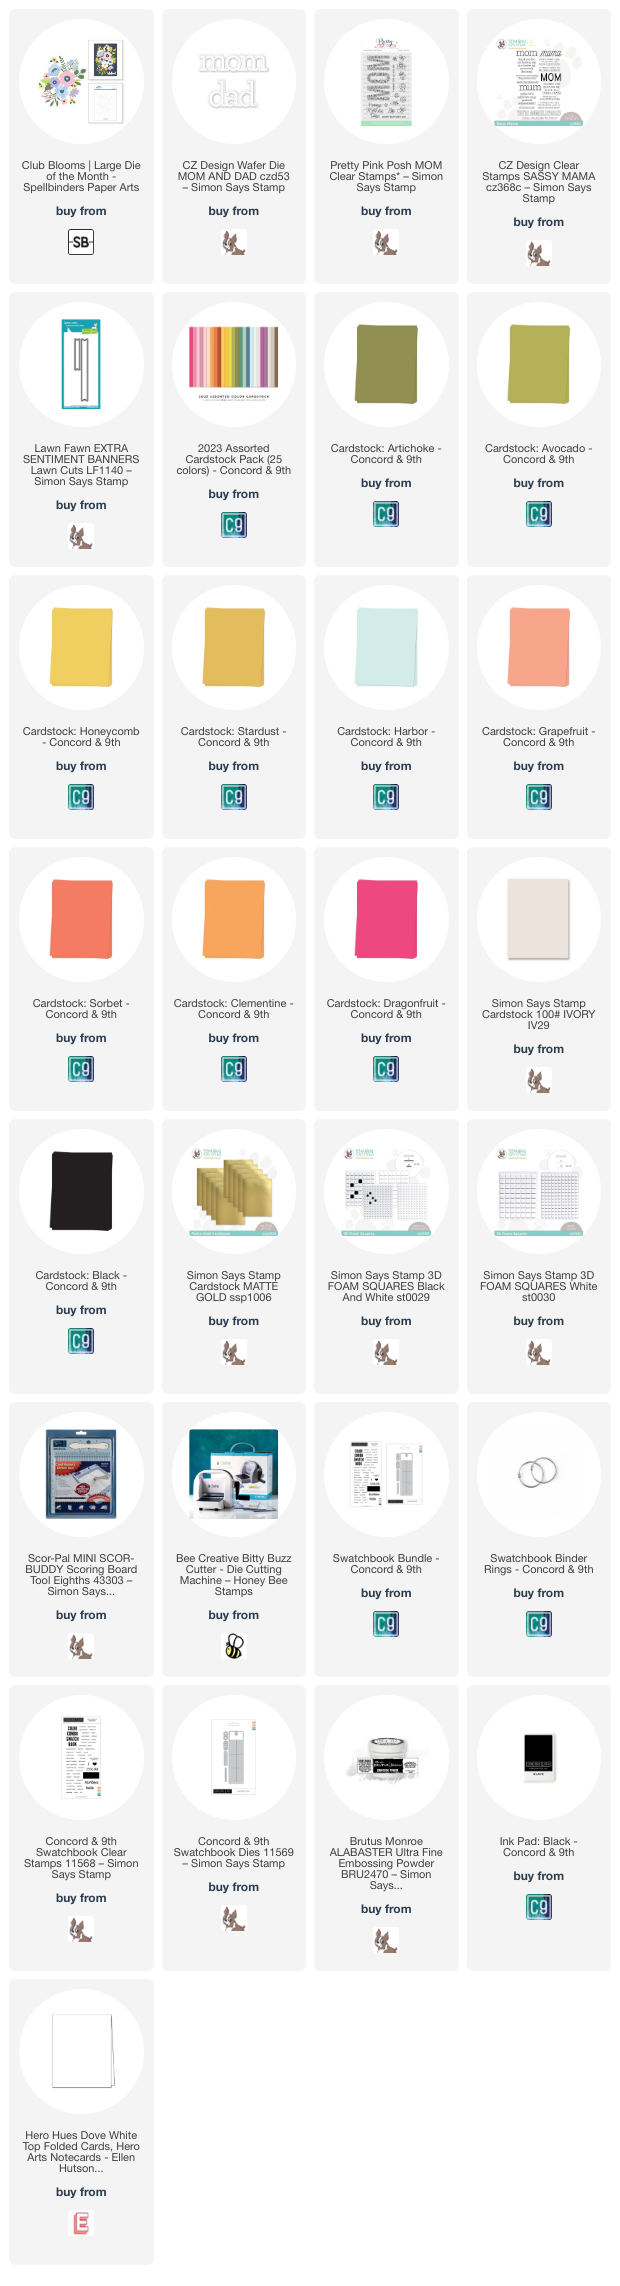
Now onto color palettes for this card. I have a bunch of pins in a Pinterest board focusing on color palettes that I like or palettes that I can ‘see’ the new Concord & 9th colors in. I picked this pin as my reference here and built my color palette out of Avocado, Honeycomb, Dragonfruit, Grapefruit, Clementine, and Harbor cardstocks. I’ve finally gotten around to building some color palettes with the Swatchbook bundle, and this is one of them! You will actually be seeing another card on Thursday using this same palette but with different products, so keep an eye out for that!
Even though my color palette had six colors, I did allow myself some flexibility when I was die cutting and added a couple more because I needed darker shades of those colors, so always keep that in mind! Just because you have a swatchbook or a picture of a color palette doesn’t mean you’re locked into it 100%— it’s your art so do what you want! I started off by die cutting the partially open/side view flower out of Grapefruit cardstock for the inside of the bloom, and the outer piece out of Sorbet cardstock since that part of the flower would be darker/more in shadow. I die cut the flower center out of Honeycomb for the dotted piece, and Stardust for the solid piece layered underneath it. I die cut the large bloom out of Dragonfruit cardstock and added a flower center that was again made up of Honeycomb and Stardust cardstocks. I die cut the medium sized flower (the Y-shaped die that you cut twice) out of Clementine cardstock, and this time only added one flower center (made out of Honeycomb) to it to keep things a little different. The smaller side-oriented flower was die cut out of Sorbet cardstock to keep it cohesive with the larger side-profile flower, the smaller etched florals and buds were die cut out of Harbor cardstock, and the greenery pieces and stems out of Avocado and Artichoke cardstocks.
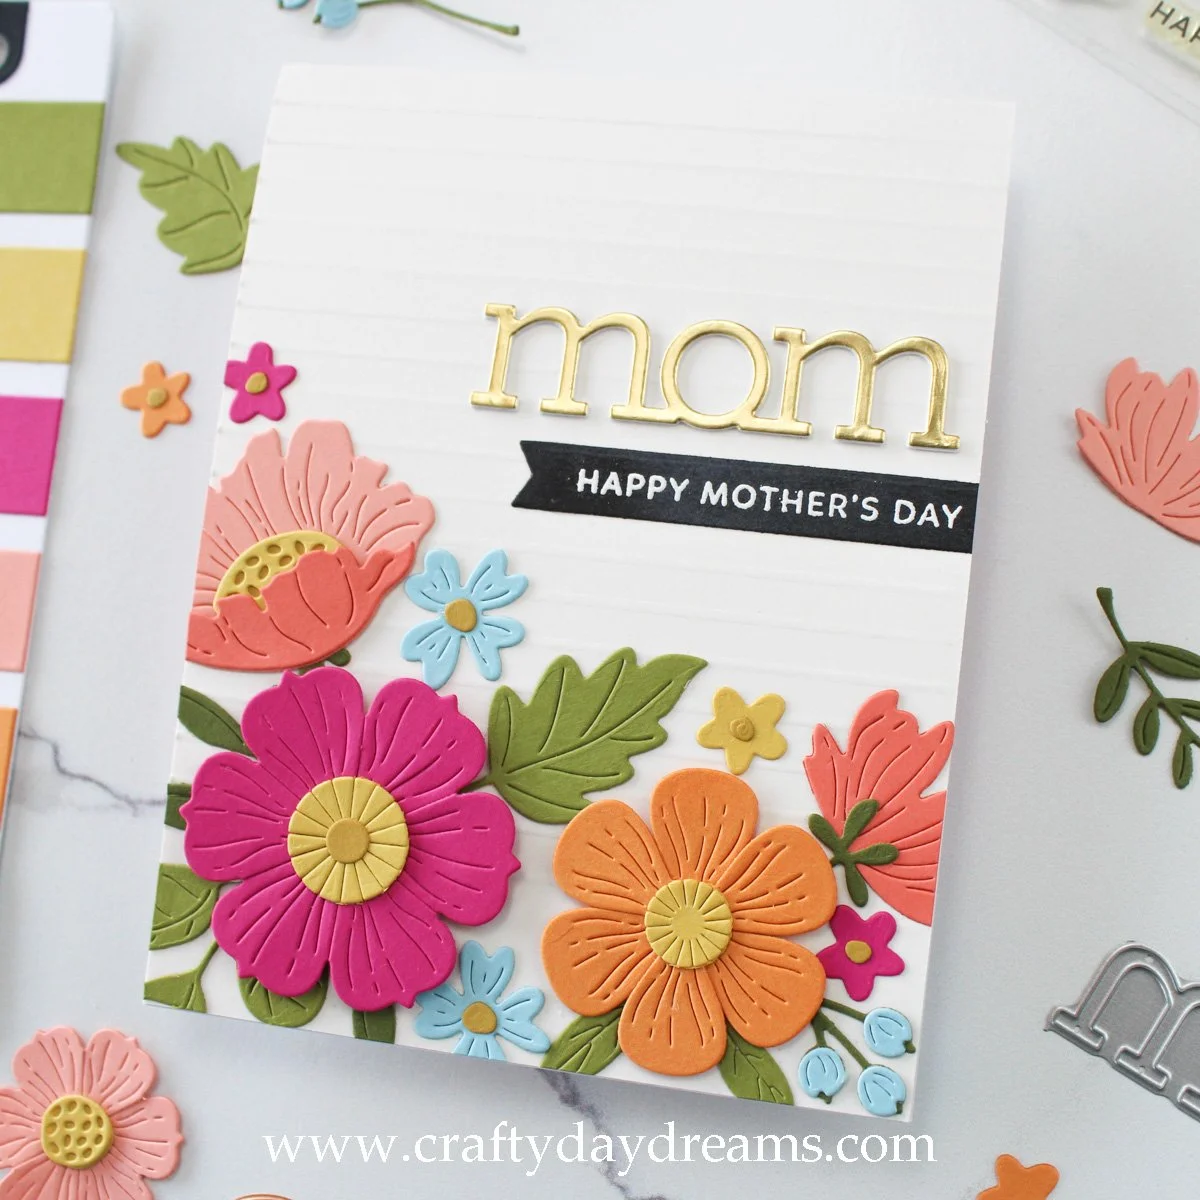
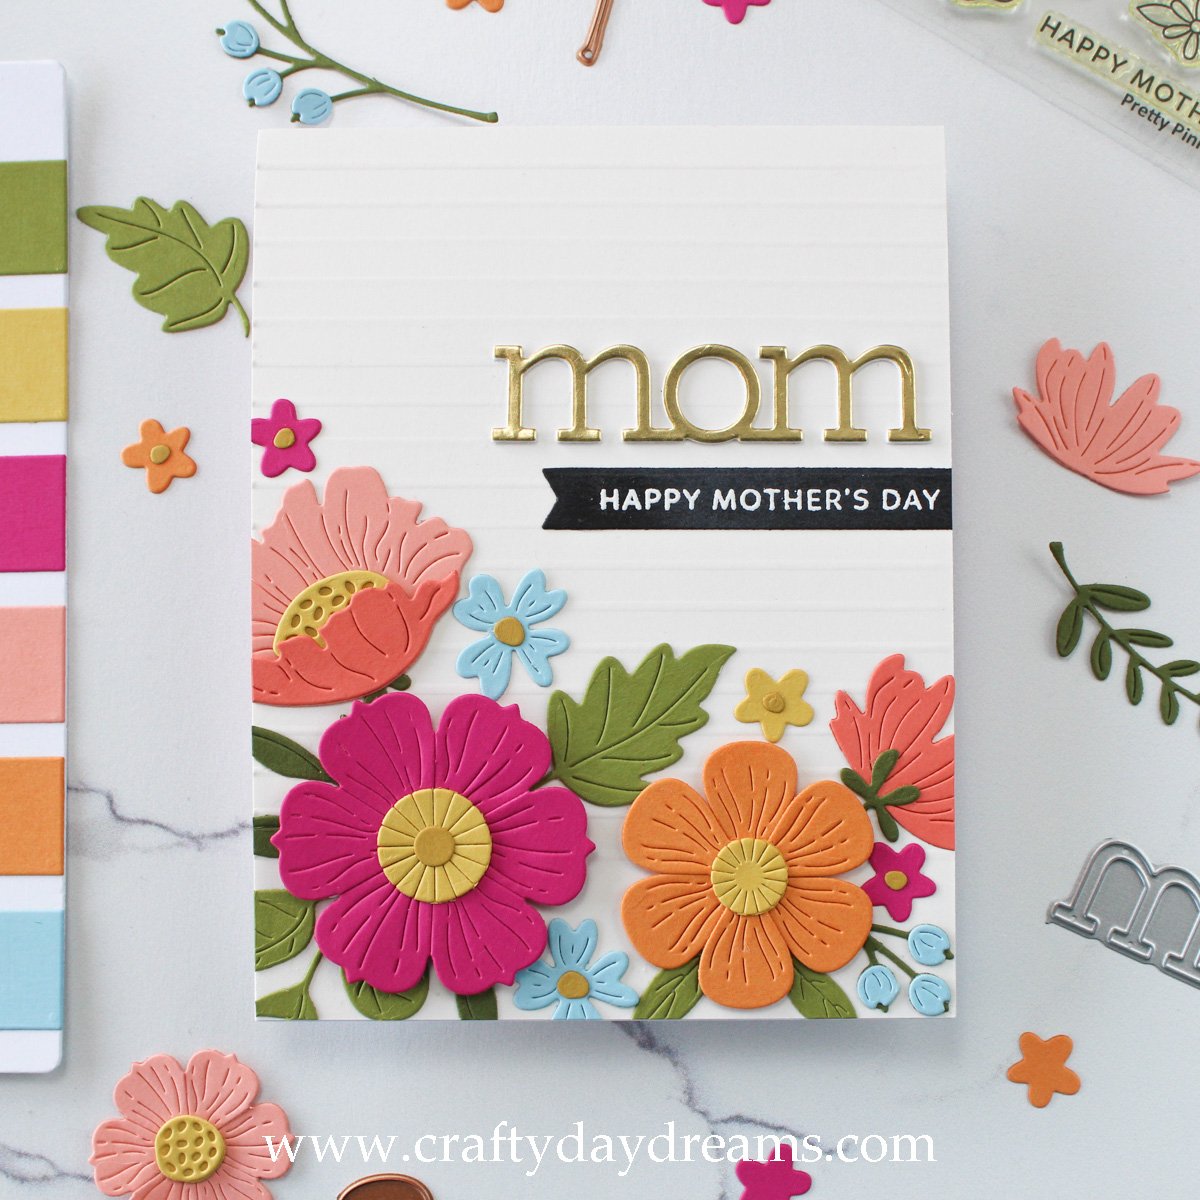
Since I had my die cuts ready to go, I got to work on my card front. I decided to use Ivory cardstock since I really liked how it looked with the florals on my Be Bold Blooms card, but I wanted a bit of texture to it. I decided to pop my Ivory card front into my Score-Buddy and scored it every 1/4-inch from starting at the top of the cardstock all the way down to the 1-inch mark. I left the last inch without scoring since the florals would cover that space anyway, and it would make gluing them down a bit easier. Going into this card, I had the idea that my florals would sit in a sort of C-shaped fashion, coming in on the card front in a sort of ‘swoop’ from left to right. This would allow me to nestle a greeting in, and best of all, I wouldn’t have to make a full bouquet.
I started off building my arrangement by filling the bottom left corner with greenery and popping my large Dragonfruit flower on top of it (none of these are glued yet, I like to fuss around with the arrangement until I’m 100% that I want to glue it down). I squeezed the large side-profile flower behind the large bloom, then tucked a Harbor flower between it and a large leaf. I placed the smaller Sorbet side-oriented flower on the right side of the card, then added the Clementine medium sized flower and some leaves around it. I wanted another pop of blue to the card, so I added a Harbor flower between the Dragonfruit and Clementine one, and a cluster of buds to the right of the Clementine flower that I snipped off the larger branch of them.
To fill in some small gaps, I die cut small flowers out of Dragonfruit and Honeycomb cardstocks and added Stardust flower centers. I think these balanced out the arrangement well in size and color. Satisfied with the placement, I glued everything down except the large Dragonfruit flower and the Clementine one. I decided to pop the Clementine flower up on thin foam squares, and the Dragonfruit flower up on thick foam squares. I really like this dimension on the card!
With the floral element completed, I got to work on the greeting. I pulled out the Mom & Dad die set from CZ Design and die cut the ‘mom’ out of two layers of plain white cardstock and one layer of matte gold cardstock. I looove how the gold looks against the ivory card front and with the flowers 😍. For the subsentiment, I pulled out the Mom Stamp from Pretty Pink Posh and white heat embossed the ‘happy mother’s day’ sentiment on black cardstock. I die cut this out using my smallest Everyday Sentiment Banners from Lawn Fawn since I thought the banner detail would be super cute on this card. After gluing down the ‘mom’ on my card front, I decided to hang the subsentiment off the card front so that I only had one visible banner tail, and I really like how this looks! It’s crisp and clean against the edge of the card, but adds a great detail under the ‘mom’ die cut.
I slapped my card front on a top folding Hero Arts note card, and got to work on my inside sentiment. I know I don’t tend to share what I put on the inside of my cards (most of the time it’s all handwritten unless I have a good stamp set), and in this case, I have a great stamp set to use! I picked up the Sassy Mama stamp set from CZ Design (which unfortunately is out of stock at the moment) about a year and a half ago, and I’ve loved using it the past couple years in cards for my mom and my mother-in-law. I stamped my greeting in C9 black ink, my husband and I wrote our personal messages, then sent this card off in the mail!
That’s all I’ve got for today! Check back Thursday for another Mother’s Day card using this same palette but with inks! Thanks for stopping by, I hope to catch you next time with more inspiration! 😊
Affiliate disclaimer: all links to Waffle Flower, Altenew, Scrapbook.com, and Spellbinders products are affiliate links. These links allow me to get a commission at no extra cost to you if you use them to shop! All other links provided are links to supplies and shops I am not affiliated with and I do not get a commission from.