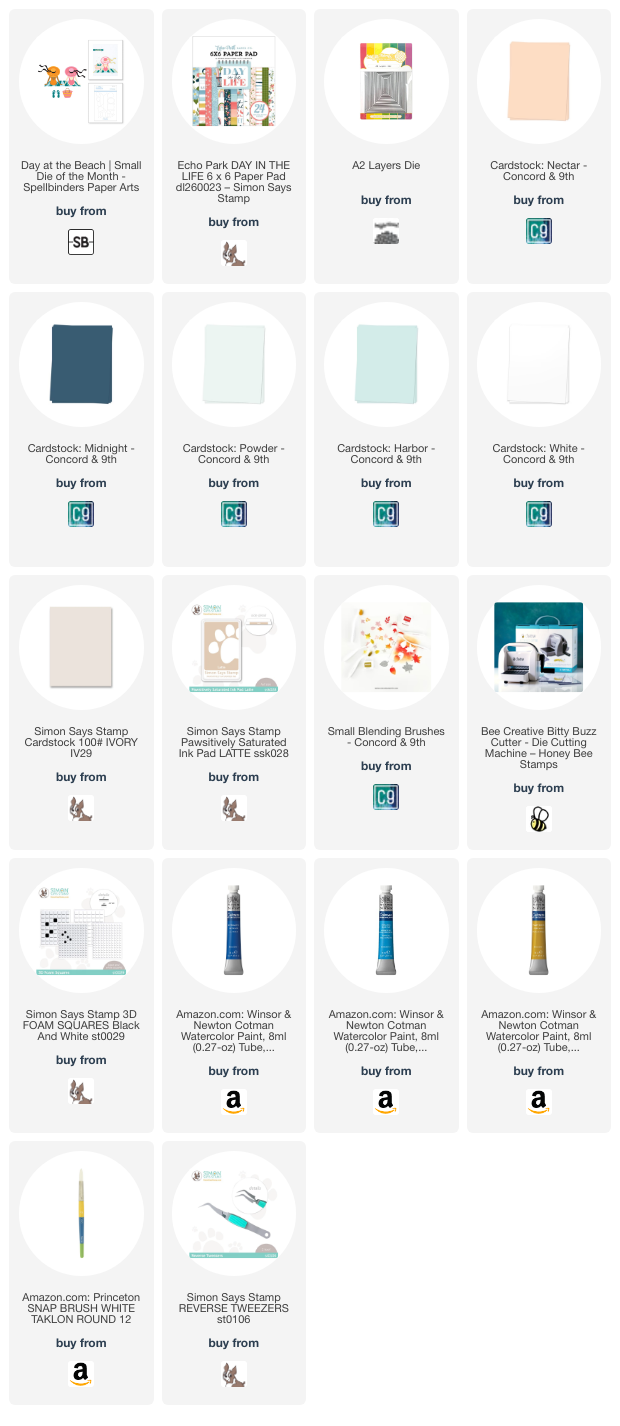
Spellbinders—Day at the Beach

Happy Friday, Crafters!
Today I’ve got an adorable scene card to share with you!! I picked up this die set, Day at the Beach, last summer when it was Spellbinders’ July Small Die of the Month. And I’ll be honest (and slightly ashamed) and admit that this die set has been sitting in my ‘to use’ bin since then. I think my reason for that was I was overwhelmed with creating a scene with this die set because to me, it didn’t make sense just sitting on a card (which it totally does! my brain is just waaay too nitpicky/realistic about things). But, I finally figured it out!

I was actually inspired to make this card when I looked up at my pegboard and saw my watercolor painting of a beach that I did in either 2020 or 2021. When I looked at it (and I could feel myself entering a bit of a creative rut) I could imagine it on a card front with this die set! I knew I just had to make it happen. But, I haven’t picked up my watercolor brushes much since 2020/2021, so I was a little bit apprehensive to do so. It’s like riding a bike though, right? Now, when I painted my original painting (and this replication), that was not an original idea of mine! I followed a tutorial by Ellen Crimi Trent on YouTube, and I believe you could too! This is a super approachable painting, it might look scary, but give it a go if you have some watercolor supplies!
For watercolor paper, I decided to use some old Bee Watercolor paper (which unfortunately is no longer being produced), but you could use any watercolor paper. I have Distress watercolor paper, but I opted to use the Bee watercolor paper because I had a larger sheet of it and I wanted to tape it down and have a defined A2-sized panel (I ended up cropping the painting so I could have used the Distress watercolor paper anyways 🥴). The tutorial has you start out a wet-on-wet technique for the sky, and I used my student grade Winson and Newton Cotman paints in Cerulean Hue and a little bit of Ultramarine blue, then crumpled up some paper towel and ‘stamped’ the sky with it to make clouds (this is addicting!). While that dried, I worked on the sand and heavily diluted Yellow Ochre paint so I got a warm, sandy color. All that was left was the water, so I went back to my Ultramarine blue and got a pretty saturated amount of it and painted on the ocean. Getting closer to the shoreline is where things got tricky for me—Ellen says to ‘skip’ around with your paint brush to have white space so that it looks like waves crashing, but I don’t have that artist skill yet 😂. I did my best, and decided to bring in some Dr. Ph Martin’s Bleed Proof White ink to salvage the shoreline a bit (you could use white gouache if you have it). It’s not perfect, but I think it’s good enough in this case!
While my painting dried (you can speed it up with your heat embossing gun if you don’t want to wait!), I got to die cutting. I love this die set, it’s a whole vibe that I want to exist in full-time. I’m a beach/water girly, and I love how unique you can make your person and accessories! I started off by die cutting the body and arms die out of Nectar cardstock—this is a great skin tone as well as Nutmeg, or you could even blend your perfect skin tone on some C9 white cardstock! I glued the arms under the body and set it aside. I decided to raid my patterned paper stash for a fun bathing suit, and it wouldn’t be a card of mine if I didn’t sneak some florals into it! I die cut the swimsuit out of a small floral patterned paper from the Day in the Life 6x6 paper pad from Echo Park Paper Co. One tip I have for cutting out the bathing suit is to die cut it out of a small rectangular piece of scrap cardstock because then you can line it up on your paper and see what the swimsuit would look like before cutting into it!

For the hat and bag, I decided to cut all the pieces out of C9 white cardstock so I could blend on Latte Pawsitively Saturated ink from Simon Says Stamp. I really like this ink color, and because I didn’t have a cardstock color that was the perfect straw-like color I was looking for, I made my own! Since the base color of the swimsuit is a very dark blue, I decided to use Midnight cardstock from Concord & 9th as my accent pieces on the hat and the bag. One thing you should be mindful of when adding the ribbon/streamer pieces to the hat is your sentiment! I had to tweak my placement a little so I wouldn’t overlap the ‘hello’, so just be aware of that. For the towel and flip flops, I pulled colors from the bathing suit again. The flip flops were cut out of Powder cardstock and the straps out of Midnight. I die cut the base of the towel out of C9 white cardstock, added stripes in Powder and Harbor cardstocks, and the fringe pieces in Midnight.
With all my die cuts ready to go and my watercolor panel dry, I got to work. I decided at this point to crop my painted panel using my A2 Layers Dies from Waffle Flower, which cut my panel down to 3.5 x 4.75-inches. This gives me a great crop, so after sticking a thick piece of cardstock cut to the same dimensions behind my painted panel, I matted it on Ivory cardstock. I popped the towel up on thin foam squares and stuck it down. For the figure, I added foam squares to the upper half of the body and cut some in half to add to the arms, and adding glue to the lower half of the body and arms since they would be on the towel. I added foam squares to the top half of the hat (though I could have added more, I wasn’t sure where it would be hitting the body, so I snuck two half pieces in after) and glue to the bottom half of it and stuck it down. I glued the bag down onto the towel, then added double stacked foam squares underneath parts that hung off of the towel and repeated the same process for the flip flops. And that wraps up this card! I debated adding some sparkle to it with dew drops or sequins, but I just couldn’t find a way that I liked, so I passed on it.
Isn’t this card dreamy?! I love it. It makes me feel like I’m relaxed and sitting on the beach, and if I was I would definitely like to have the same swimsuit and hat! This card could even be put in a frame and turned into decor! I hope you enjoyed this post and that you have a wonderful weekend, and that I’ll catch you next time with more inspiration! 😊
Affiliate disclaimer: all links to Waffle Flower, Altenew, Scrapbook.com, and Spellbinders products are affiliate links. These links allow me to get a commission at no extra cost to you if you use them to shop! All other links provided are links to supplies and shops I am not affiliated with and I do not get a commission from.