Altenew—Marvelous Monthly Series: Flourishing Garden Craft Your Life Project Kit
Hello and welcome!!
Today I have the joy and honor of being a part of the video hop for Altenew’s Marvelous Monthly Series for November 2023! I’m so excited to talk about and show you the cards I made with their fabulous Craft Your Life Project Kit for November: Flourishing Garden. When I tell you that this kit is packed with value, I truly mean it! Not only can you make a slew of cards with it, but the greetings included in the stamp set really stretch the mileage of this kit. I made five cards with this kit, but I could make probably 20 more haha—this kit would be a good one for an up and coming crafter!
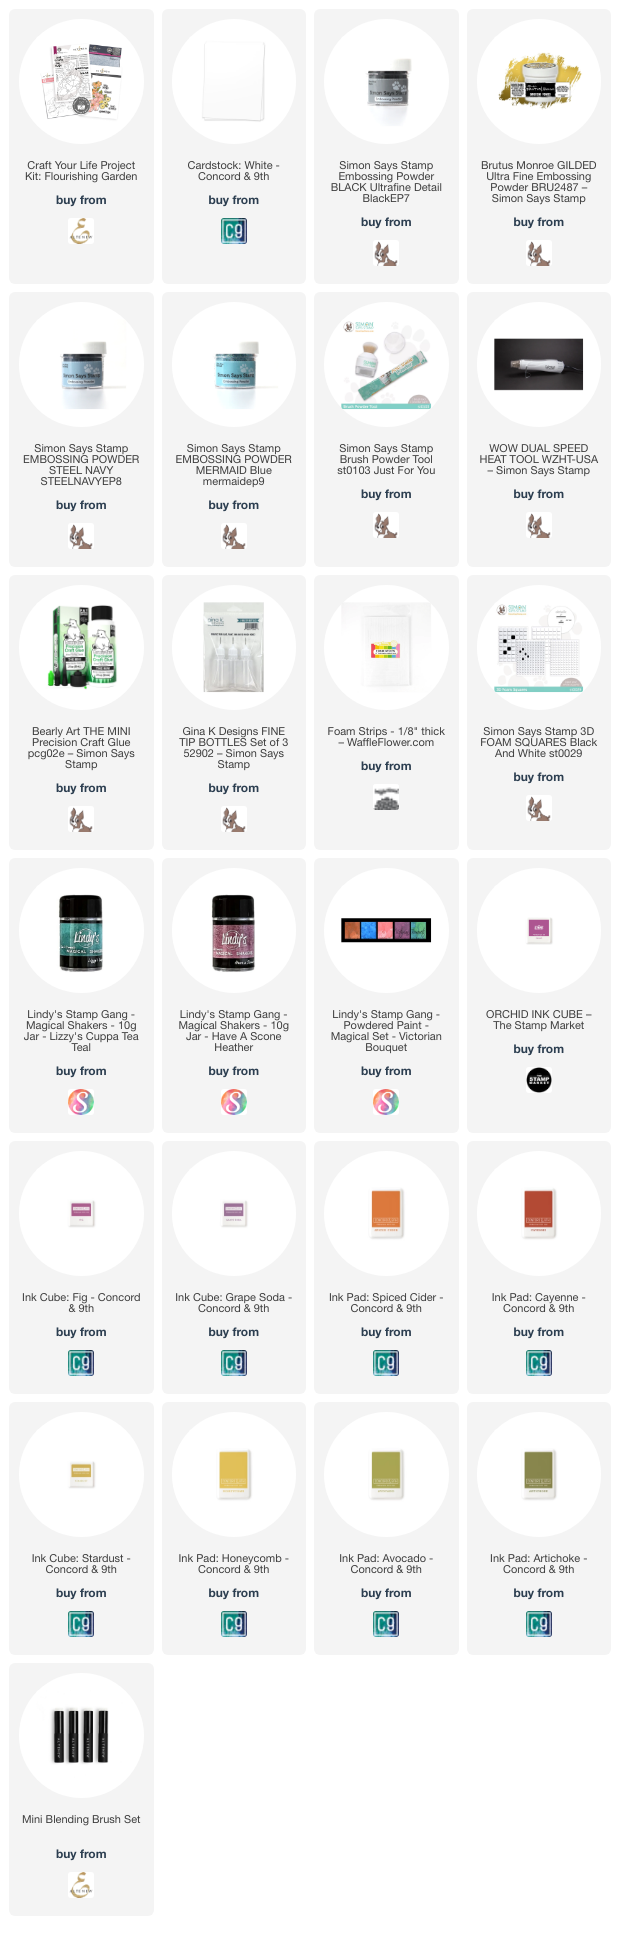
Want to see the products I’ve used on these cards? Click here.
We’re going to start this blog post off with a bang. When I tell you I don’t think I’ve loved too many cards that I’ve made in the past couple months as much as these two, I fully mean it. These cards turned out better than I could have imagined! Since the floral stamp is so big (it could literally work for any card size you want: A2, A7, slimline, 6x6), I decided I wanted to use it in a ‘unique’ way and make two mini slimlines out of one colored image. Getting two cards out of one crafting session is always great, but two out of the same image?! Count me in!
I heat embossed the image using Ultra Fine Black embossing powder from Simon Says Stamp. This is by far one of my favorite embossing powders as it creates the most beautiful, juicy embossing. The colors I chose to fill in the florals with are all mostly from Concord and 9th with the exception of Orchid from The Stamp Market since these are the only inks I have. However, if you have Altenew inks, here are some colors I find similar (all will be linked in my supplies):
Orchid ink: Purple Wine/Cosmic Berry (CD), Razzleberry (CD)
Fig ink: Deep Iris (CD), Midnight Violet (CD)
Grape Soda: Be Grapeful (FD), Ultraviolet (CD)
Spiced Cider: Snapdragon (FD), Caramel Toffee (CD), Red Jasper (CD)
Cayenne: Mahogany Bark (CD)
Avocado: Olive (CD)
Artichoke: Moss (CD)
Stardust: Honey Drizzle (CD)
Honeycomb: Maple Yellow (CD)
When it came to stenciling this image, I envisioned the coneflowers as purple echinacea flowers, the large orange florals as begonias, and the dark purple flowers as asters. I pulled out my fall color palette of Orchid, Spiced Cider/Cayenne, and Fig/Grape Soda and filled the blooms in. For the leaves, I stenciled base layer in Avocado ink, then added the details using Artichoke ink. Lastly, for the flower centers, I used Stardust (pretty heavy handedly on the coneflowers) and Honeycomb (mainly for the inner flower centers). I really love how this panel turned out. Since I was getting some stray ink all over the place, I decided to die cut the floral image instead of making it a one layer card.
One thing I did point out in my video is that the coordinating die is large—it’s a tight fit on my Big Shot, but there’s a bit more wiggle room when using a Platinum 6. Either way, you should be able to use it with either die cut machine. I cut my 6 x 6 panel in half to create my two mini slimlines, then ran each panel through my die cut machine. Once the florals were cut out, I decided I wanted to put them on an ivory background—there was just something about the ivory that made things come alive. Since my card bases were going to be 3.25 x 6.25-inches, I had a 1/8-inch mat around each side of the ivory panel (which was cut to 3 x 6-inches), so after a little bit of a back and forth, I decided on a Wheat cardstock mat, and I think it’s beautiful and the perfect choice for these cards!
Before assembling the cards, I worked on my sentiments. I decided to nestle the sentiments into the floral images a little bit and heat embossed the ‘friend’ and ‘big hugs’ sentiments in gold embossing powder and die cut them out. Since I wanted to use some of the fabulous subsentiments in the stamp set, I decided to heat emboss them in the same black embossing powder as I used on the floral image. With my sentiments figured out, I could move on to assembling these cards.
I glued the Wheat panel to my card base and the ivory panel on top of it. I decided to really pop the floral images up by using some foam strips from Waffle Flower. These have a nice loft to them, and the strips made it easy to cover the backs of the images with (too much 😅) foam tape. I lined the edges of the images up with the edges of the ivory cardstock and stuck them down. I added thin foam squares underneath my sentiments and popped them down on the card front. To finish things off, I decided a bit of shine was needed, so I pulled out the Holiday Jewelz Mix from Buttons Galore and More, and chose the opaque iridescent jewels. I love the nice shine that these add, but if you don’t have jewels, dew drops, enamel dots, or some iridescent sequins would work just fine too!

Now to wrap up this blog post with a couple more cards!
When I was creating with this kit I really wanted to use all of the contents. I have never used a 3D embossing folder before, so this was a first for me. Because I had never used them before, I was a bit intimidated, so to take a little bit of that intimidation factor out of it for me, I decided to use the embossing folder on panels I created with Lindy’s Magical Powders. At this point, I thought about doing some partial embossing to use this embossing folder a little differently, so when I was creating my panels, I left the bottom inch or so white (or as white as I could get when sprinkling powders).
Once my Lindy’s background were dry, I ran them through my Platinum 6 using the universal plate system. To finish these cards off, I heat embossed my greetings using Steel Navy embossing powder (the pink card) and Mermaid (for the blue card) for a little bit of fun. I added more shine to the card by tucking in some jewels from the same Holiday collection I used on my previous card.
Since the two previous cards came together so quickly, I wanted to make another card but this time with colored cardstock. So I cut a piece of Briar Rose cardstock to 3.25 x 6.25-inches and ran it through my Platinum 6 with the embossing folder. I decided I wanted to bring attention to the embossing, so I pulled out my white pigment ink and rubbed it over the raised edges. To finish this card off, I repeated the same steps as before and slapped a sentiment on it and some gems for some sparkle. Quick, easy, elegant, and gorgeous!
Well, that wraps up the five cards that I created using the November 2023 Flourishing Garden Craft Your Life Project Kit! I hope you enjoyed the video and the video hop! All the stops will be linked in the description of my YouTube video. Lastly, a big thank you to Altenew for having me as a guest designer this month and sending products for me to create with! Thanks so much for stopping by the blog today, I hope to catch you next time! 😊
Affiliate disclaimer: all links to Waffle Flower, Altenew, Scrapbook.com, and Spellbinders products are affiliate links. These links allow me to get a commission at no extra cost to you if you use them to shop! All other links provided are links to supplies and shops I am not affiliated with and I do not get a commission from.