Pretty Pink Posh—Candy Treats Halloween Card With a Surprise!
Hello, hello!
The blog has been a little bit quiet, and I’m so sorry for that! I’ve been a bit busy with some stuff behind the scenes and having a hard time focusing with some stuff going on around the house! But, I’m back today with another special commission! My friend, who I made those special 30 and 35th birthday cards for, asked me to make a sweet pregnancy announcement for her! Of course I was over the moon to find out about her news, but also just as excited to make these for her to announce to her sisters!
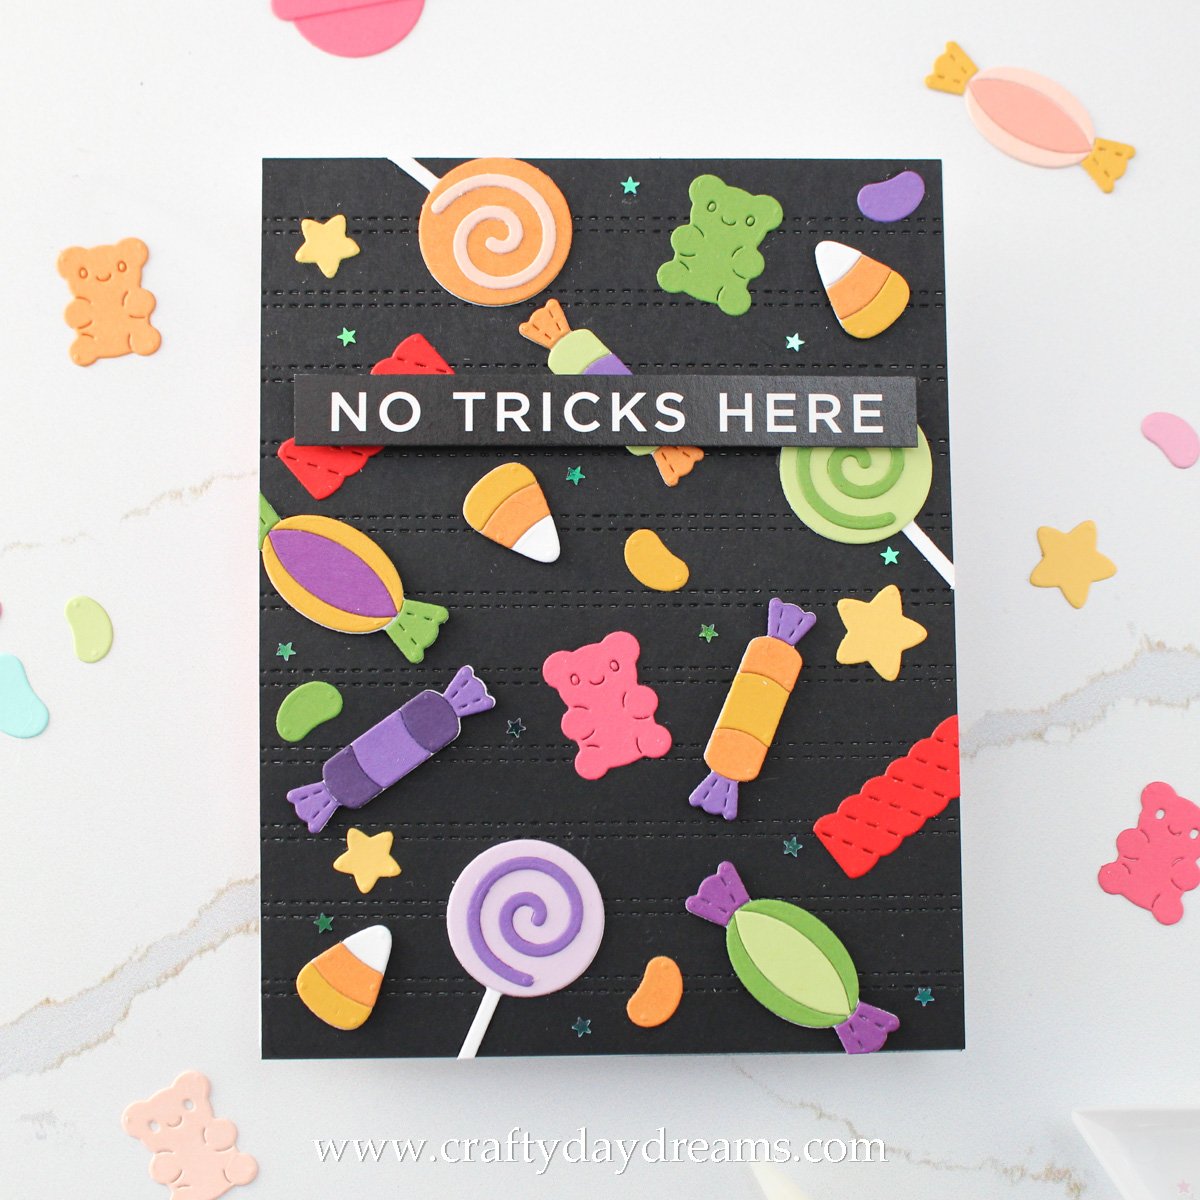
She came to me with the idea of a sentiment saying ‘no tricks, just treats, you’re going to be an auntie!’, but after a bit of thinking, we decided on a pre-printed sentiment strip for the main greeting and for her to handwrite the ‘you’re going to be an auntie’ sentiment on the inside of the card. Since this was a Halloween-y announcement, I picked up the Candy Treats layering die set from Pretty Pink Posh and wanted to cover a card front in candy. This would allow the card to seem like it was just an inconspicuous Halloween card from the front, but the true surprise would be on the inside where I would add a pop up onsie!

I’m not going to lie, I was suuuper overwhelmed when it came to picking colors. When I feel overwhelmed like this, it can definitely make it super hard for me to start a project because it’s a big ‘ol case of decision paralysis, which also makes no sense because it’s just paper! Worst case, all I would have to do is die cut something in a different color, but if you know, you know!
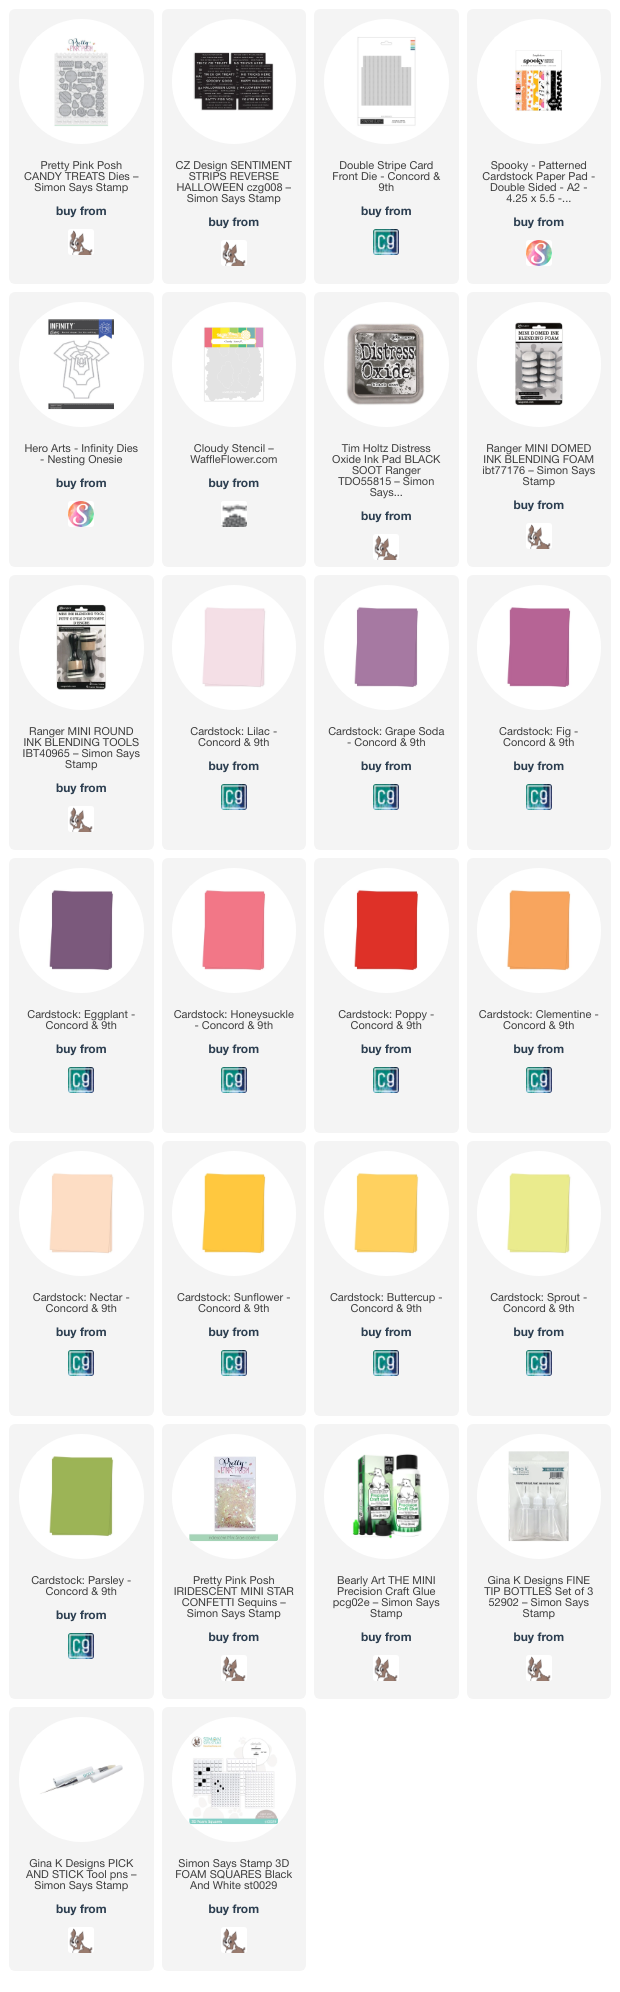
What kickstarted my crafting was getting some Halloween patterned paper from Scrapbook.com! I don’t have much of it, so I was super excited to pick some up since theirs is super cute! I ended up picking up the Spooky patterned collection in the A2 size pack, and once I got it, I fell in love with the ghost pattern and decided that would be what I would die cut the onesie out of. This kind of informed my color decisions, so I die cut the candy corns out of Sunflower (this is very close to the color of the onesie), Clementine and white cardstocks. From here, I went with a triadic color scheme (green, purple, orange), but threw in some yellow and other colors for fun/more of a pop.
The colors I used were: Lilac, Grape Soda, Eggplant (very sparsely), Fig, Honeysuckle, Sprout, Parsley, Clementine, Nectar, Buttercup (for the stars), Sunflower, and Poppy. I did make two of these cards but only photographed one since they’re the same but with candies that are slightly different in color.
I ran an A2 sized piece of black cardstock through my die cut machine with the Double Stripe card front die to add a fun subtle texture to the background and to allow my black pre-printed sentiment strip (CZ Design Reverse Halloween) to stand out. I also popped some of the candies up on thin foam squares while I glued others down (specifically the ones under the sentiment, the suckers, the stars, and the gummy bears). To finish the card front off, I decided to add some iridescent mini stars to it to add a nice subtle shine and fill in some gaps.

Now onto this cute pop up! First, I built my background. My friend wanted these cards to feel a little spooky and what came to mind was a moody cloudy backdrop. I pulled out some C9 white cardstock, Black Soot Distress Oxide, and the Cloudy stencil from Waffle Flower. I worked my way down my A2-sized piece of cardstock trying to make each layer of clouds different from the previous one. While that dried, I got to work on my pop up feature. Originally, I was planning to use the pop up feature from the All About Cake die set from Concord & 9th, but the pop up didn’t have enough height to it, so I made my own. I cut a strip of acetate down to 5 inches by 1/2-inch thick. I scored each end .75-inch in, then a .5-inch from the .75-inch score lines on each side. I modeled this off of the C9 pop up die, so this would work out so that it kind of forms a ‘C’ when it’s glued onto the notecard.
I glued my cloudy background onto the inside of a Hero Arts top folding notecard, then added some glue to the portion (the 0.5-inch section) of the pop up that would be sitting on the inside of the notecard (where the message would be written). I made sure to hold this in place for a bit since the acetate does take a little bit longer for the glue to stick and dry down.
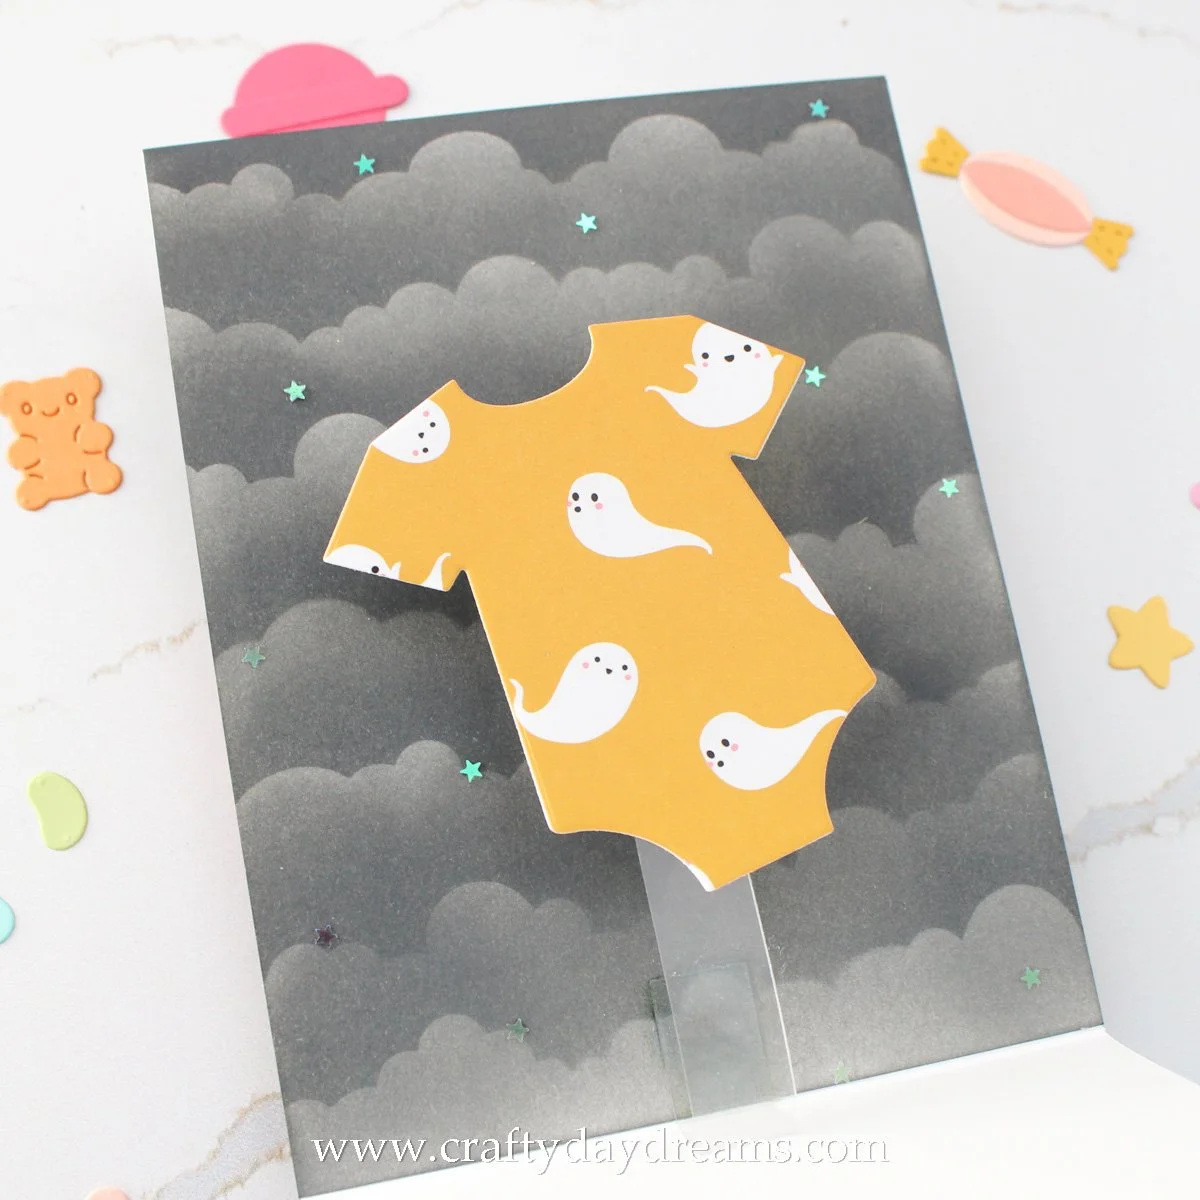
This photo allows you to see things a little bit better, but after gluing down the smaller section, I added glue to the 0.75-inch section, then glued it onto the cloudy panel. I repeated this step on the upper portion, but the difference with the top of this mechanism is that only the 0.75-inch section is glued down. So, you only glue down three sections of this acetate to the inside of your card. Once I had the mechanism built and tested it a couple times, I die cut the ghost onesie using the Nesting Onesie dies from Hero Arts and stuck it on the acetate with some liquid glue. To finish off the inside of this card, I added some of the same iridescent mini star confetti to the sky for a bit of shine.
And that wraps up this post! I hope you liked this card. I love how it turned out, and I think it makes a baby announcement super fun! Thanks so much for stopping by the blog today! I hope to get more content up pretty quickly with less disruptions (a Halloween YouTube video as well!). Until then, I hope to catch you next time!
Affiliate disclaimer: all links to Waffle Flower, Altenew, Scrapbook.com, and Spellbinders products are affiliate links. These links allow me to get a commission at no extra cost to you if you use them to shop! All other links provided are links to supplies and shops I am not affiliated with and I do not get a commission from.