Waffle Flower—Butterfly Blossom in Jewel Tones
Hi friends! Long time, no see 😅. I’m soooo sorry about not updating my blog like I have intended. Life has been life-ing, and I’ve been busy balancing work, craft deadlines, and family time. But I’m so happy to be here today sharing a card that I think might be my most favorite that I’ve created in a long time. If you haven’t seen it, Waffle Flower has come out with a beautiful die & stencil set called Butterfly Blossom Die-n-stencil (affiliate link). Y’all…….when I tell you this set is beautiful, I truly mean it! If you remember the Sunflower Cluster Die-n-stencil from this past fall, it’s the same beautiful style as that set, which I also adored. Anyway, let’s get to the details!

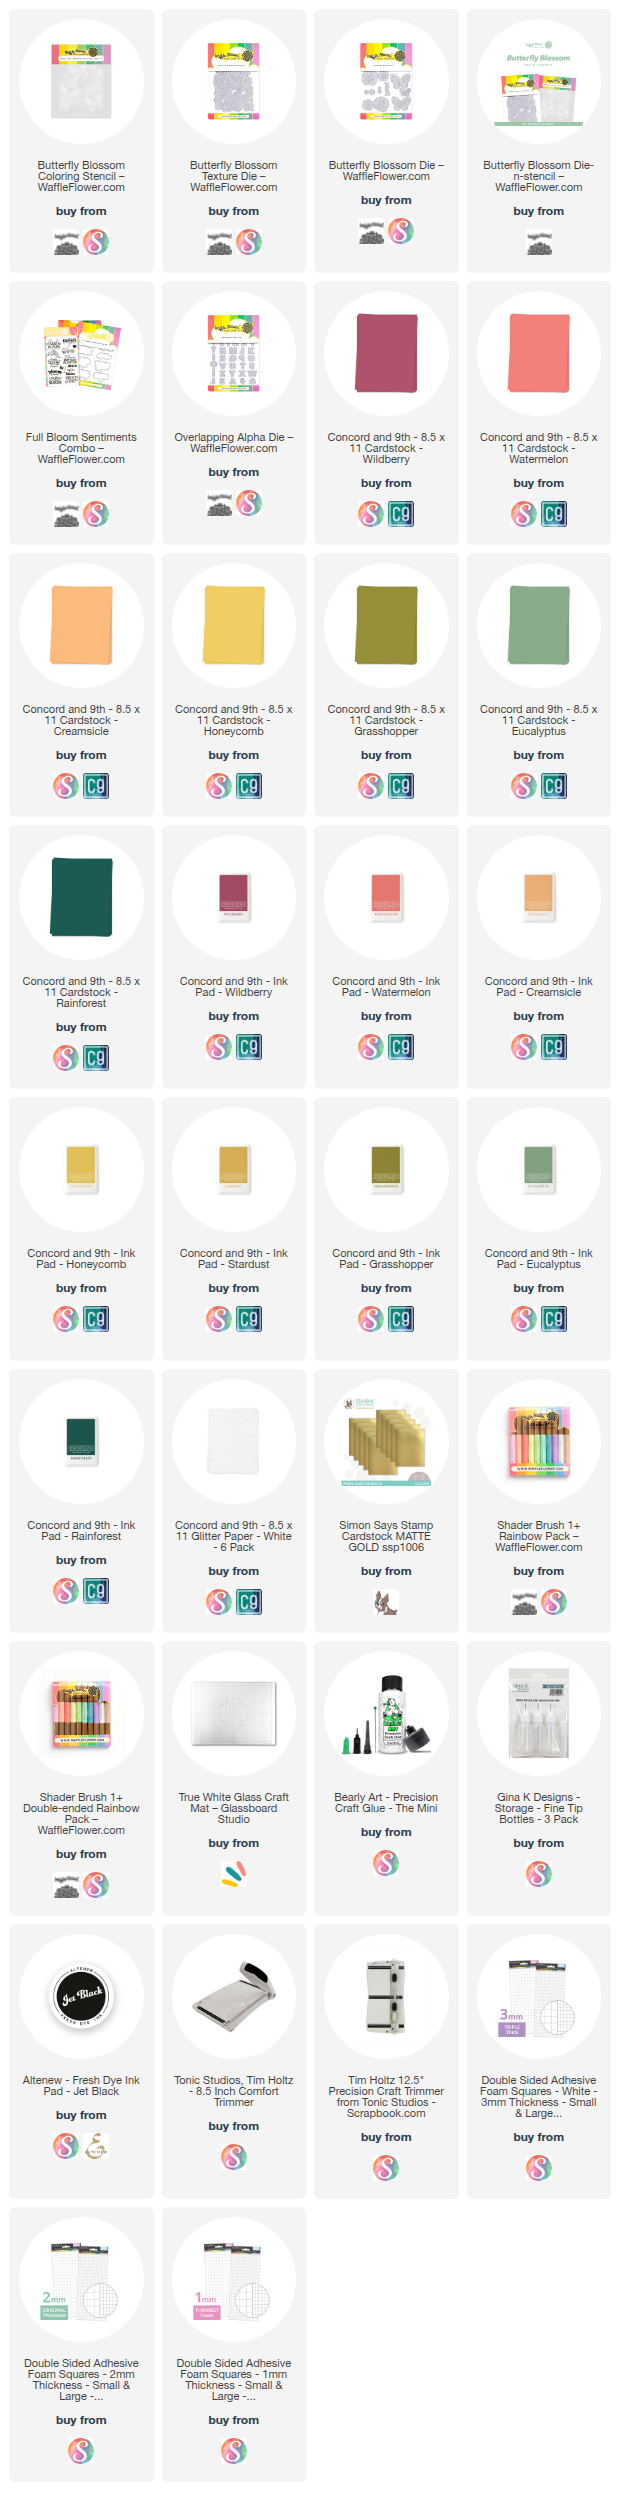
You might be familiar with the colors you see in the photo as I’ve been using them a lot lately, but if not, they are the 2024 Concord & 9th colors: Wildberry, Watermelon, Creamsicle, Grasshopper, Eucalyptus, and Rainforest. I love these colors so much, and they make such a pretty palette together that it was a no-brainer for me to use them, especially when it takes all the thought out of choosing colors!
I really wanted this card to have a dramatic background, so off the bat I knew that Rainforest would be my card front color. That left me to play with the other colors in the palette, and after a smidge of overthinking, I decided that the leaves would be Grasshopper (this was actually an easy choice 😂🙌), the more rounded flowers would be Wildberry, the others Creamsicle, and the butterflies would be Watermelon and Eucalyptus. To make this card exactly how I did, I used two sets: the Butterfly Blossom texture die & stencil, and the Butterfly Blossom die set. I promise you I’m not just repeating the same words twice! These are two different products! The Butterfly Blossom die set is what I used to die cut the flowers and butterflies!
To start things off, I die cut a base layer of white cardstock with the Butterfly Blossom texture die so that I could build the design up on it. Next, I ran a piece of Grasshopper cardstock thru my die cut machine with the Butterfly Blossoms texture die so that I would have my leaves. Unfortunately, the Butterfly Blossoms die set doesn’t have a matching leaf die, so the fussiest part of this card is trimming off all the leaves you need! Once I had them trimmed apart from the panel, I decided to add a little bit of ink blending to the base of the leaves for some added dimension using my Waffle Flower 1+ shader brush & Grasshopper ink. I love these brushes so much! They make adding detailed shading a breeze (and they’re super cute 😍)!
With my leaves ready to go, I got to work on cutting out my flowers out of Creamsicle & Wildberry cardstocks, then my butterflies out of Eucalyptus & Watermelon. Just like with the leaves, for two of the butterflies, I had to use the texture die to cut them out since the dies in the Butterfly Blossom die set wouldn’t fit the same way/would cover leaves. Looking at the tones of the flowers, I decided to die cut flower centers out of Honeycomb cardstock because it has the same tones as my color palette and plays super well with the colors. With everything cut, I added ink blending to the centers of each of my florals with their coordinating ink color, and a bit of shading on one side of the flower centers in Stardust ink.

I wanted to add some detail to the butterflies, so I used stencil layer 4 from the Butterfly Blossoms die-n-stencil set and Rainforest ink on the Eucalyptus butterflies and Wildberry ink on the Watermelon butterflies. With the butterflies done, I decided the butterfly bodies needed to be gold cardstock, so I die cut them out of Simon Says Stamp Matte Gold. At this point, it was time to adhere everything to my white base layer of the texture die! I glued each of the leaves down, but when it came to the flowers and butterflies, I got a little bit more dimensional, and the three varieties of foam square loft (1mm, 2mm, & 3mm) from Scrapbook.com sure came in handy!
I started adhering the Creamsicle flowers first since everything else was pretty much built on top of them. I glued down the Creamsicle flowers at the very top and bottom, then the remaining three that are sort of in the middle of the design were all popped up on 1mm foam squares. For the Wildberry flowers, I popped the top flower and bottom flower up on 1mm foam squares since the flowers under them are glued down, so there’s a baby step of dimension there, and the other two in the middle were popped up on 2mm foam squares since what’s below them are up on 1mm foam squares. All I’m doing here, is slowly building dimension.
Next up came the butterflies. I wanted these higher than the flowers, with the exception of the two in the upper right which were glued down, so I used 2mm foam on the large Watermelon butterflies, and 1mm foam on the Eucalyptus butterfly on the top left, and 3mm foam on the Eucalyptus butterfly in the lower right. At this point, I glued my beautiful panel on to Rainforest cardstock cut to A2-size, then got to thinking about my sentiment. I didn’t want a large greeting that hid too much of the design, and I really thought about leaving this baby sentiment-less, but in the end, I decided on using the Overlapping Alpha die and diecutting a basic ‘hi’ out of white glitter paper. I stacked a couple white die cut layers up behind my glittery ones, then glued them on in the lower right of the card. I think this finished the card off perfectly! There’s sooo much drama and dimension, I just love it!
For an extra stretch…
If it’s not in the budget to buy the whole Butterfly Blossom Die-n-stencil, or to stretch the set even further if you bought the whole thing, the stencil alone is just as stunning as the stencil & die together! I made this card with the same color palette as my die cut one and used all the layers of the stencil.

I followed the blueprint of the die cut version of this card, so the flowers are blended on in Creamsicle (with a Honeycomb/Stardust center), a light-handed blending of Wildberry (so that things didn’t look to similar when I blended details on the butterflies) with Rainforest flower centers, leaves in Grasshopper, and butterflies in Watermelon/Wildberry & Eucalyptus/Rainforest. I finished the card off with the ‘live life in full bloom’ sentiment from Full Bloom sentiments set, which I stamped in Jet Black ink on white cardstock and used the coordinating die to cut it out & popped it on the card with some 2mm foam squares.
I love both versions of this card so much!! Do you prefer one over the other?? Let me know! Thanks so much for stopping by the blog today! I’m so sorry for being sooo behind on my content, I’m hoping to get more of my backlog up for you soon! xoxo
Affiliate disclaimer: all links to Waffle Flower, Concord & 9th, Altenew, Scrapbook.com, and Spellbinders products are affiliate links. These links allow me to get a commission at no extra cost to you if you use them to shop! All other links provided are links to supplies and shops I am not affiliated with and I do not get a commission from.