Altenew— April Kiss Camelia Two Ways!
Hello, hello!
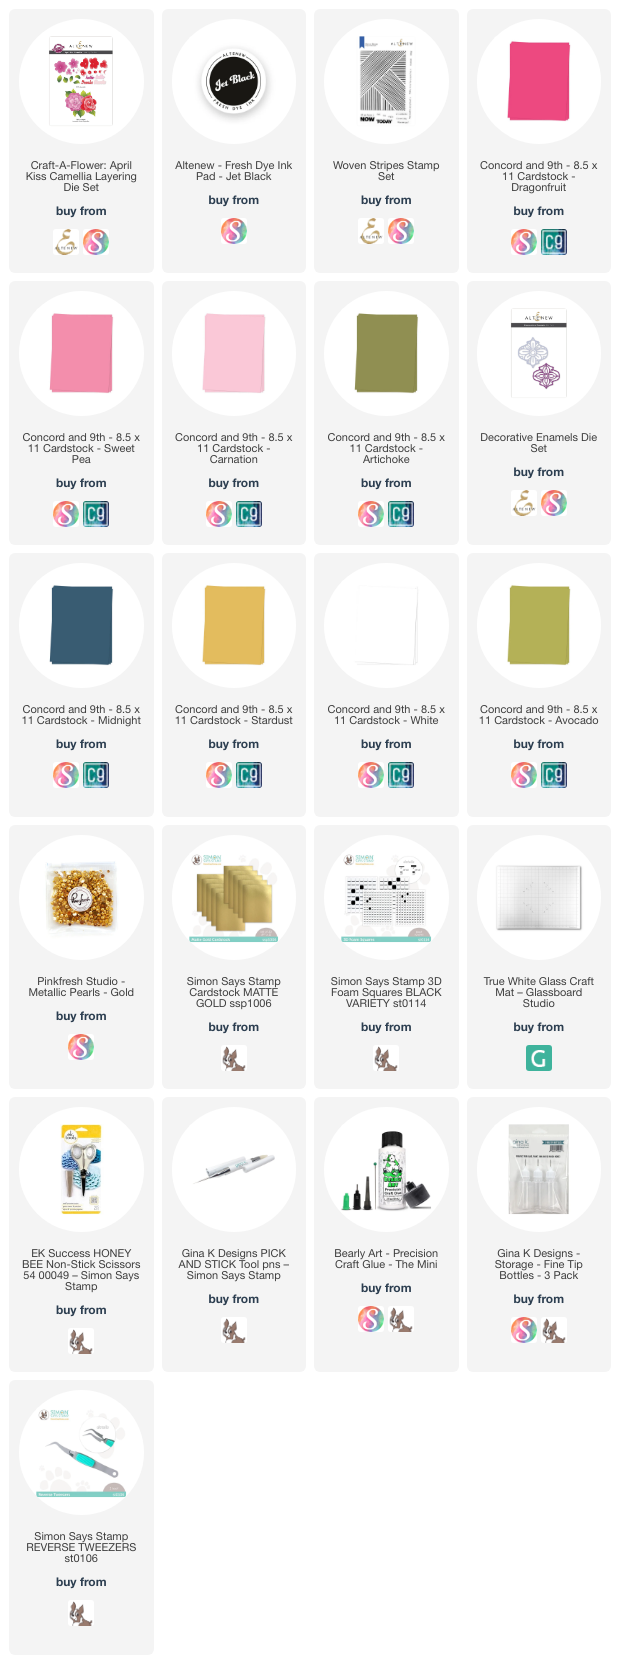
Today I’m back sharing a couple more projects for Altenew’s March release featuring the new Craft-A-Flower: April Kiss Camellia die set. If you haven’t tried the Craft-A-Flower die sets yet, they are fabulous! They make dimensional, gorgeous flowers an absolute breeze to create! This month’s die, the April Kiss Camellia, is alllll about layers. If you haven’t seen a camellia before, they have many, many, layers of packed petals. They’re absolutely gorgeous flowers, and one that I’ve only seen as pink. So, I created one card with some traditional pink camellias, and a second card with some white camellias because why not?! This is happy crafting time where things don’t have to exist as they do in reality!
Pink Camellias
I know a lot of designers love to ink blend when it comes to the Craft-A-Flower die sets, but when I was making these cards, I decided to stick with good ‘ol cardstock. To be honest, I was a little intimidated with the thought of trying to add shadows to these flowers with inking, but I probably could have created some beautiful flowers just by inking up die cuts with one ink color and varying the pressure I was blending with. Instead, as you can probably tell, I decided just to die cut layers using three different colors of cardstock, in this case: Dragonfruit, Sweet Pea, and Carnation, all from Concord & 9th. I followed along with the etched numbers the dies added to the die cuts as well as the layering guide from the package and assembled these flowers using liquid glue. When I build these, I like to add liquid glue only around the keyhole so that I have the ability to fluff the petals if I want to. If I don’t want to fluff them, they stay flat as you see, but if I do, I can easily do so! To finish off my floral die cutting, I die cut the leaves out of Artichoke cardstock from Concord & 9th—this green pairs with the pinks so beautifully!
Now onto the rest of the card. When I’m creating with Craft-A-Flower dies, I tend to always focus my arrangement in the lower left corner of my card front, so that’s what I decided to do today, but I wanted to spice it up a little. Or I guess, make it more of a graphic style! So, with that in mind, I pulled out the Woven Stripes stamp set. I popped the stamp in my MISTI and lined up a piece of A2-sized white cardstock with the left edge of the stamp. I inked the stamp up with Altenew Jet Black fresh dye ink, then popped a sheet of scrap paper in my MISTI to block off a large portion of my cardstock, then closed the door of my MISTI. I kind of wanted a pretty straight edge to this stamped portion because I wanted it to look like washi tape, I didn’t get a crisp line, but I’m pretty pleased with how it turned out! Once the ink had dried back a bit, I decided I wanted to get a little more bold (at least for me haha!), and pulled that same Jet Black ink out and added some splatter to the card front using a fan brush.
Once that was done, I decided I actually wanted to crop the panel down a bit, so I pulled out my A2 Layers dies from Waffle Flower and cut the panel down to 3.75 x 5-inches. I added some foam tape on the back of that panel, then popped it on a A2-sized panel of C9 white cardstock (I would have popped this on a cut and folded notecard, but I didn’t because I didn’t have any on hand and didn’t feel like making one at the time). With my panel ready to go, I decided I better figure out my sentiment first so I can nail the placement of my flowers. I love that this Craft-A-Flower die set had two word dies included in it, and better yet, they’re the super versatile ‘thanks’ and ‘hello’. You really could take just this die set on a crafty trip and make a bunch of cards since everything you need is included in this set!
Anyways, I die cut the ‘thanks’ out of some matte gold cardstock and three layers of plain white cardstock to add a little bit of dimension. Before I started gluing/foam squaring my elements, I test drove the placement of everything and I loved how the ‘thanks’ snugged up to the flowers a bit. Since I was happy, I first glued the leaves down, then popped the side facing flower up on thin foam squares (to give it the perspective of being behind the front facing full bloom), then popped the full bloom up on thick foam squares. Lastly, I glued the thanks down and called it done!
Blue and White Beauty
I don’t know what it is lately, but I’ve been a bit obsessed with blue and white. For this card, I wanted to go a bit more dramatic with a navy background, but also wanted to keep things light and elegant. Since I wanted a dramatic background, but I didn’t want it to feel plain, I knew I would have to either use a 3D embossing folder or dies to add some subtle background texture. I ended up deciding to use the larger die from the Decorative Enamels die set and die cut a handful out of the same Midnight cardstock as my card front. I started gluing the die cuts onto a second piece of Midnight cardstock that was cut to 4.25 x 5.5-inches since I was interested in playing around with where the die cuts would end. I ended up cutting off 1.25-inch from the panel, which I then glued onto another A2-sized piece of Midnight cardstock. I love the fun shape and design that this background details adds to the card, especially when it’s a bit subtle.
With my background built, I could get on with the rest of the card. I decided for this one, to make the camellias a ‘non-traditional’ color, and die cut both flowers out of C9 white cardstock. Since, again, I didn’t feel like adding ink blended shadows/dimension to the flowers, I instead cut the flower center looking petals of the flowers out of Stardust cardstock. I really like how the yellow flower centers add some pop to both blooms, and to really make the flowers pop off the card front, I decided to die cut the leaves out of Avocado cardstock.
Since I wanted to challenge myself a little bit to get out of my usual ‘rut’ of putting Craft-A-Flower blooms in the corner of card fronts, I decided I wanted to pop these blooms in the middle of the card. This placement works out nicely too, because I was able to use the smooth, bottom portion of the card front to put my ‘hello’ sentiment that I die cut out of matte gold cardstock and plain white cardstock. I glued down the leaves, then popped the side profile flower up on thin foam squares, and the full flower up on thick foam squares. I decided to fluff the petals on both flowers to give more dimension and separation of petal layers—I’m officially team zhuzh!
I thought the card needed a little bit more shine than just the sentiment, so I pulled out gold pearls from Pinkfresh Studio, and scattered them around. I ended up with the two, three pearl arrangements that kinda mirror each other, and I think they fit this design well! Things feel nice and balanced, and that makes me happy!
So, that’s all that I’ve got for today! Big thank you again to Altenew for sending these products my way for me to play with! Do you have a favorite among these two cards?! I think the navy blue one is the winner for me—I love the contrast and that gold shine!
Thanks for stopping by the blog today, I hope to catch you next time with more inspiration! 😊
Affiliate disclaimer: all links to Waffle Flower, Altenew, Scrapbook.com, and Spellbinders products are affiliate links. These links allow me to get a commission at no extra cost to you if you use them to shop! All other links provided are links to supplies and shops I am not affiliated with and I do not get a commission from.