Waffle Flower— Balloon Cluster 50th Birthday Card + Bonus Cards!
Hi crafty friends, welcome back to the blog!
Today I’ve got a fun, masculine 50th birthday card to share with you! My family is throwing a surprise birthday party for my cousin’s 50th birthday this weekend, so I just had to make a special card! I will not lie to you though, I was stressing and overthinking on what sets to use to make it, but then I remembered how much I loved creating with the recently released Balloon Cluster Die-n-stencil from Waffle Flower.
Some of the things I love about this set are that it allows you to quickly create fun birthday cards with little thought involved (and I say little because we know I will always overthink those colors!), and because you have the dies and the stencil, you can create two looks with one bundle, but more on that later!
Now we’ll get into some 50th birthday fun!
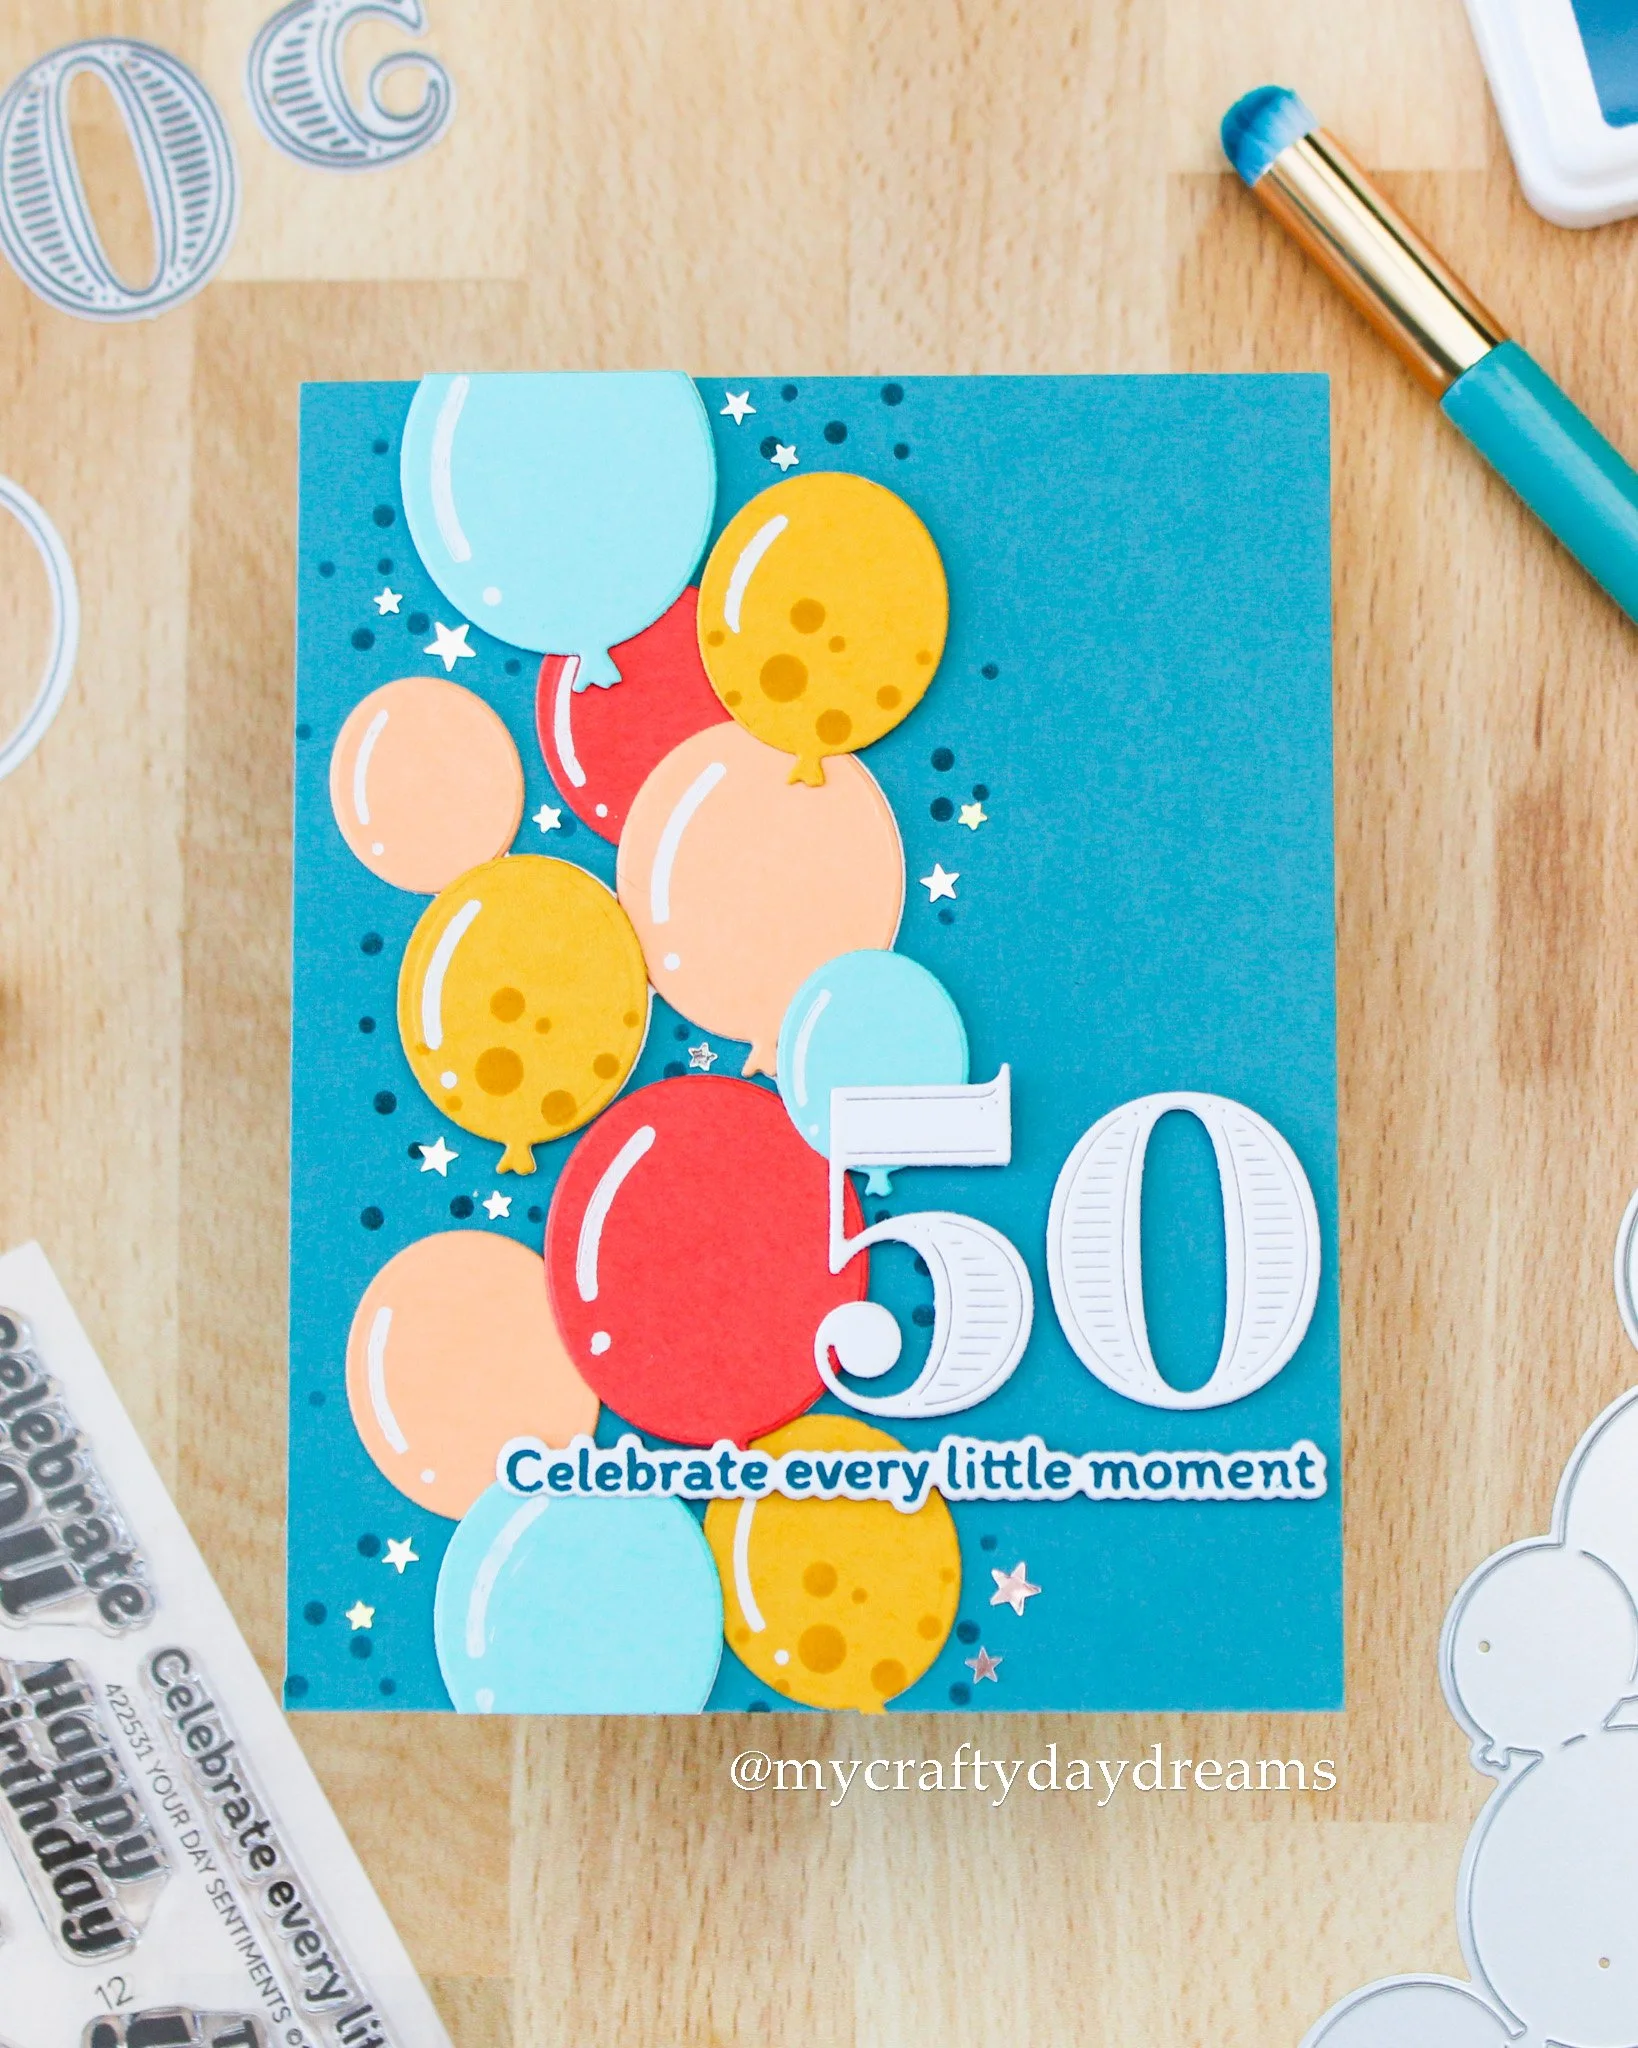
I had so much fun making this card with fun colors & the opposite of how I made them for my design work. For those, I used an ivory background, and for this, I used a darker background, and it’s so fun to see this set with a different look!
When it came to colors, at first I was feeling stumped. I didn’t just want to do blues/greens like we all tend to do for masculine cards (and I mean, I still did!), so I went to Pinterest and searched for ‘birthday color palette’ and ‘men’s birthday color palette’. Doing so brought up some very muted and moody palettes for the men’s search, and lots of bright & poppy ones for the regular birthday search. I actually ended up choosing a palette from the birthday search, and pulled out Peacock, Aqua Sky, Sunflower, Nectar, and Pimento cardstocks. If you’re struggling to pick colors, you can always keep searching keywords that you’re looking for with your color palettes on Pinterest! Eventually you will find one you like!
Originally, I took the Balloon Cluster Stencil and lined it up on the left side of an A2-sized panel of white cardstock and blended on the confetti dots using Peacock ink, but after die cutting some balloons and the cluster die to visualize everything, a white background just wasn’t it for me! It was feeling too cold & clinical, so I went with my gut and chose a colored cardstock background, specifically Lakefront cardstock from C9. This was perfect because I had wanted to use Peacock for my background panel, but that was feeling way too dark to me, and Tidepool wasn’t giving me what I wanted, so Lakefront was the perfect middle ground!
I re-stenciled the confetti dots in Peacock ink on the Lakefront panel, then glued down a white die cut of the Balloon Cluster die. I wanted to add a little bit more fun to this card than just the colored balloons, so I raided my Waffle Flower stash for a stencil. You totally could use a press plate background or even a foil plate background for lots more fun and texture on these balloons, too! I just might have to do that in the future. I ended up settling on the Happy Bubbles stencil and decided the Sunflower balloons were going to have a little extra jazz to them, so I stenciled the largest of the small clusters on the stencil at the base of the balloons.
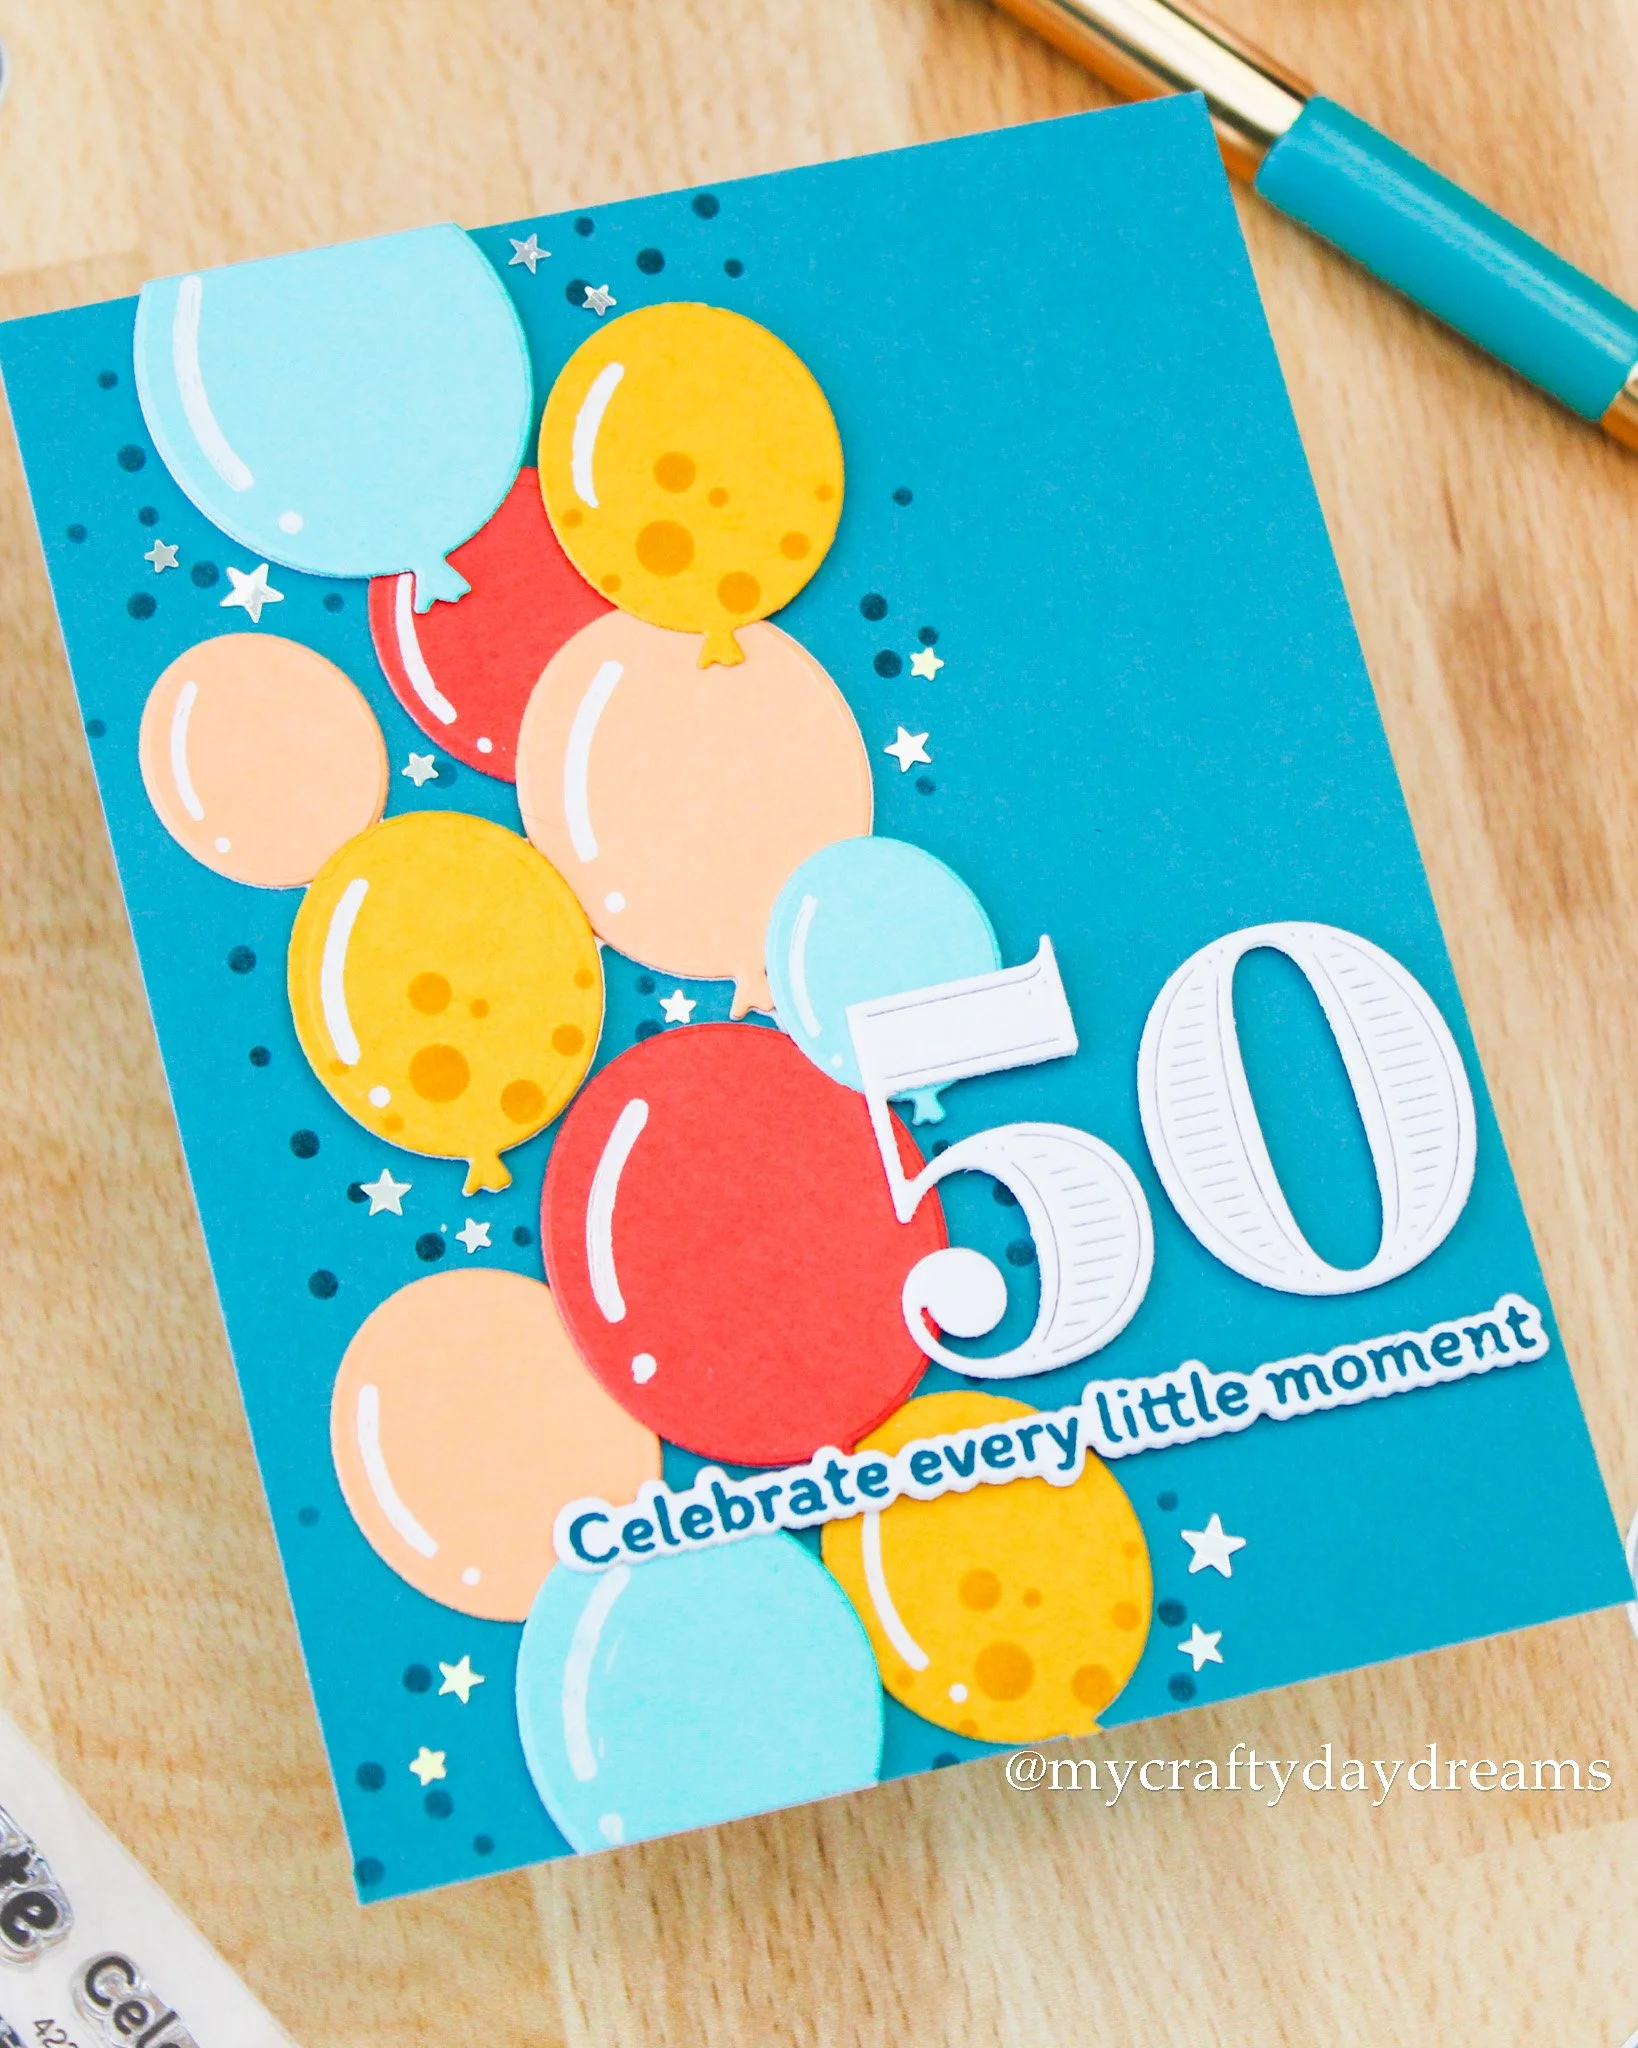
At this point, I followed my road map (the cards I made for my design work) on the balloon color arrangement. What I really like is that this layout allows the colors to bounce and travel across the page super well, so things feel pretty balanced. I also kept the ‘louder’ color, in this case Pimento, limited to just two balloons so that it wouldn’t overpower the composition. Once I was happy with where everything was going, I started adhering. Six of the balloons (all Aqua Sky, the Sunflower balloons in the upper half, and the large Pimento balloon) were all popped up on some 1mm foam squares for a little extra dimension, while the rest were glued down. The dimension isn’t crazy impactful like it would be if I used a thicker foam square, but it’s enough to make a difference!
Before I added my sentiment, I pulled the Balloon Cluster Stencil back in and grabbed my gel pen and added the white glare marks to each balloon. This detail really sells it and adds a lot of impact! When it came to my sentiment, I knew I would be using numbers as my main sentiment, as well as a subsentiment because I liked how that looked when I made floral-themed number birthday cards. I die cut the ‘5’ and ‘0’ from the Bold Numbers die set from The Greetery out of white cardstock since I thought that would pop really nicely against the background and the balloons. This number set is one of my favorites, but I think I’m also going to be on the hunt for a more modern & playful set soon! Do you have any recommendations? Let me know below!
For my subsentiment, I went with the Your Day Sentiments Combo from Waffle Flower and stamped the ‘celebrate every little moment’ greeting in Peacock ink on white cardstock. I love that doing so brought in more Peacock and adds more balance to this card! To add my sentiments to the card, I strategically added some 1mm foam squares to the ‘0’ and the curve of the ‘5’, then just added glue on the rest of it since it would be overlapping the balloons. If the ‘5’ was a bit thicker, I would have adhered the numbers with a thicker foam so they really stood out, but I’m still happy with how things turned out! For the subsentiment, I pretty much did the same thing and used 1mm foam everywhere except behind the ‘celebrate’.
To finish this card off, I wanted some stars and sparkle, and luckily enough I had the perfect embellishments in my stash from Trinity Stamps called Twinkle Twinkle. Unfortunately, when I went to make my supply list, I found out that these guys are discontinued, so I’m sorry about that! I did link some from Pretty Pink Posh that are equivalent to the smallest sized star in my photos. I did little groupings of twos around the balloon cluster, then tucked some of the small stars in gaps between the balloons. I absolutely love what these stars add to the card! It feels so festive and fun!
Now For Some Bonus Cards!
As I was talking about earlier, I adore when Waffle Flower has Die-n-stencil sets because you can use the products together for an incredible look, or separately for a totally different vibe that looks just as good! I did just that with this set of cards by creating them identically with the exception of one being fully stenciled. The color palette I used was Ivory (for the cardbases), Surfside, Starfruit, Nectar, and Sweet Pea.
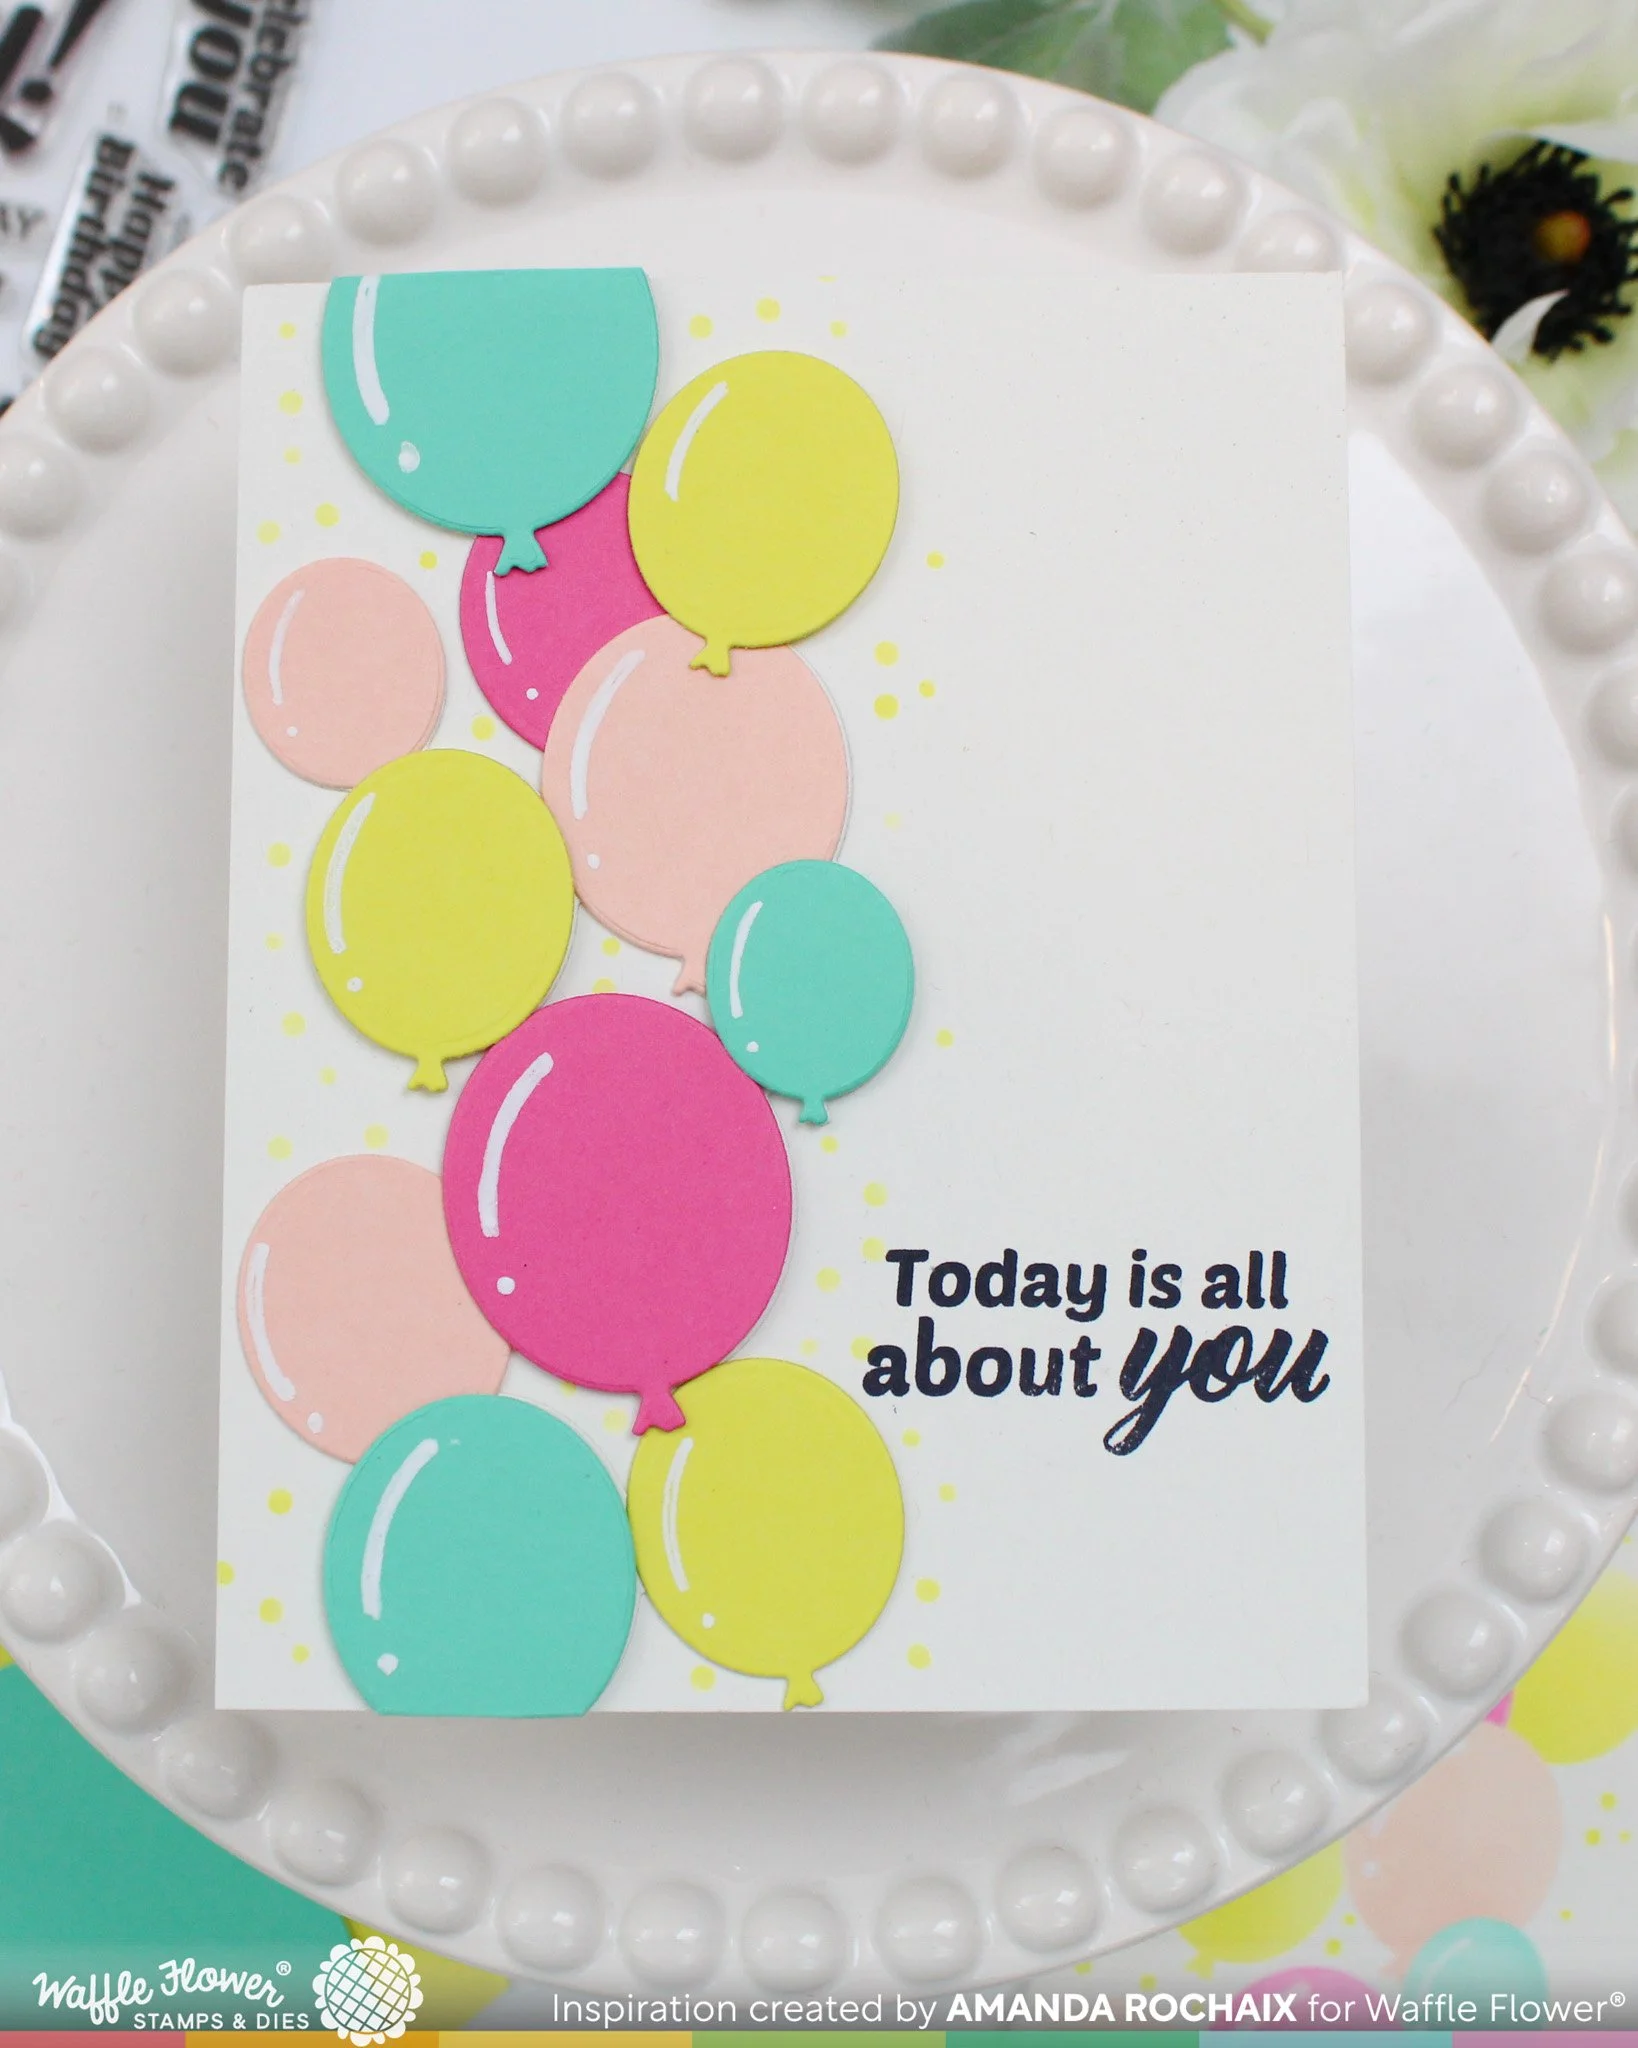
I love how fun these colors are together! For both cards I stenciled the confetti dots with Starfruit ink. Was it the best decision? I would say no. I think if I did this again I’d pick a 5th colors or use a stencil paste for those confetti dots!

For both of these cards, I used the same sentiment ‘today is all about you’ from the Your Day Sentiments Combo, which I stamped in the same place on each in Jet Black ink from Altenew. I decided to skip any embellishment on these cards since I felt the Starfruit dots were the embellishments. I also made sure to add those balloon highlights to both cards with white gel pen!
Well, that wraps up today’s post! Do you have this set?! Are you planning to pick it up?! I truly think it’s a great set to have to create birthday cards quickly & easily, and I’m sure it’ll be one I’ll be coming back to. It’s a set that’s perfect for all ages but is so fun to use for those milestone birthdays!
Thanks so much for stopping by the blog today! I hope to catch you next time with more inspiration!
Affiliate disclaimer: all links to Waffle Flower, Concord & 9th, Altenew, Scrapbook.com, and Spellbinders products are affiliate links. These links allow me to get a commission at no extra cost to you if you use them to shop! All other links provided are links to supplies and shops I am not affiliated with and do not get a commission from.