Spellbinders—Old-Fashioned Christmas Stocking Two Ways!
Hi, friends!
I’m thrilled to be sharing my first ever guest designed set of cards for Spellbinders today featuring the new Old-Fashioned Christmas Stocking die set from Simple Stories. When I saw this set, I knew I had to create with it! I really adore the cozy nostalgic vibe that it has—it reminds me a lot of the holidays when I was growing up in the late 90s and early 2000s (yes, I’m an almost 31-year-old baby). So, without further ado, let’s get into it!
A Classic Stocking
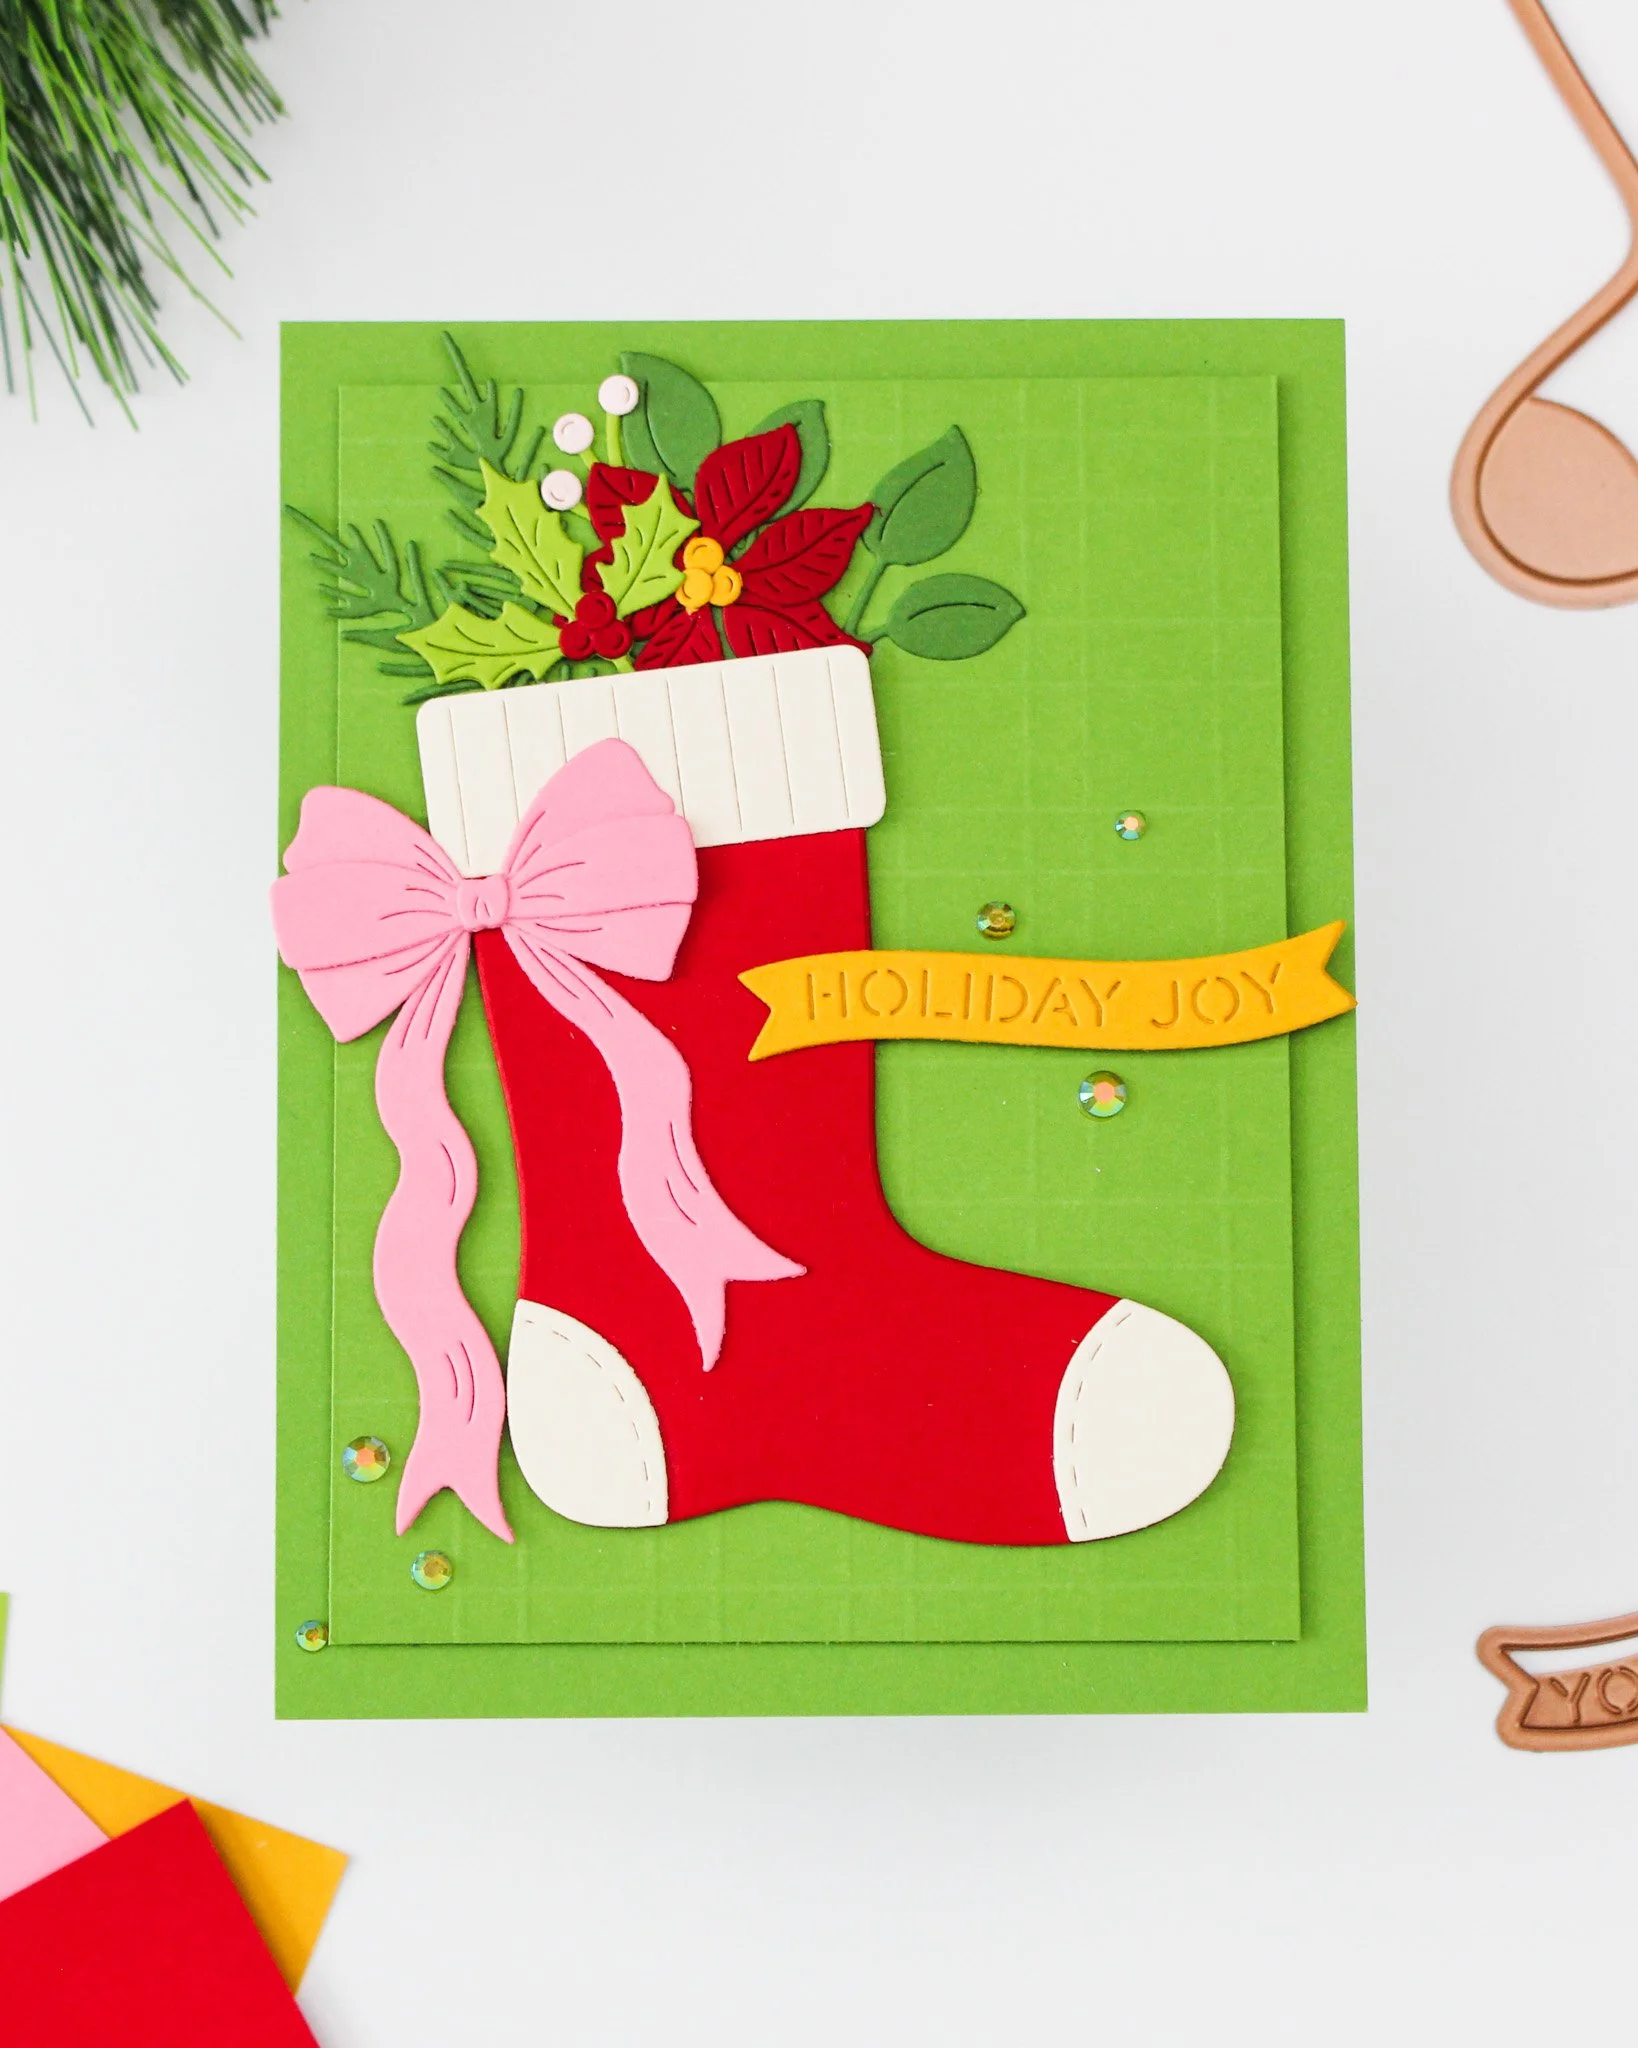
For these cards, I decided to use a pretty traditional color palette with a cozy twist, and pulled out Pomegranate, Tutu, Tuscan, Rainforest, and Fern cardstocks from Spellbinders. I love how playful this palette can lean, but that it also has those classic reds and greens. I knew when it came to this card, the stocking die cut would be the star of the show, so I started planning my background. My embossing folder and stencil collection of Spellbinders products is pretty abysmal, so I decided to create my own faux plaid embossed background using my Tim Holtz Precision Trimmer, which lets you easily score your cardstock by using the sliding score tool. This tool is such a game changer to me because tell me how I can manage to score a crooked line using a score board?!
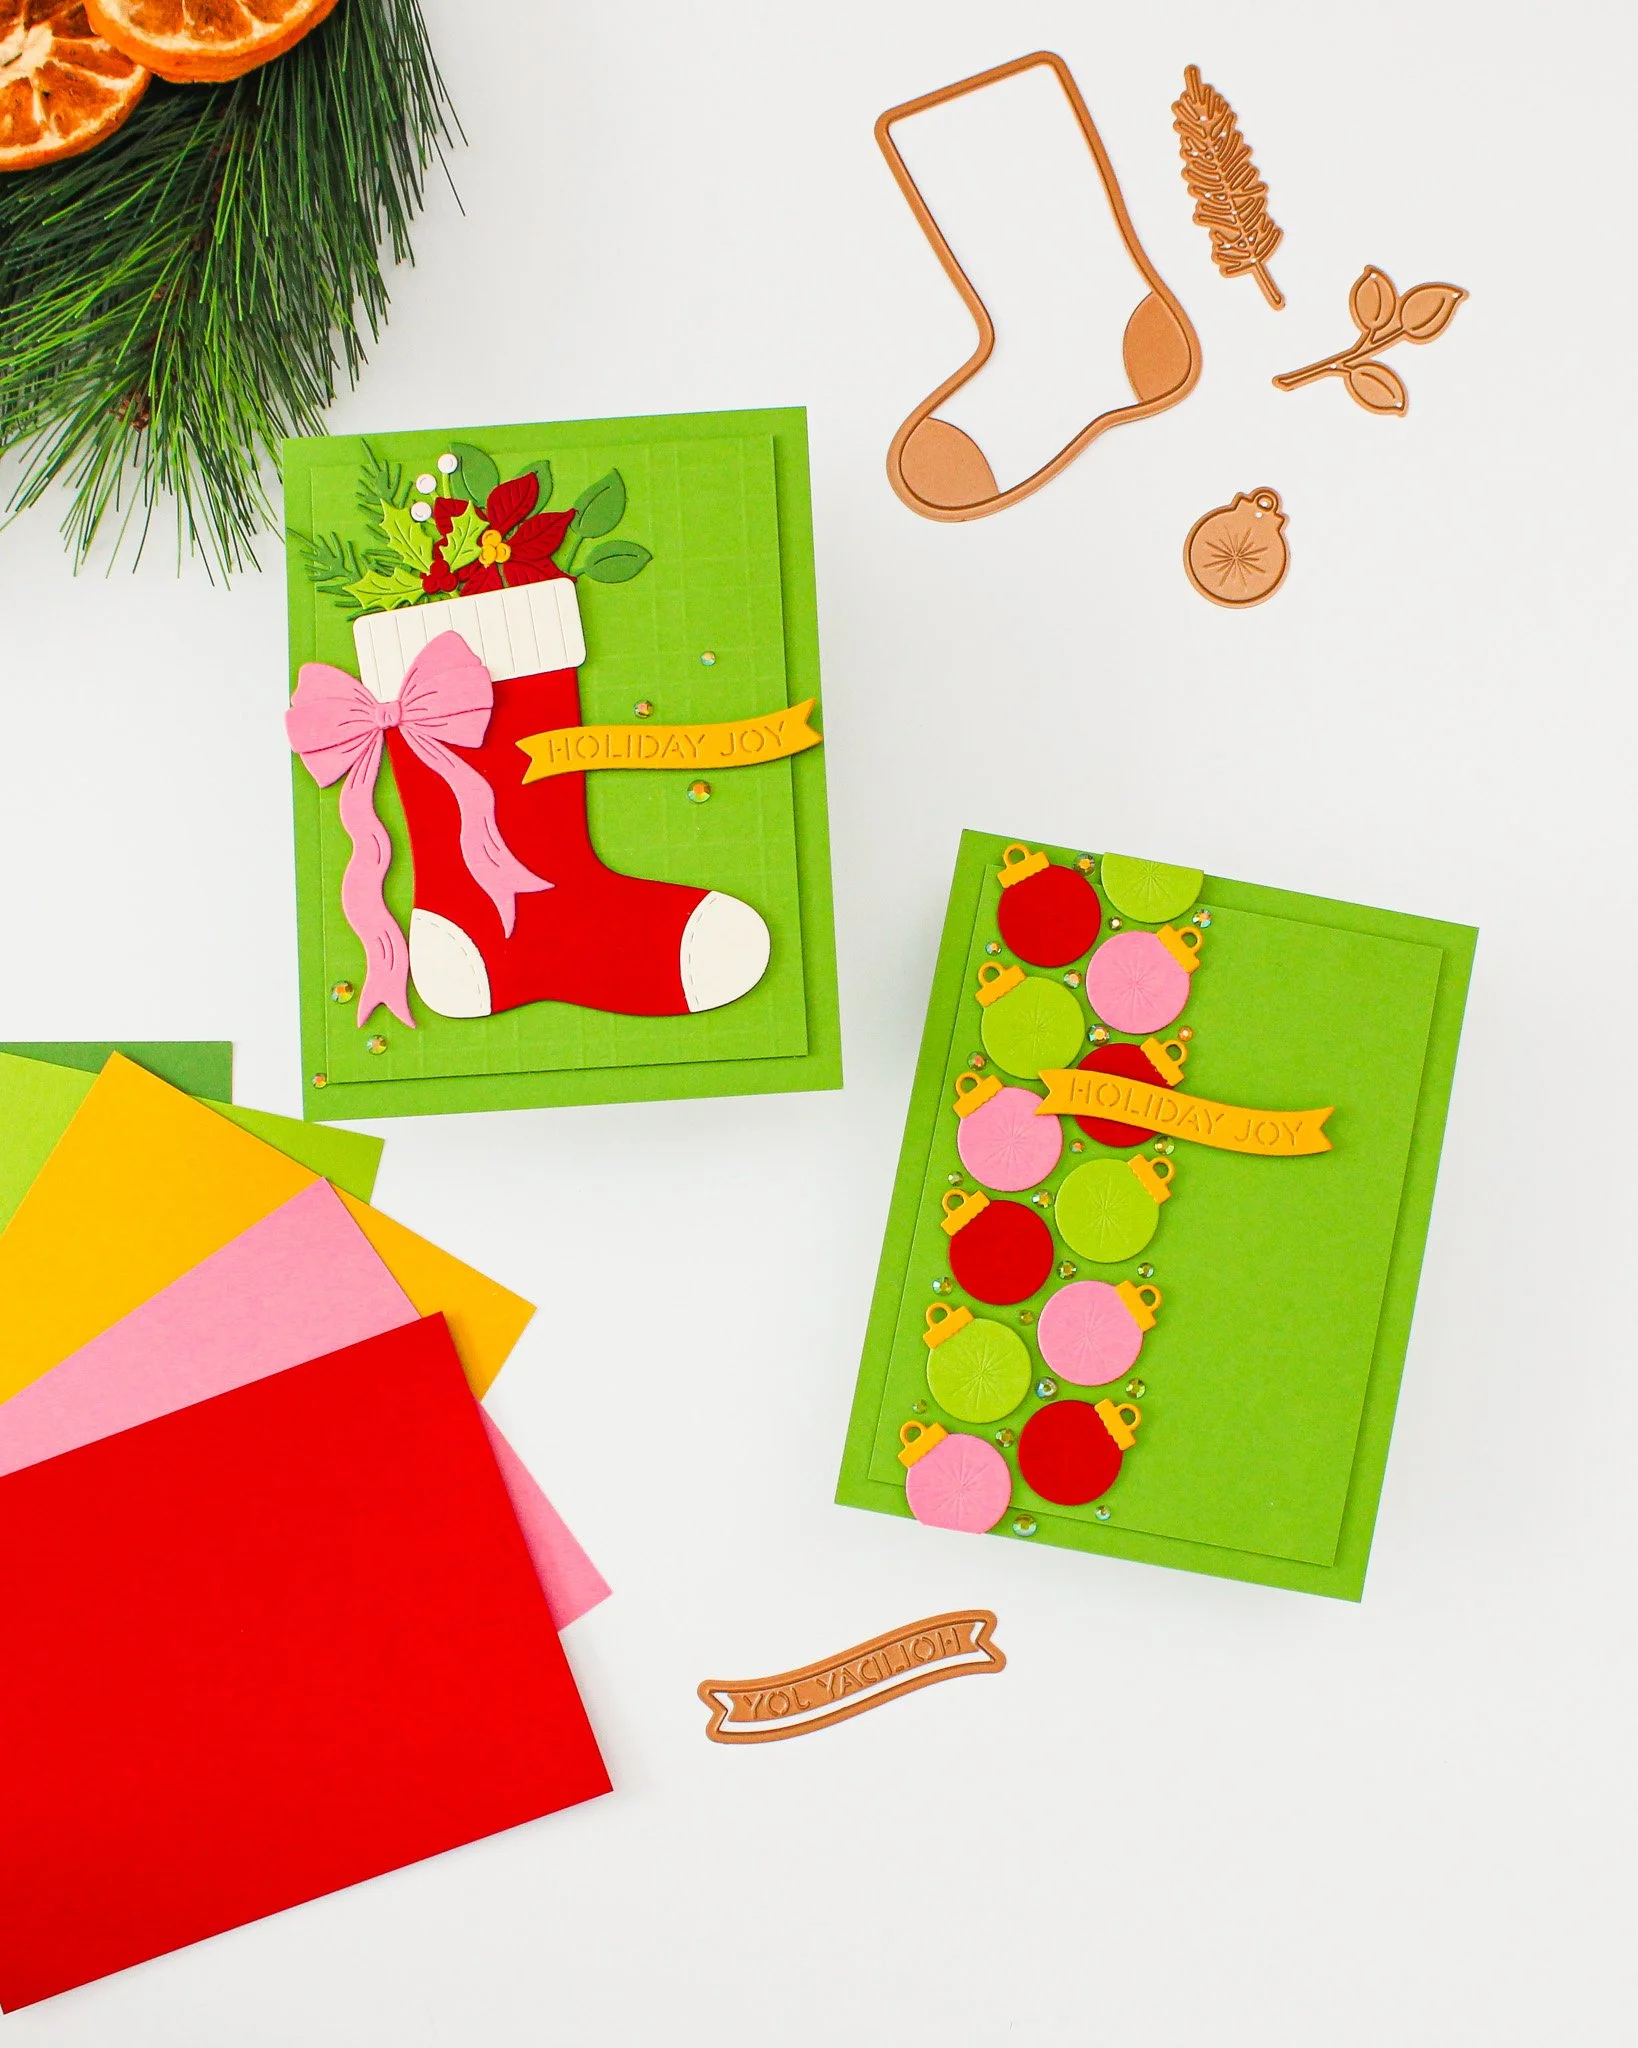
Because this was my first time creating a faux plaid like this, I pulled out some Parsley cardstock from Concord & 9th to test it out since I didn’t have much Fern/Rainforest cardstock to waste if I messed it up. I first scored with my cardstock placed vertically and created skinny ‘lines’ that were 1/4-inch thick, then spaced them out 1/2-inch. This adds such a nice variety to the background, and I was loving it! To really drive the plaid feeling home, I turned my cardstock horizontally and started scoring again following the same pattern of ‘lines’ 1/4-inch thick spaced 1/2-inch apart. Once the background was completed, I decided to use it even though it was my tester piece (it was so pretty and I was too lazy to redo it on a SB cardstock!), so I trimmed it down to 3.75 × 5-inches and matted it on an A2 panel of Parsley cardstock using 1mm foam tape with the opposite side of the cardstock facing up (so the raised texture is facing up, not the scored side if that makes sense!).
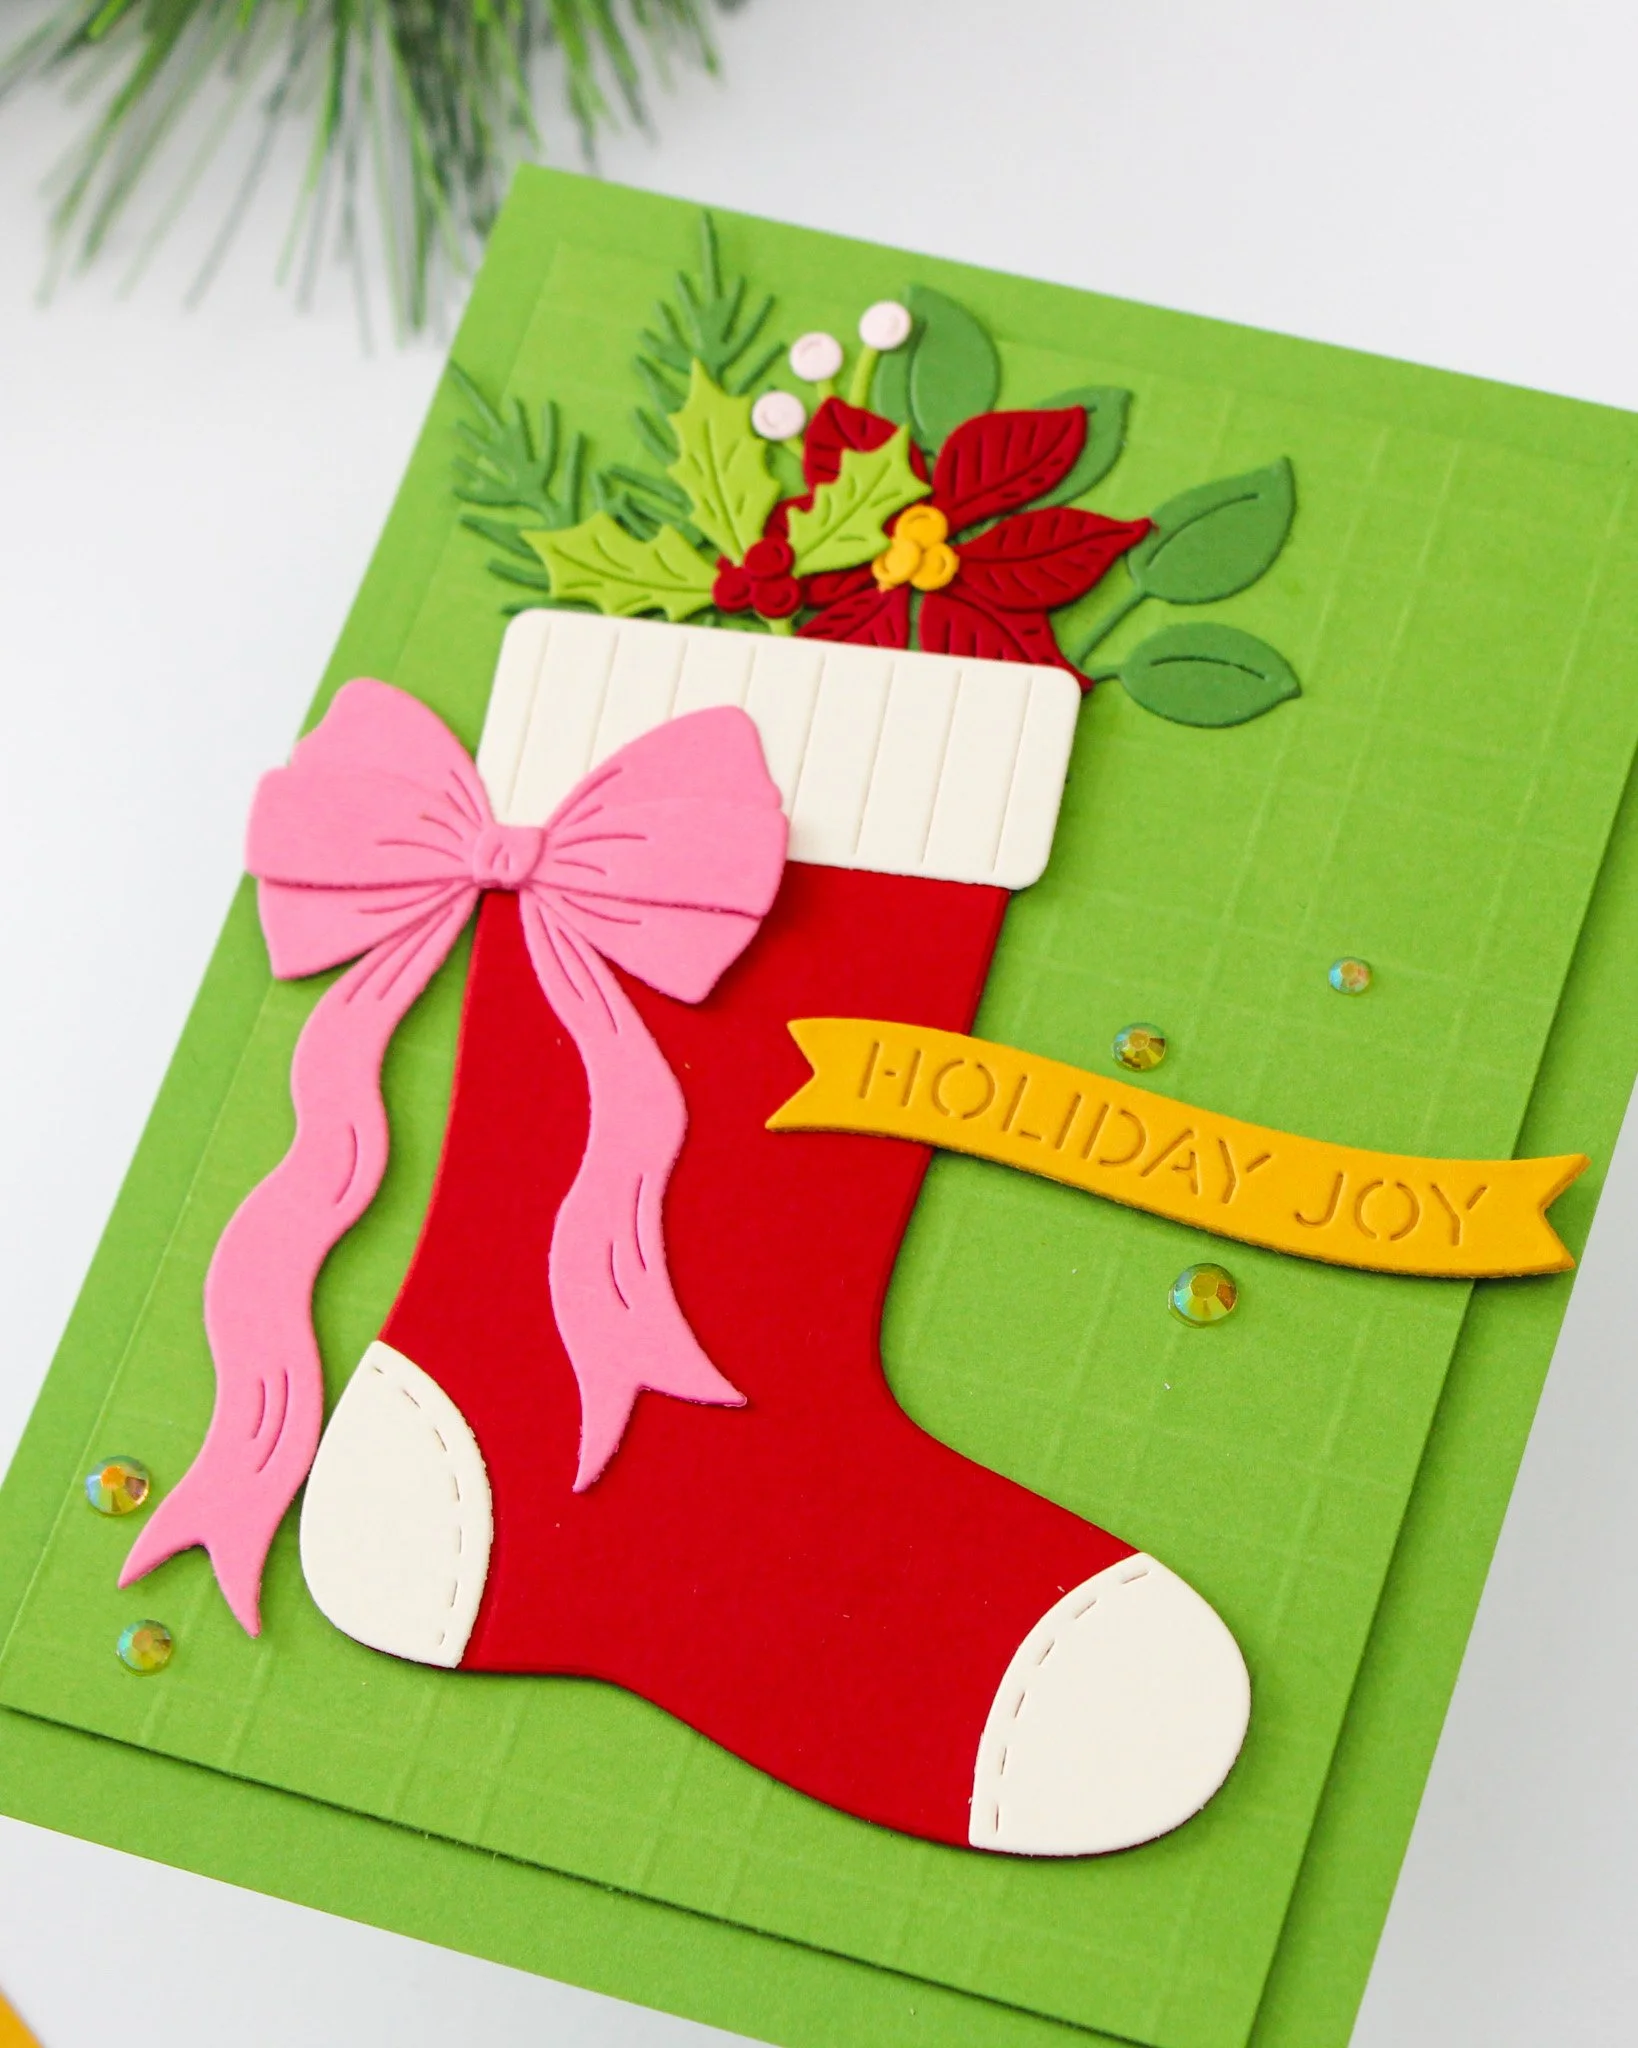
Now onto the fun part! I die cut the stocking out of Pomegranate cardstock, and the toe/heel and cuff out of Alabaster cardstock. I glued everything together, then used the stocking as a guide so I could figure out what I would be filling it with. I decided to die cut the pine and leafy stems out of Fern cardstock to add in a darker green, which also helps to add some implied dimension since it’s darker and further back in the scene. I wanted to add more greenery, so I die cut the holly stem out of Rainforest cardstock, then die cut the little berries out of Cranberry cardstock. I thought a poinsettia would be a perfect addition, so I die cut that out of Cranberry cardstock as well so that it looked a little different from the stocking, then used the circle dies on Tuscan cardstock for the center (after finishing this card I realized the flower center is paired with the ornament topper die).
Things were looking really good, so I hovered the stocking on the cardfront and glued the greenery down. I felt like a little more greenery was needed, so I die cut the berry stem out of Rainforest cardstock, trimmed it down, topped it with Chiffon berries, and snuck it under the poinsettia. I popped the stocking up on some 1mm foam tape, then stuck it down. I wanted to add a pop of pink to the card, so I die cut the bow out of Tutu cardstock and stuck it down on the left edge of the stocking, letting it hang over my cropped panel to the edge of the card. Last but not least was the sentiment. I die cut the included sentiment banner out of Tuscan cardstock to bring more yellow to the card and stuck it down so it would overhang the right side of the cropped panel. I love how this looks! All that I thought it was missing was some shine, so I pulled out my Holiday Mix of Buttons Galore & More embellishments and glued down some gems around the sentiment and by the heel of the stocking.
Tiny Die Cuts Are Important, Too!!
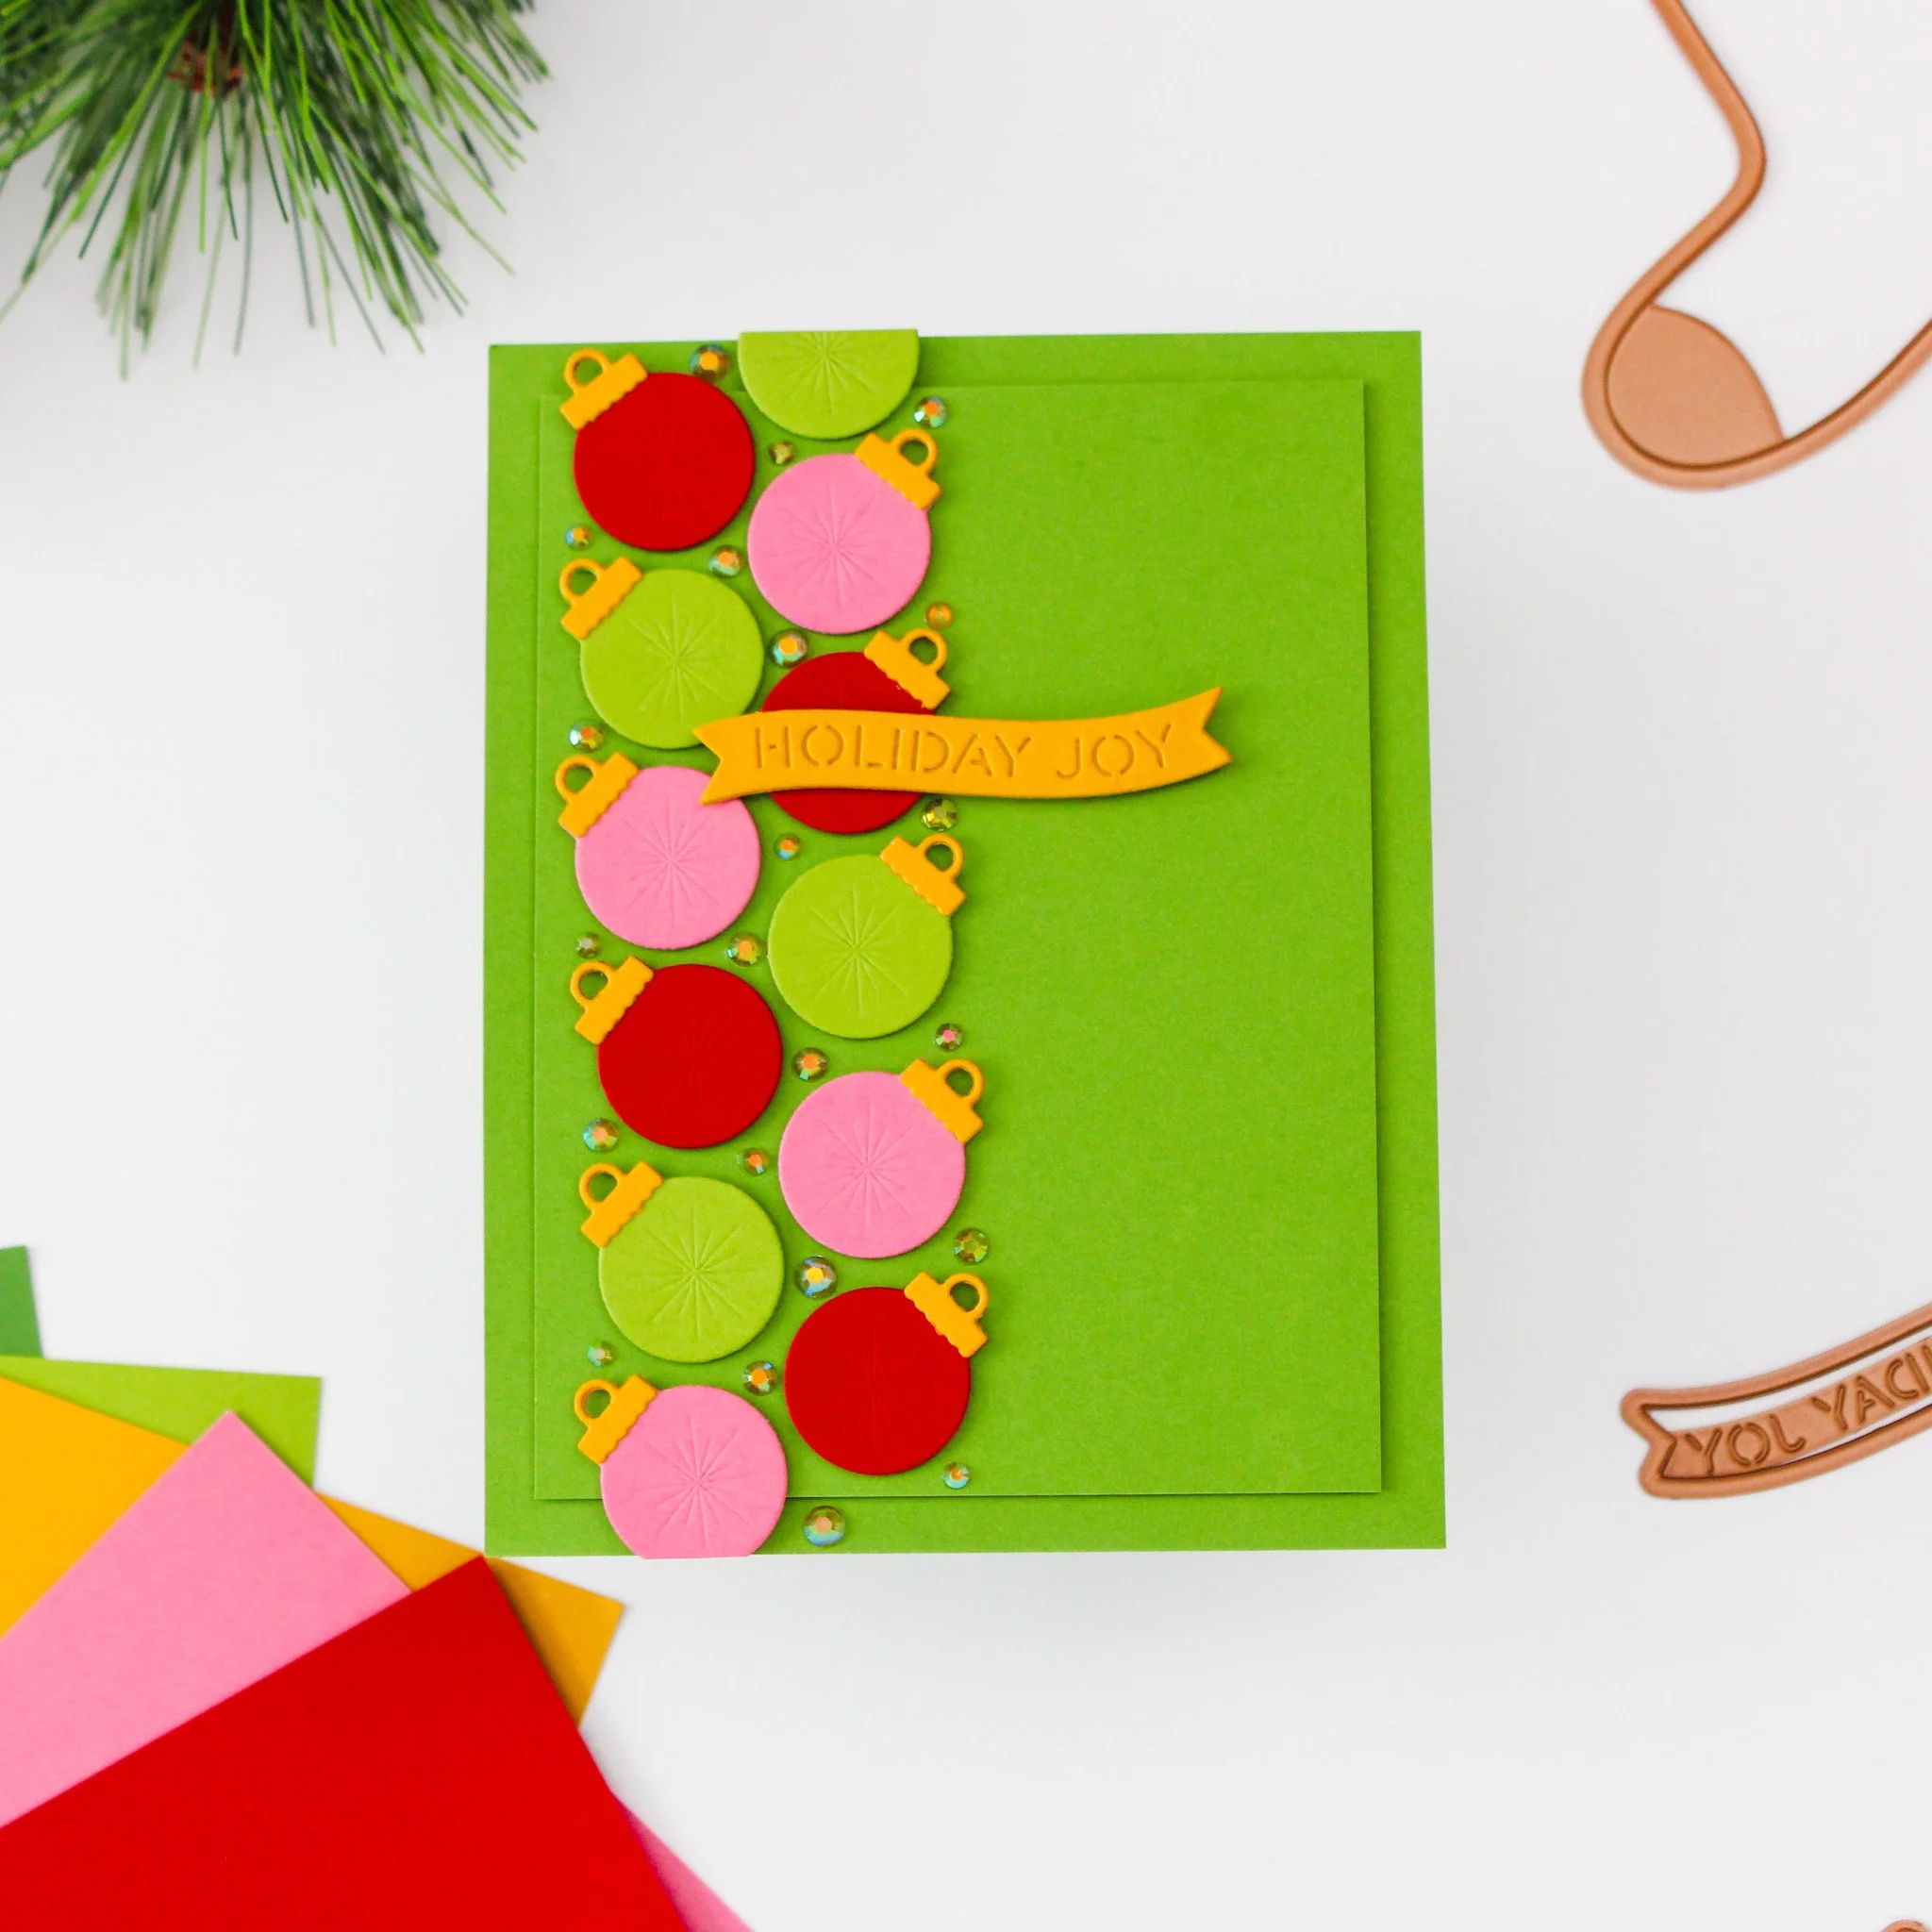
When I first saw this die set, I loved the ornament in it. I immediately knew I wanted to make a background of ornaments and use the included sentiment banner for a festive card that got a little more mileage/a different look out of the die set. As you can see, my vision changed a little bit, and instead, I made a strip of ornaments rather than a background. I decided to stay cohesive with the last card to make a set, so I used two panels of Parsley cardstock, one cut to 3.75 × 5-inches, and matted it using 1mm foam tape.
I die cut all of my cute little ornaments out using Pomegranate, Tutu, and Rainforest cardstocks for the bulbs, and Tuscan cardstock for the toppers. I once again decided on a Tuscan sentiment, so I got that die cut and ready to be adhered. For the layout of the ornaments, I started at the top close to a quarter of an inch in with a Pomegranate bulb, then nestled a Tutu one below it and at an angle, followed by a Rainforest one leaning the opposite way. I repeated the pattern, adhering the ornaments with 1mm foam squares, to the bottom of the card then filled in the gap at the top and bottom with two more ornaments following the color pattern. I popped the sentiment up on 1mm foam so it stood out from the ornaments and stuck it down in the middle of the card.
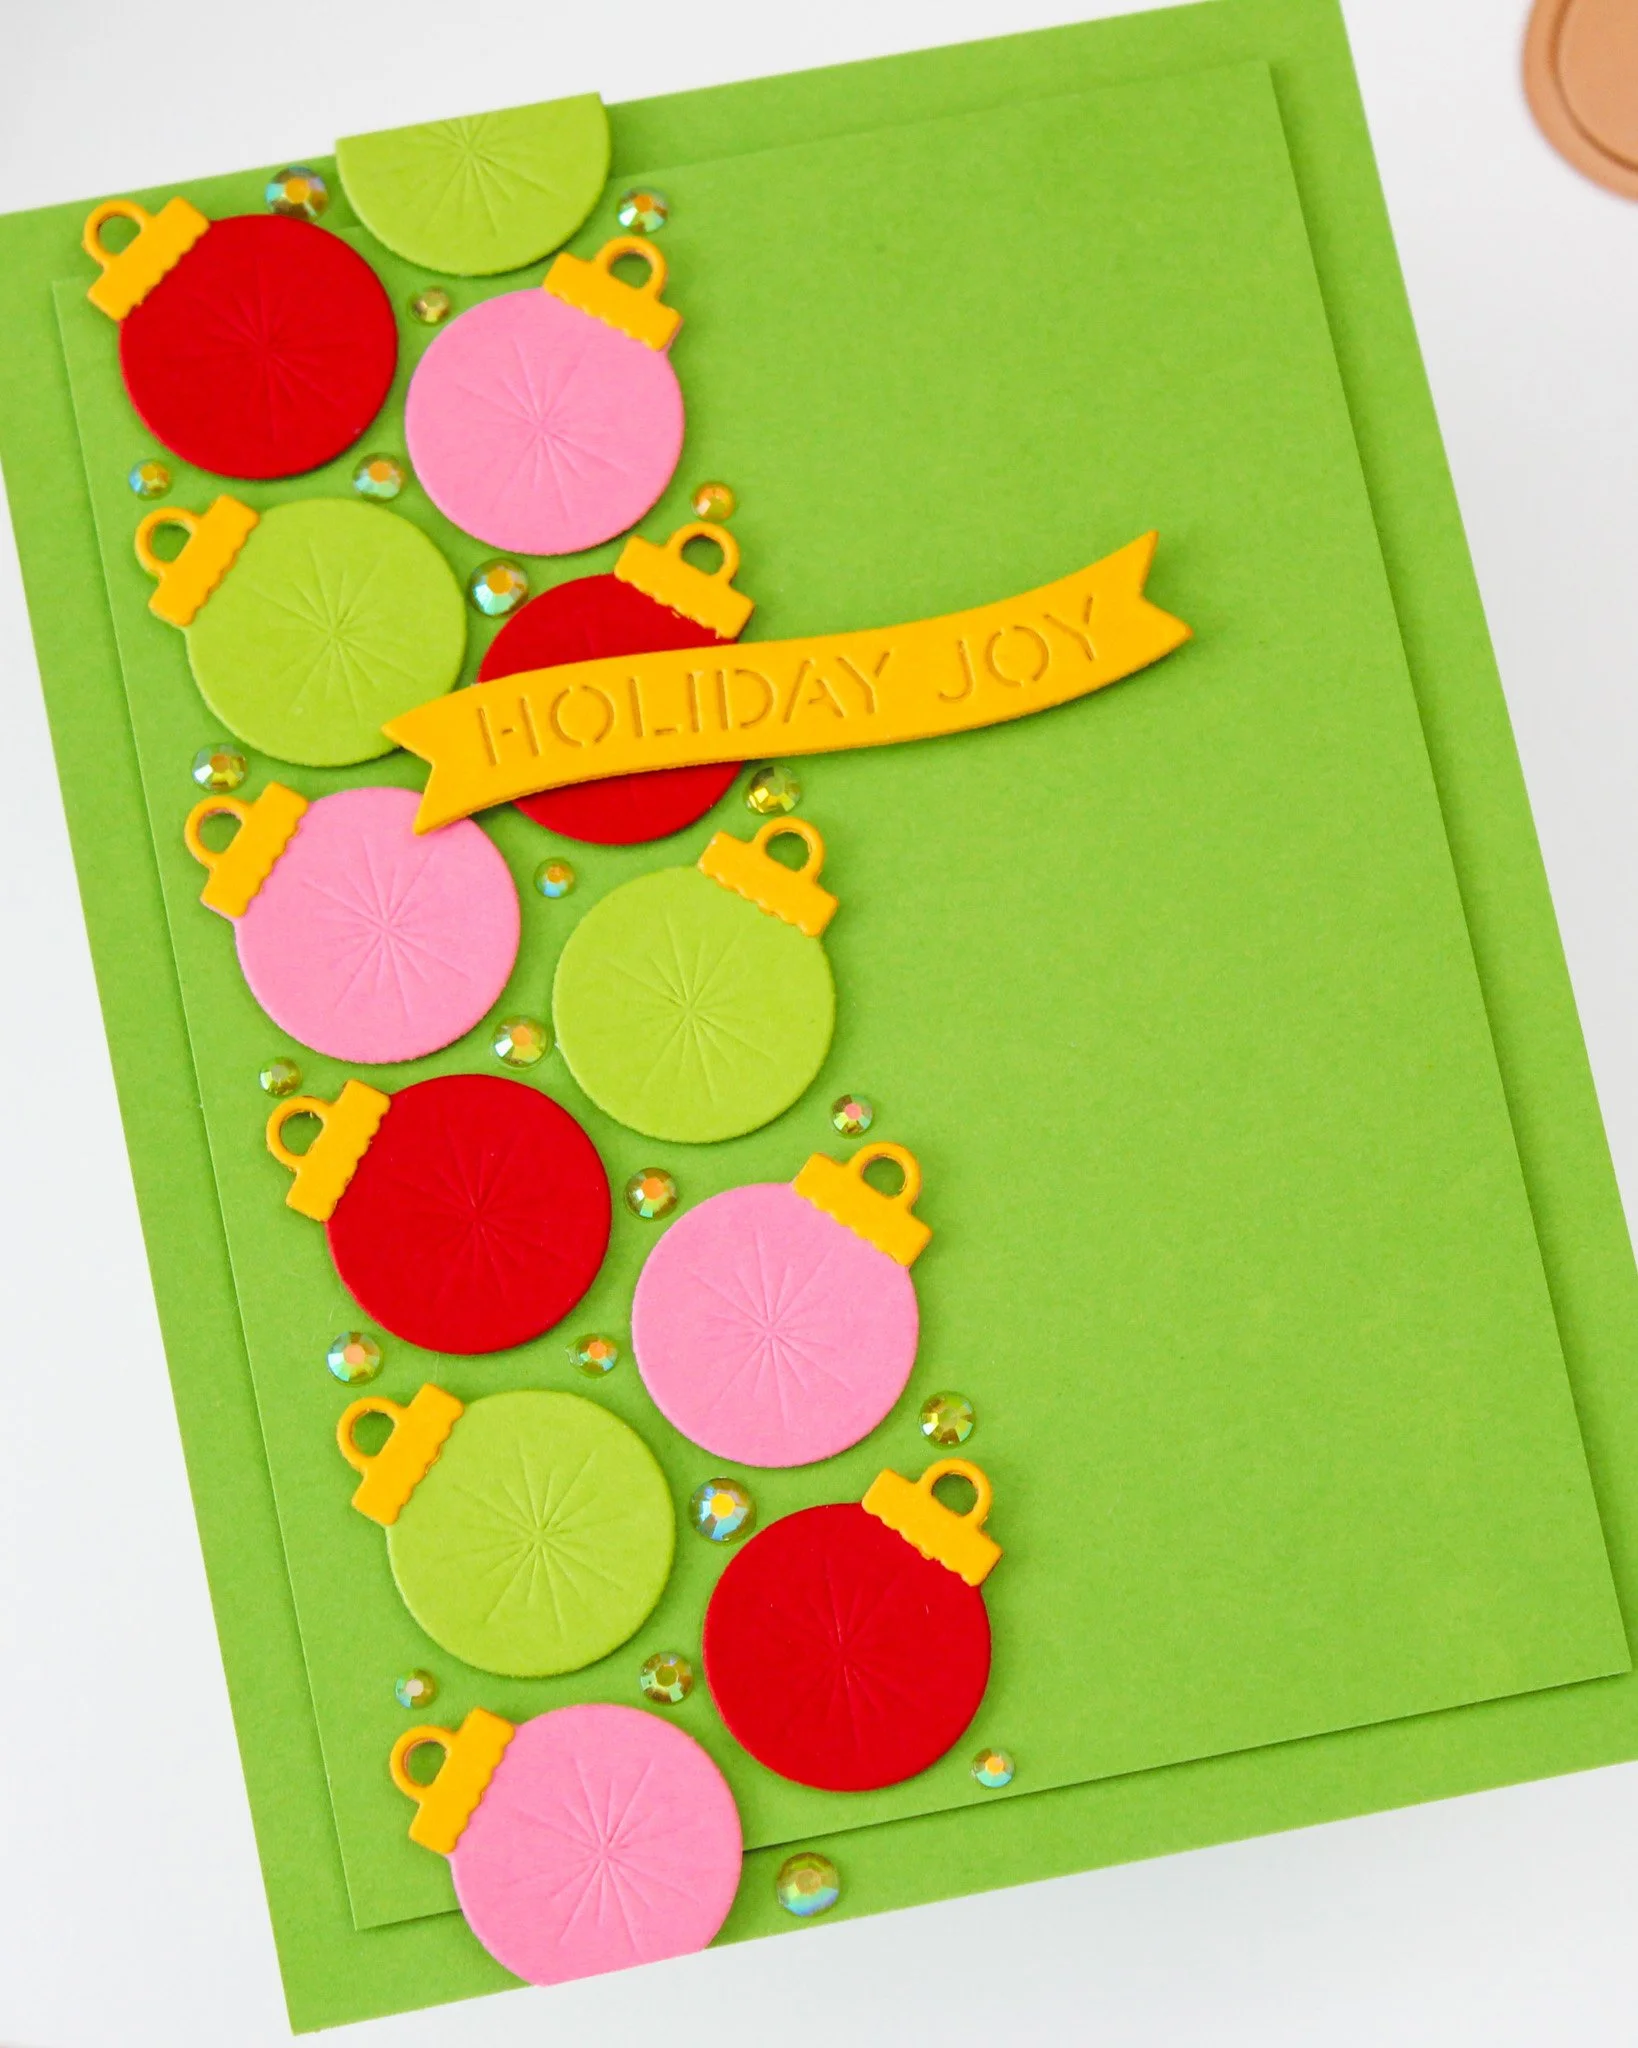
From here, all that was left was to sparkle it up! I pulled out the same gems I had used in the first card and added them all around the ornaments. Is it too much? Possibly. But it does pair with the sentiment by bringing some joy!
That wraps up my two cards featuring the Old-Fashioned Christmas Stocking Die! I had a lot of fun creating with this set, especially making a card with the ornament die and showing you that you can get more mileage out of those supporting dies! I know I don’t think to do that too often, so it felt super nice! Are you guys making progress on your Christmas cards?! I think I may be up to 15 or so now, so stay tuned for some great projects next month! 😉👀
Affiliate disclaimer: all links to Waffle Flower, Concord & 9th, Altenew, Scrapbook.com, and Spellbinders products are affiliate links. These links allow me to get a commission at no extra cost to you if you use them to shop! All other links provided are links to supplies and shops I am not affiliated with and I do not get a commission from