

Waffle Flower- Postage Collage Frames Christmas Card
Happy New Year, friends! I hope your holiday season was exactly what you wanted it to be, and I hope this year is off to a great start for you.
I’m kicking mine off typing away on a nice new laptop that I’m hoping will keep me blogging more regularly, so stay tuned to see if that plays out 😅. Today I’m super excited to share a very detailed 5x7 with you featuring a new product from Waffle Flower this month: the Postage Collage Frames dies. This die set is quickly becoming a favorite of mine, it allows you to add cute little frames around Postage Collage scenes!! I never knew I needed this, but now that it exists, I’m thrilled! Anyway, onto this sweet Christmas card!
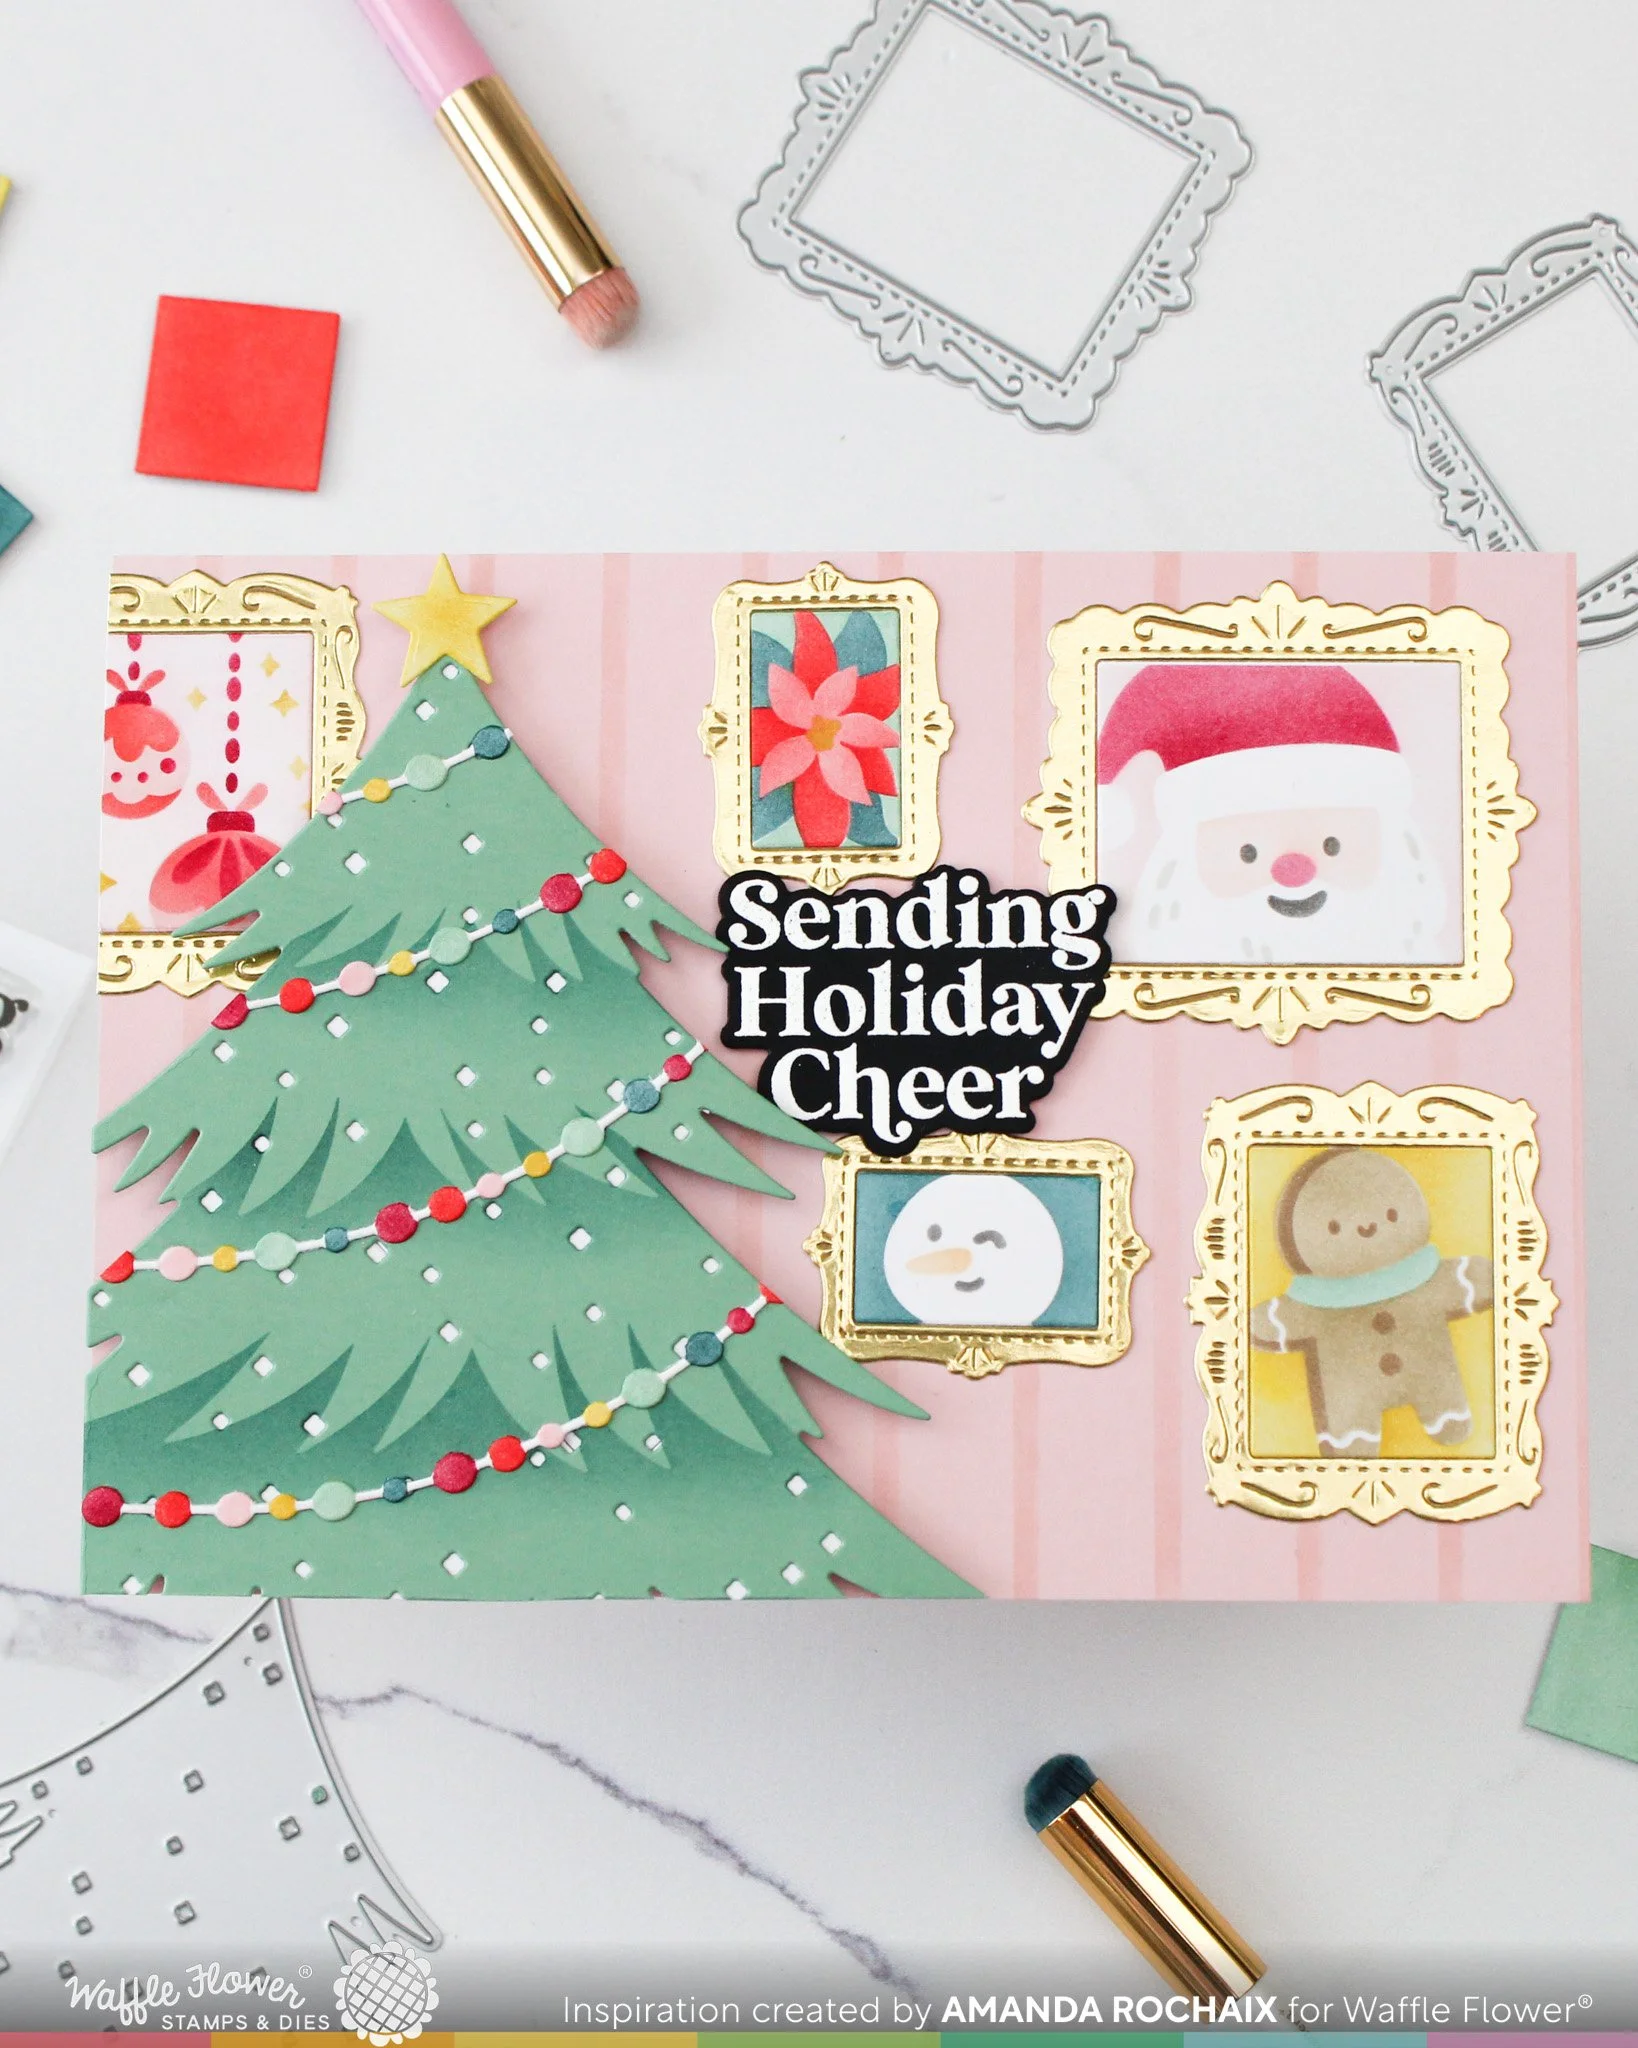
Now, you might see this card and feel super overwhelmed by what I’ve got going on, and truthfully, I get it. I’ve combined a loooooooot of previously released products with the Postage Collage Frames to make this cozy Christmas living room vibe of a card. Keep in mind, if you recreate this, you can do as little or as much as you want! So if you don’t have some of the Postage Collage sets or the Retro Christmas Tree die-n-stencil, you could totally make this card as a vertical A2 as if it’s a wall with as few or as little Postage Collage scenes on it.
Okay, now I’m going to build things from the base out! I started off with a 5x7 piece of Ballet Slipper cardstock from Concord & 9th. I really wanted to add some ‘wallpaper’ to the scene, so I dug through my stash and pulled out the Two-Step Mixed Stripes stencil. As the name says, this stencil is comprised of two different stripe thicknesses on two stencil layers, and I decided I only wanted to use the skinny stripes, so I used that stencil. The cool thing about this set is that each stencil has a set of guidelines that allows you to seamless move your stencil across the page and line up with the stripes you already stenciled, which made stenciling this with Ballet Slipper ink card front super easy (and yay for stretching supplies!)! Love this tone-on-tone look!
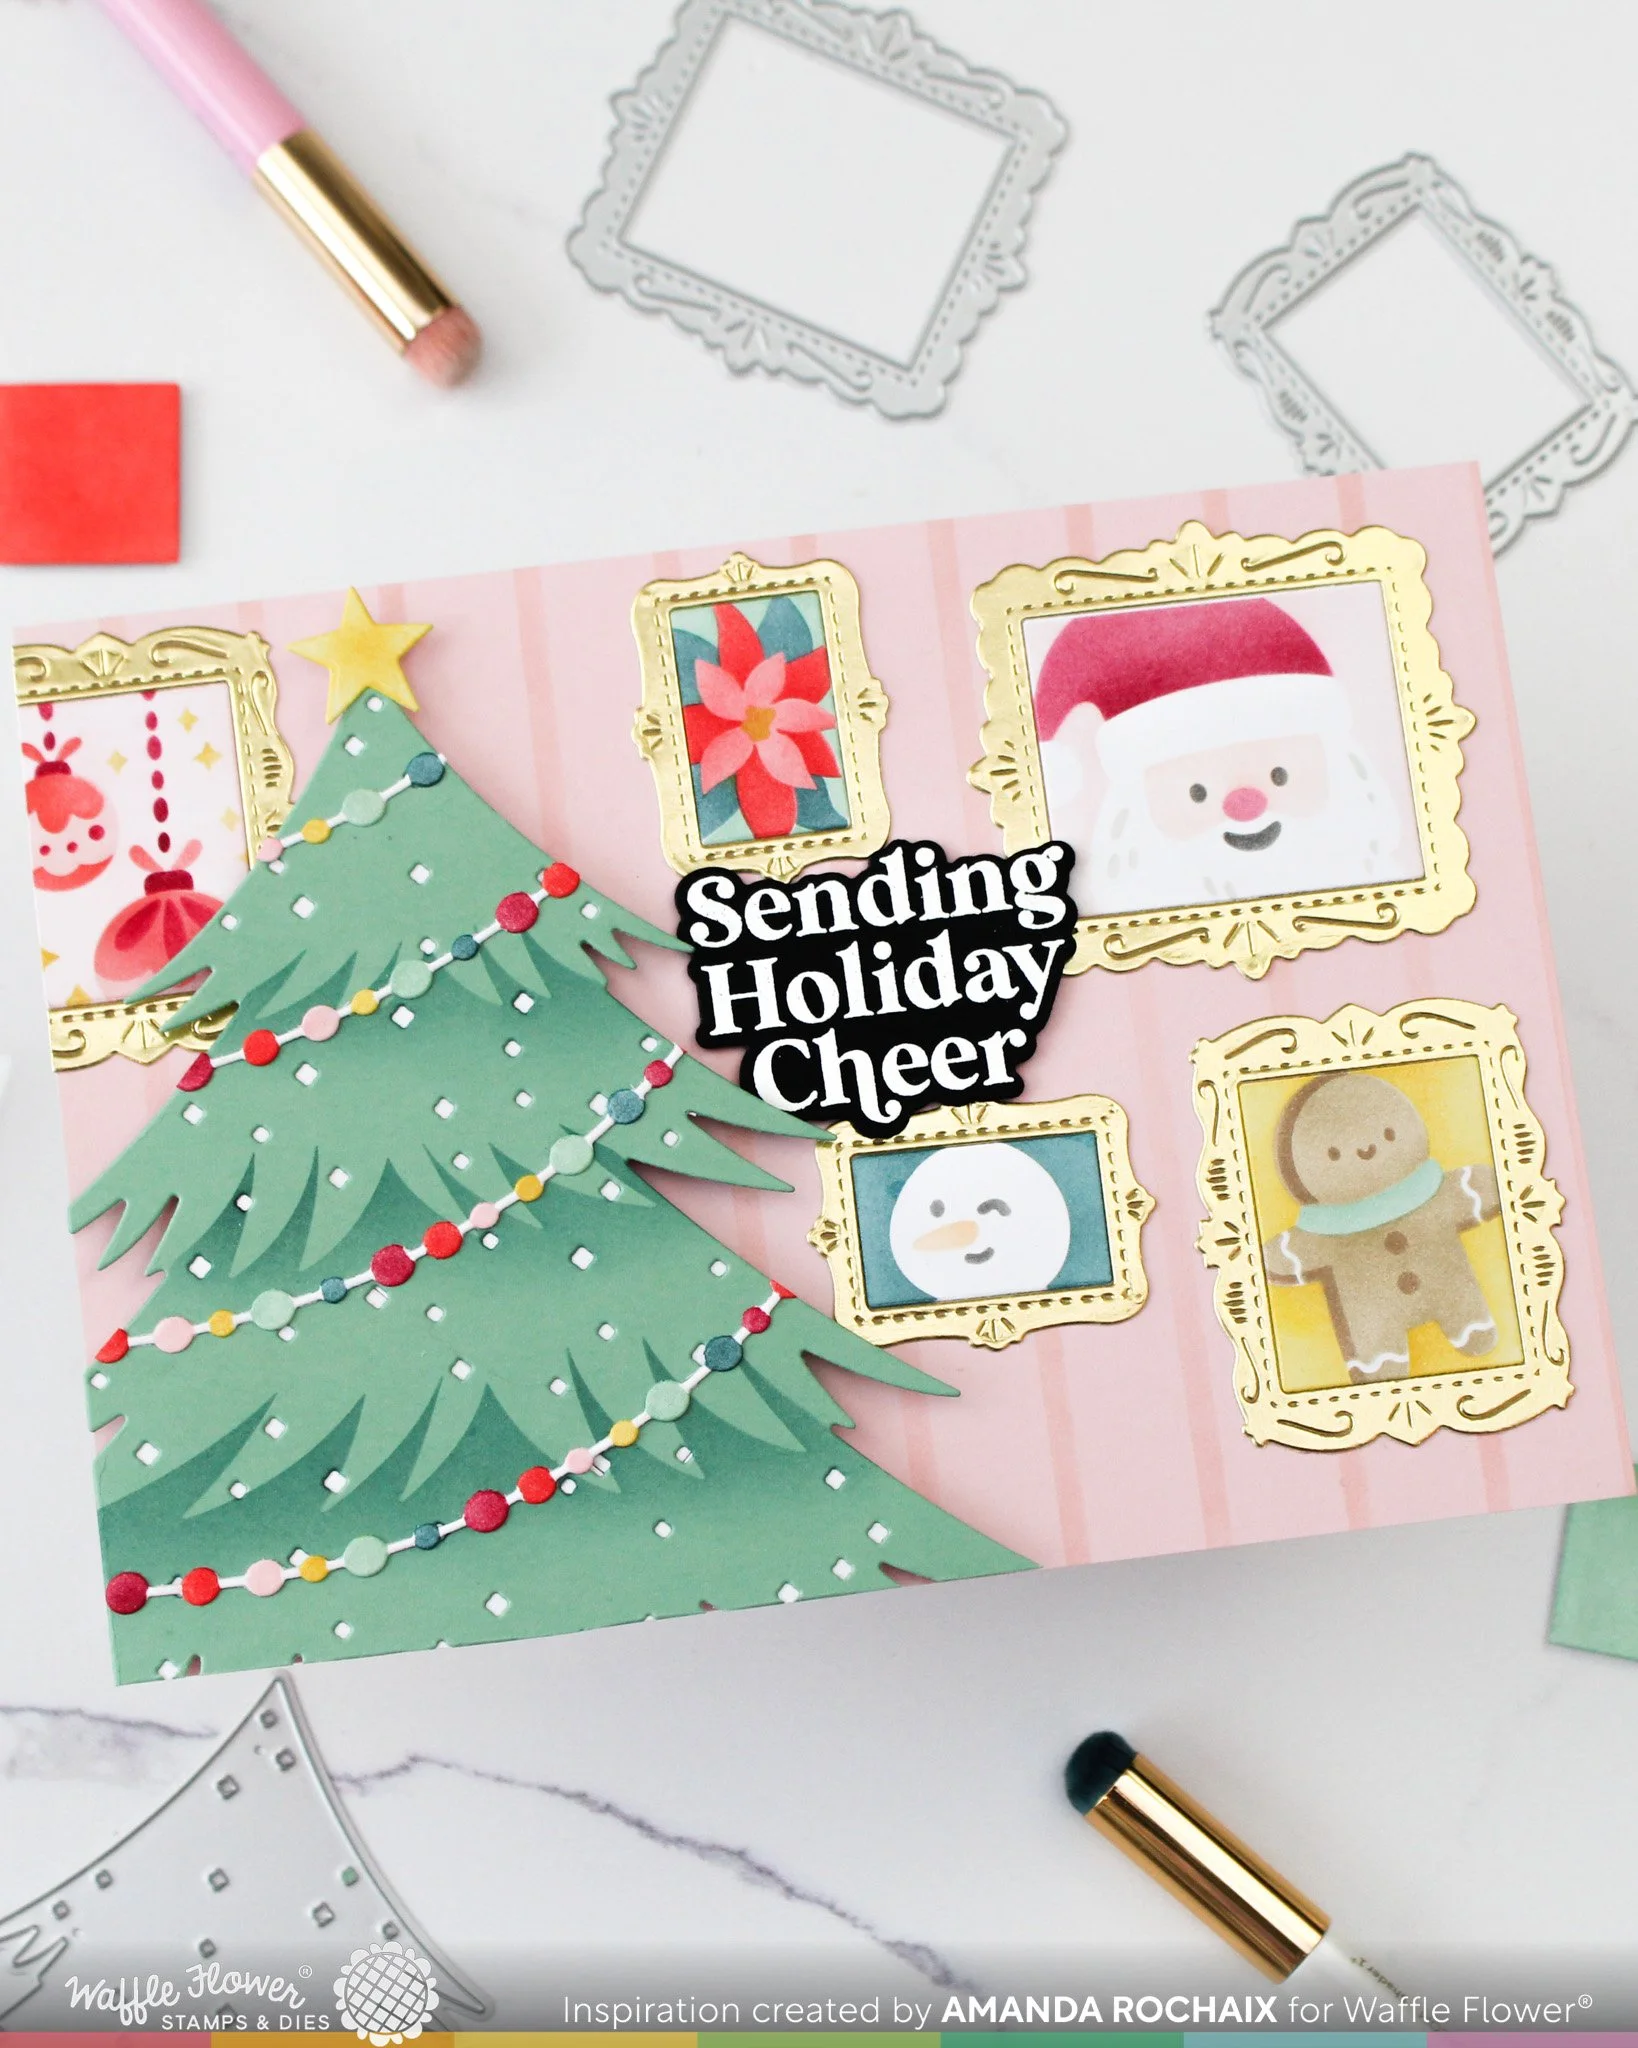
At this point, I remembered I had the Retro Christmas Tree Die-n-stencil in my stash, and I thought it would be perfect for this card, so I pulled it out and die cut it out of Sea Glass cardstock from Concord & 9th. I used the stencil to add shading on the underside of tiered sections with Eucalyptus ink for another little bit of tone-on-tone action. I also remembered that from the 2025 holiday release, the Birdie Friends Die-n-stencil had a string of lights/garland die, so I pulled that out and die cut a few out of white cardstock. Here is where I made my life difficult haha, I masked off each little circle and blended them in the order of Cranberry, Poppy, Ballet Slipper, Sunflower, Eucalyptus, and Rainforest. You totally don’t have to be this detailed, but I looove that color palette, and I really feel like it made the tree pop.
Since I loved Cranberry, Poppy, Ballet Slipper, Sunflower, Eucalyptus, and Rainforest together so much, I stuck with that palette for my Postage Collage scenes. As I said, I did get quite a bit extra with this next part. I pulled out 5 Christmas Postage Collage stencils and selectively stenciled a scene from each. Working left to right in this picture, I used the Postage Collage Christmas stencil and the long skinny scene from it and stenciled it in the second smallest Postage Collage block (the first one in the upper left of the PC die). The next scene is the smallest scene from the Postage Collage Poinsettia stencil, which for my vision to work, I turned 90-degrees, and I don’t think it looks too bad at this orientation!
Next up is that cute little Santa face (which was my take on vintage Santa wall art lol) which is from the Postage Collage Dear Santa stencil. The winking snowman is from the Postage Collage Snowman stencil, and the gingerbread is from the Postage Collage Gingerbread stencil. For each of the scenes, I really just focused on sticking to my color palette and alternating which color from it was dominant in each one. For each of the frames, I die cut the corresponding Postage Collage Frame dies out of matte gold cardstock from Simon Says Stamp.
With all the bits and bobs ready to go, assembly was pretty easy! Since I was working with the pink striped panel being a living room wall, I glued each of the Postage Collage scenes down. To make this a little easier with the frames, you can do what I did and use some low-tack tape and put a piece across the back of the frame and the Postage Collage scene so you can glue it all at once.

Next up was the tree, which I popped up on some thick foam squares so that the dimension could really pack a punch and it would stick out from the ‘wall’. This, to me, really sells the scene because it makes you feel like you’re walking into a living room where you have a gorgeous tree and some really fun Christmas art on the wall! To make things a little more mail-able, you could definitely cut a handful of trees and glue them on the back of the tree, but I went for ease, which was foam tape.
All that was left to wrap this card up was a sentiment. I chose the ‘Sending Holiday Cheer’ sentiment from the Holiday Cheer v2 stamp set, white heat embossed it on black cardstock, used the coordinating die, then popped it up on some thin foam squares. I really like the variety of dimension on this card!!
That’s all that I’ve got for you today! I hope you love this card as much as I do! 💗
Affiliate disclaimer: all links to Waffle Flower, Concord & 9th, Altenew, Scrapbook.com, and Spellbinders products are affiliate links. These links allow me to get a commission at no extra cost to you if you use them to shop! All other links provided are links to supplies and shops I am not affiliated with and I do not get a commission from.
