

Pretty Pink Posh— A Cute & Frosty Penguin Mug!
Hello from a very chilly Michigan!
This card perfectly encapsulates what we’ve been feeling for much of January— lots of below zero temps & wind chills, plus lots of snow, so it felt just right to share!
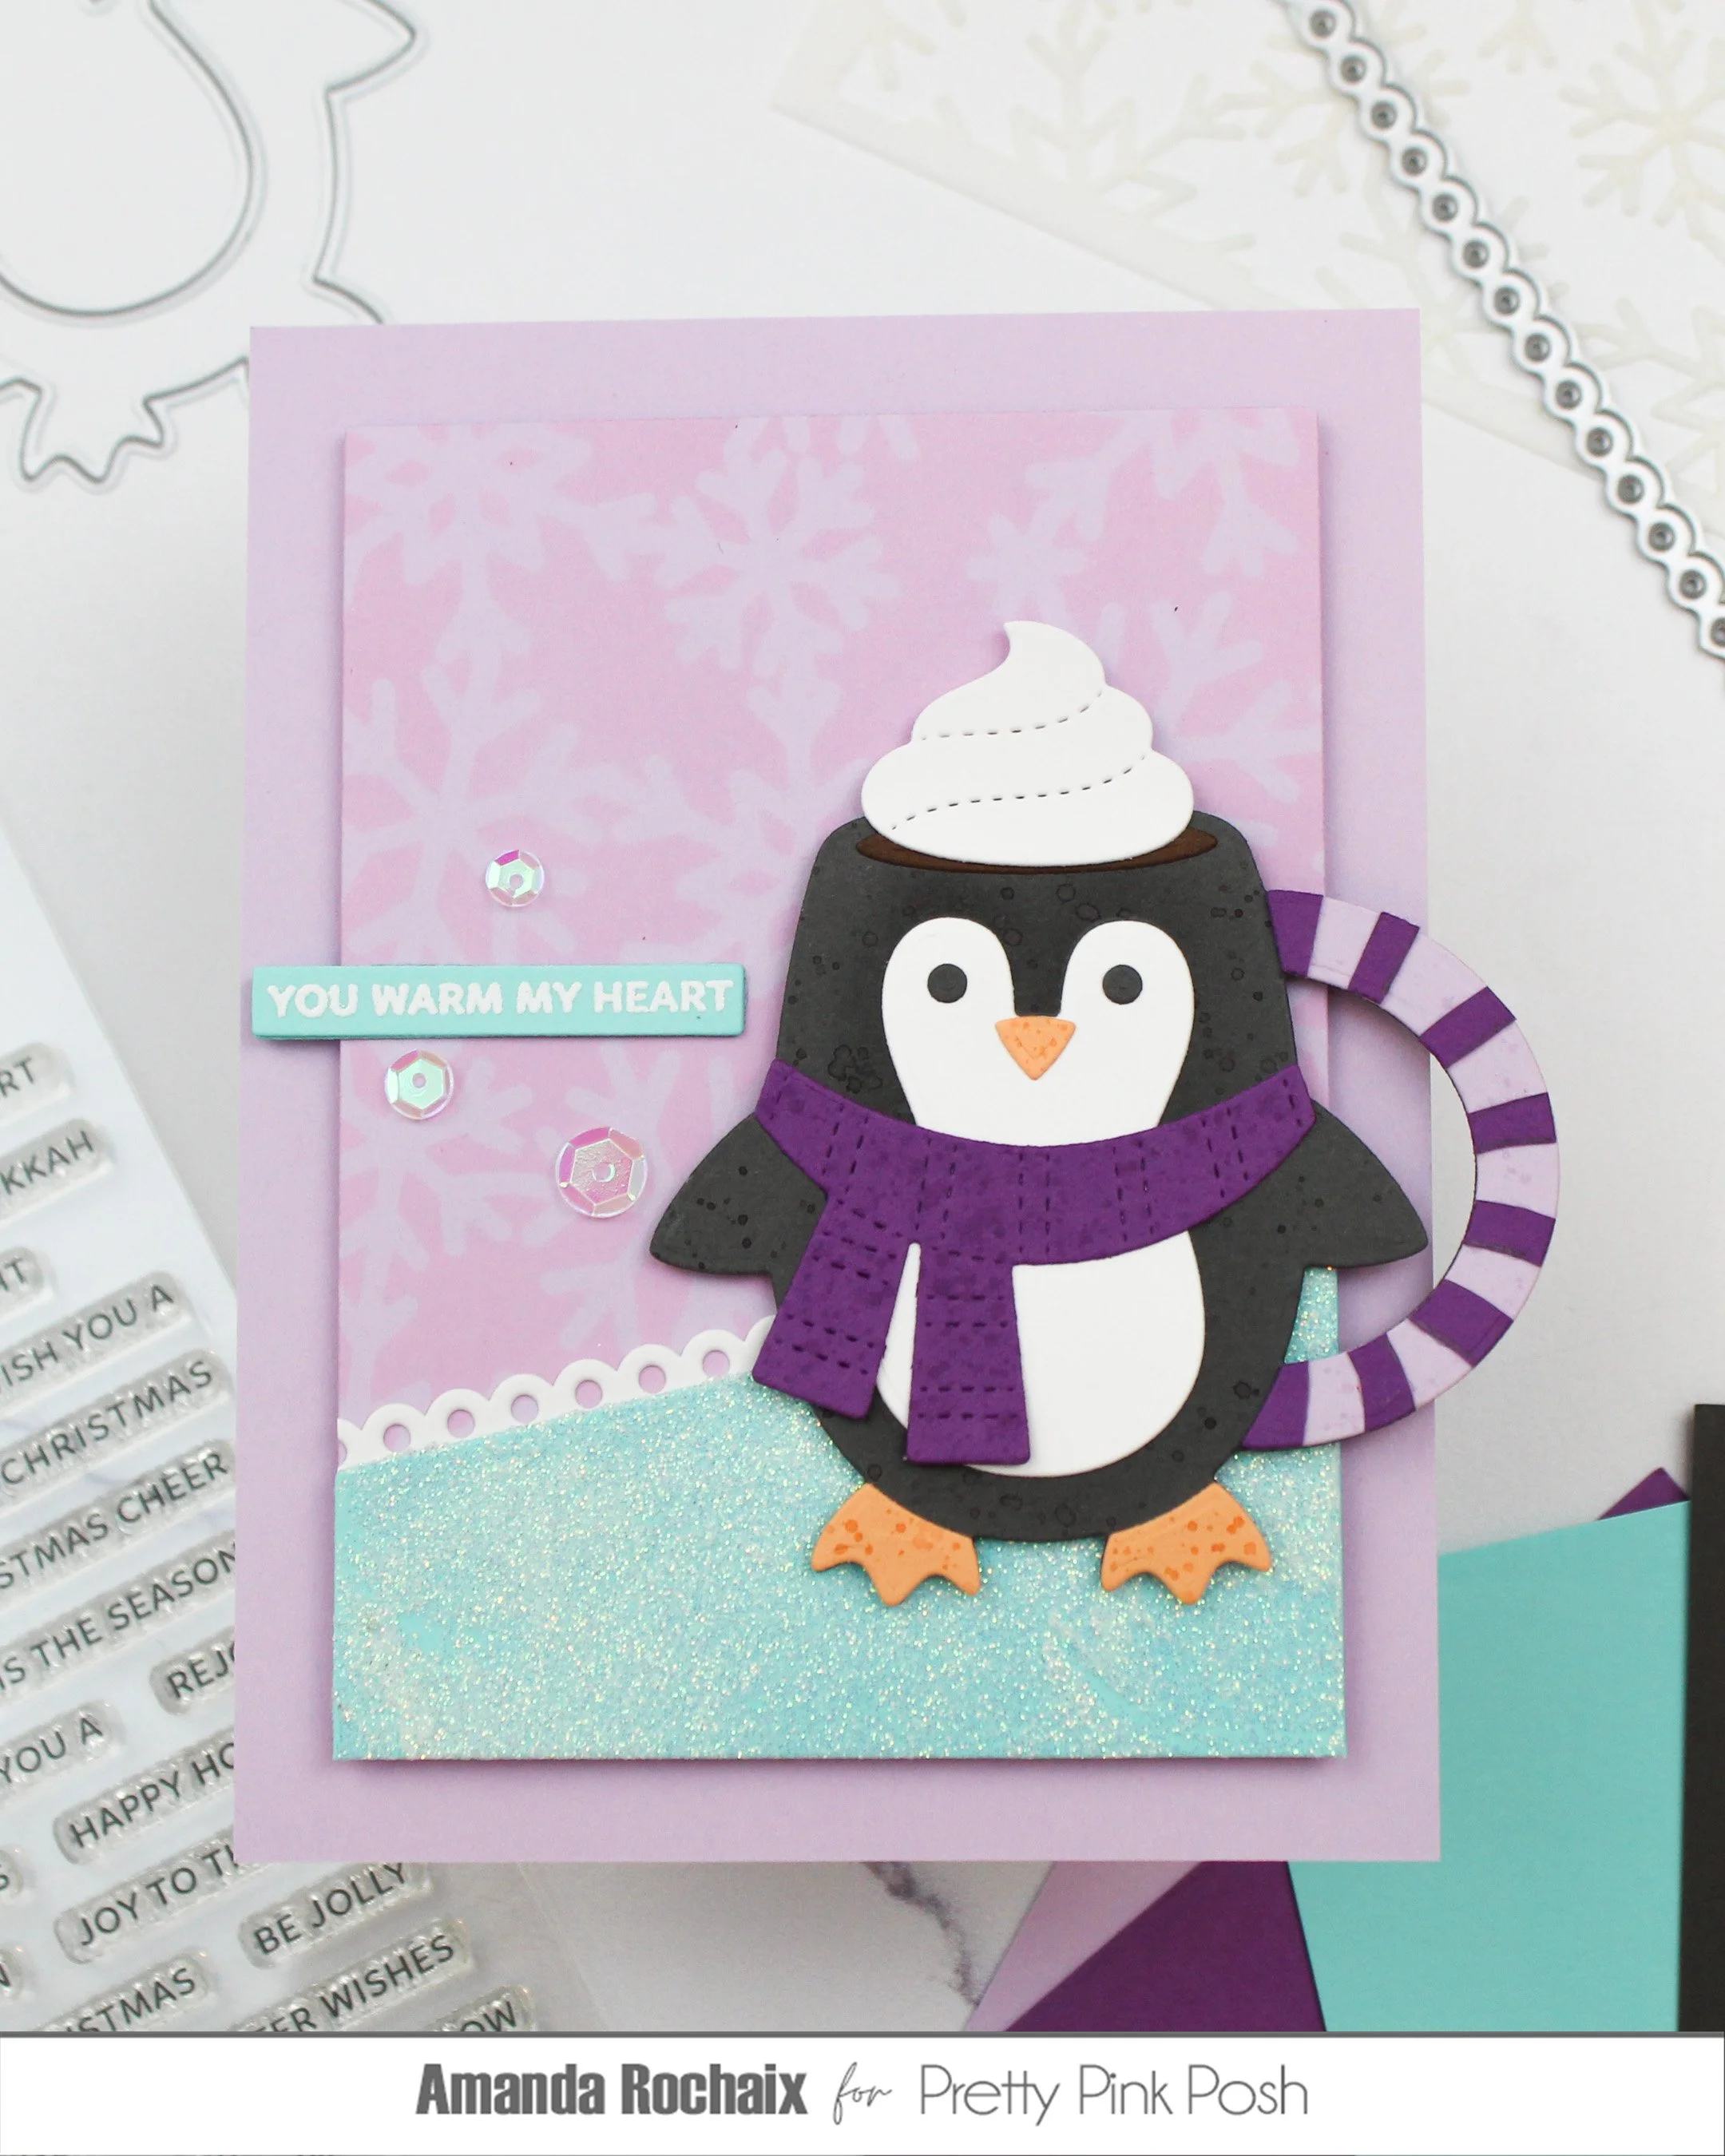
I created this card back in November for Pretty Pink Posh, and this one was so fun! I adore mugs (not sure what triggered me to have such an extensive mug collection, but here we are), so I was thrilled when I got the Penguin Mugs die set in my guest designing package! While this card could be used as a Christmas card, I thought would also be great as a post-holiday, wintry thank you card. Cute, right? On to the details!
I’m not sure what it is about me, but sometimes when I get a focal die, I panic. This card/die set made me a bit anxious when I was creating with it because I didn’t want to just slap it in the center of my card front and be done, I felt like I didn’t know what to do with it, even though I absolutely adored it. After a bit of thinking, I decided to go for the ‘ol off-center angled layout. This has been a go-to of mine this past year or so when it doesn’t feel ‘right’ to me to center something on a card.
Anyway, I first started off making my penguin mug. I die cut the mug base out of Mushroom cardstock from Concord & 9th, the feet and beak out of Creamsicle, the scarf out of Fig, the handle out of Lilac and Fig, and all the white details out of Sizzix white cardstock. I was really into the fun that is splatter, so I splattered all of the die cut bits besides the white cardstock pieces with the coordinating ink color. After the splattered ink was dry, I glued all the pieces together, but decided to make a striped mug handle, so I cut the Fig mug handle up into stripes. I think this little guy turned out so cute!!
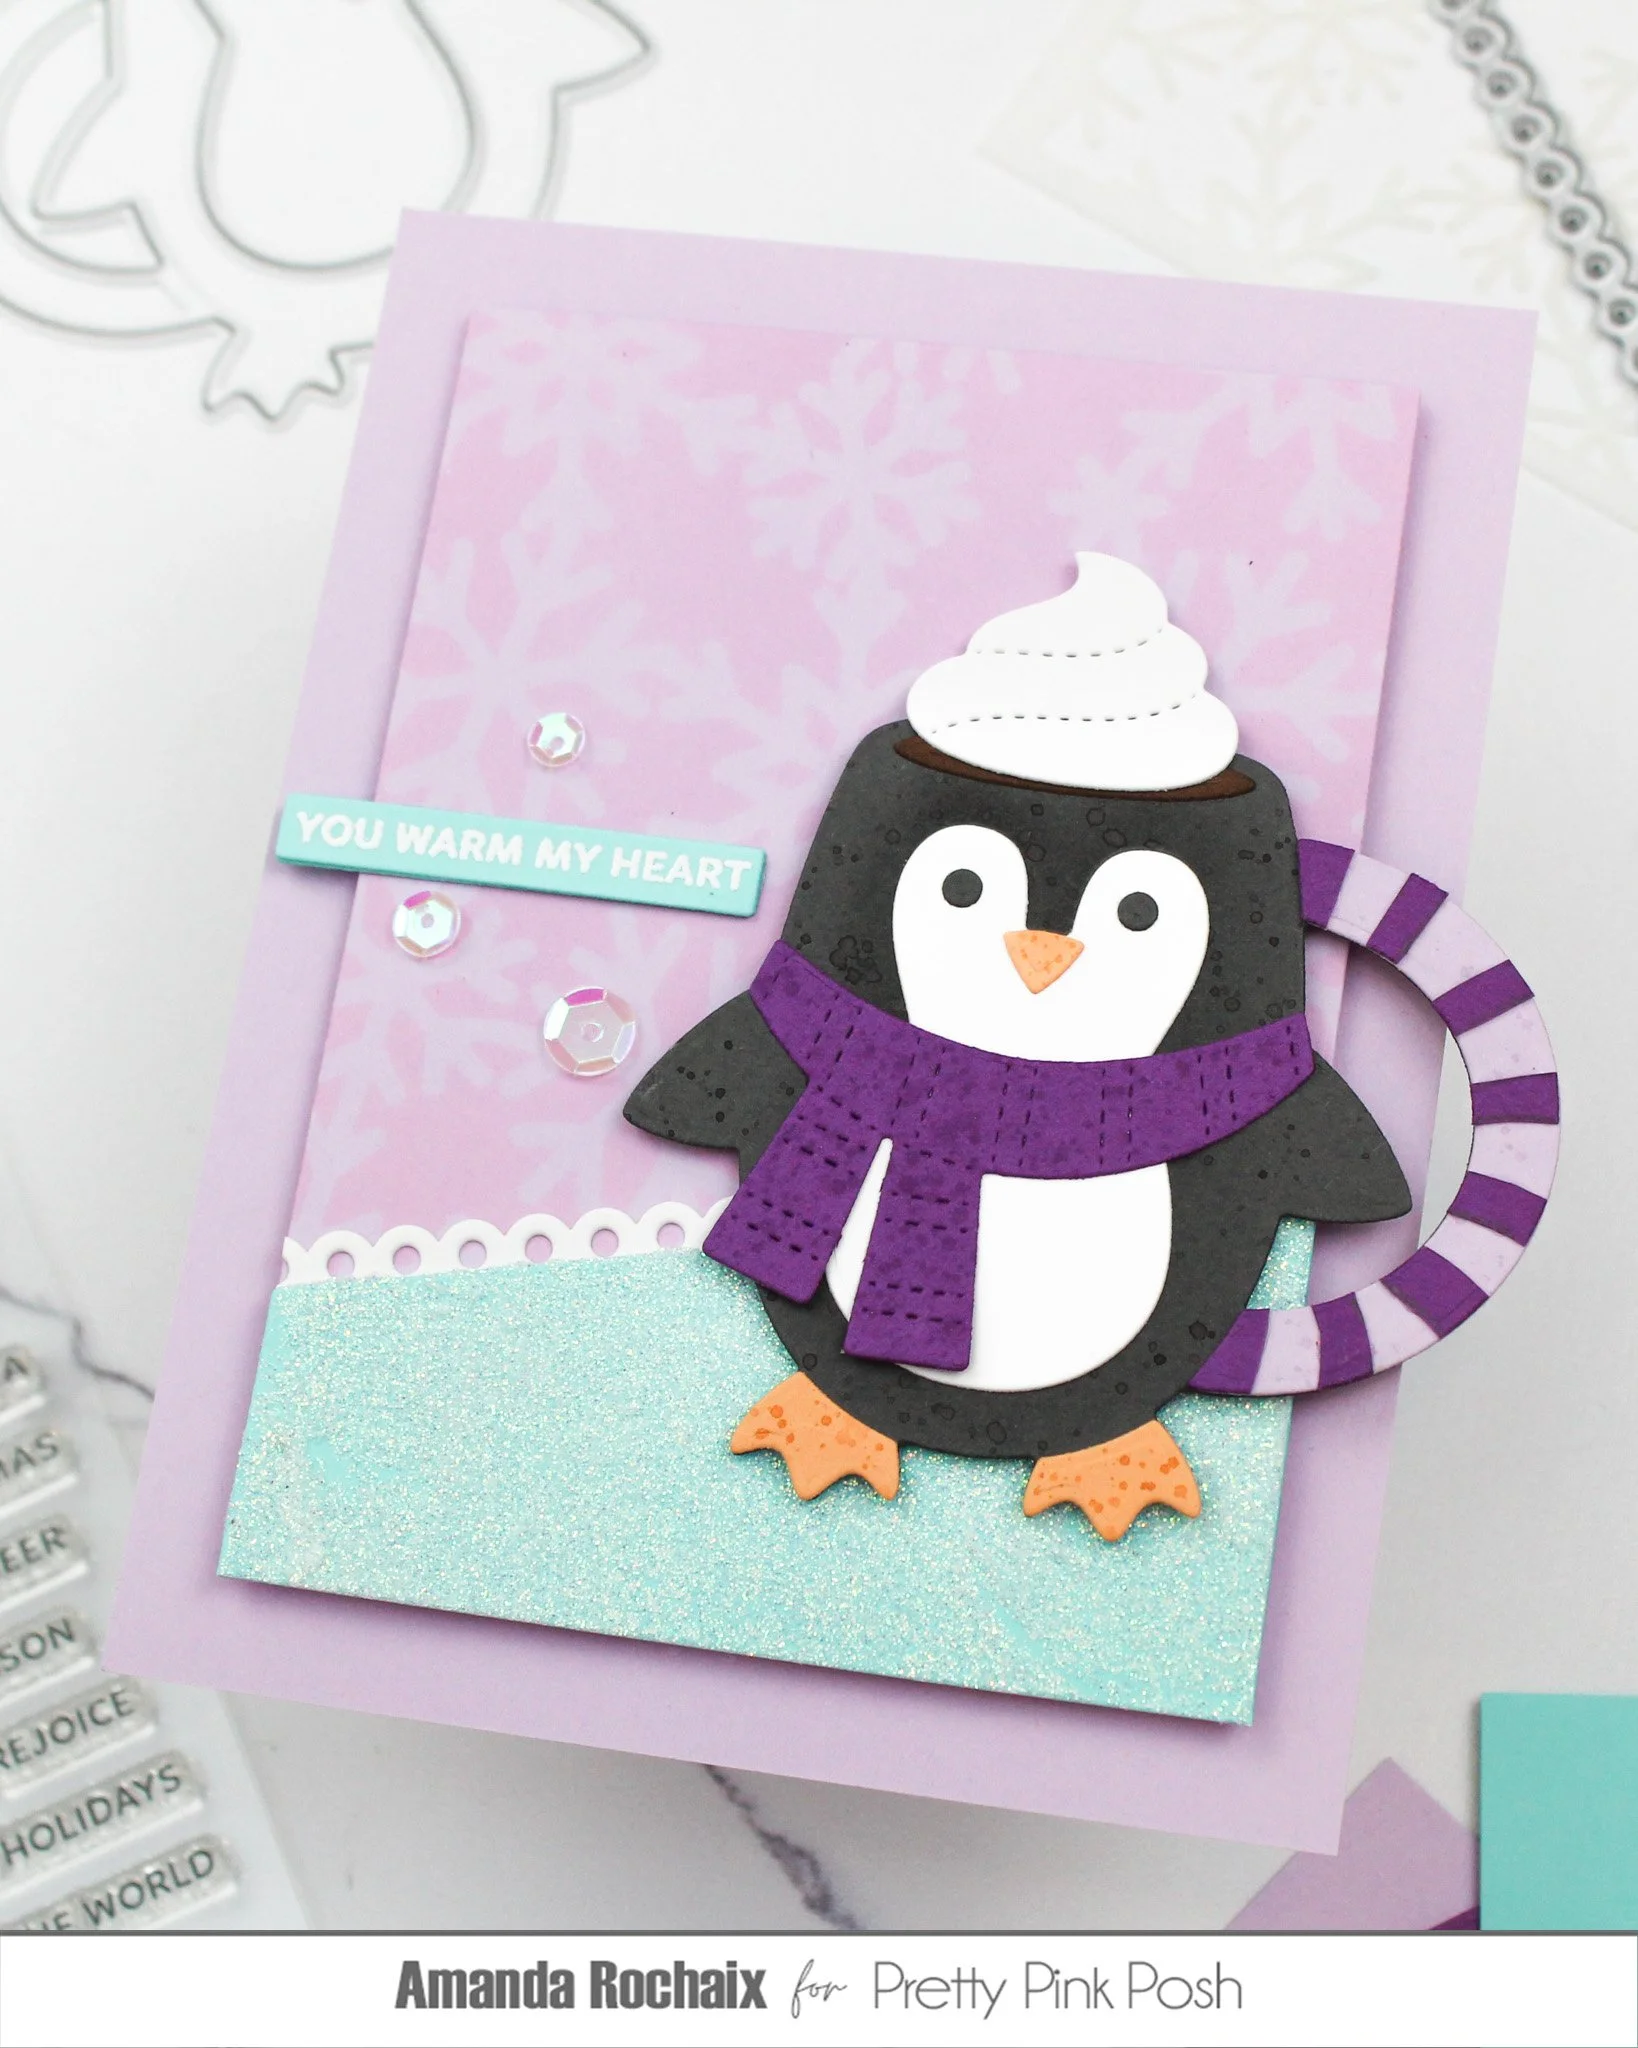
Next up was my background. I knew for certain I was using the Snowflake Background stencil, and since I wanted to keep things consistent colorwise, I decided to stencil it on a panel of Lilac cardstock with Lilac ink. I ended up using a pouncer to do so since the stencil seemed like it could be fragile to ink blending, so keep that in mind! The panel did seem to come out a little pink-y, which was kinda surprising, but I don’t hate it! With my panel done, I knew that I would be cutting a little angled panel of cardstock, and after a lot of back and forth, I took an A2 panel of Aqua Sky cardstock and cut it with my paper trimmer.
Seeing my full-panel stenciled background and the Aqua Sky cardstock together had me thinking. I wasn’t a fan of all the real estate on the page, so I knew a crop would be in order. But, the Aqua Sky bit felt a little bland, so I went digging in my craft room. I ended up slathering Moonstone shimmer paste over the whole Aqua Sky panel, then set it aside to dry. I love that this really plays into the frosty element!
I wanted to marry the Aqua Sky panel and my Lilac snowflake panel together bit better, and I thought the Doily Borders dies would be a great fit. I used the thin single eyelet die and die cut it out of white cardstock. I cropped my Lilac panel originally to 3.75 x 5 inches, but after gluing down the Aqua Sky cardstock and the doily border and looking at the penguin sitting on the card front, it felt like things needed to be a little bit closer. My panel ended up being 3.5 x 4.75 inches once I was happy with it! I’ve also really been into tone-on-tone matting lately vs. a panel popped onto a white cardbase resulting in a very thick (maybe sometimes visually jarring) white border, so I pulled out an A2 panel of Lilac cardstock and popped some thick foam squares on the back of my stenciled panel and stuck it down.
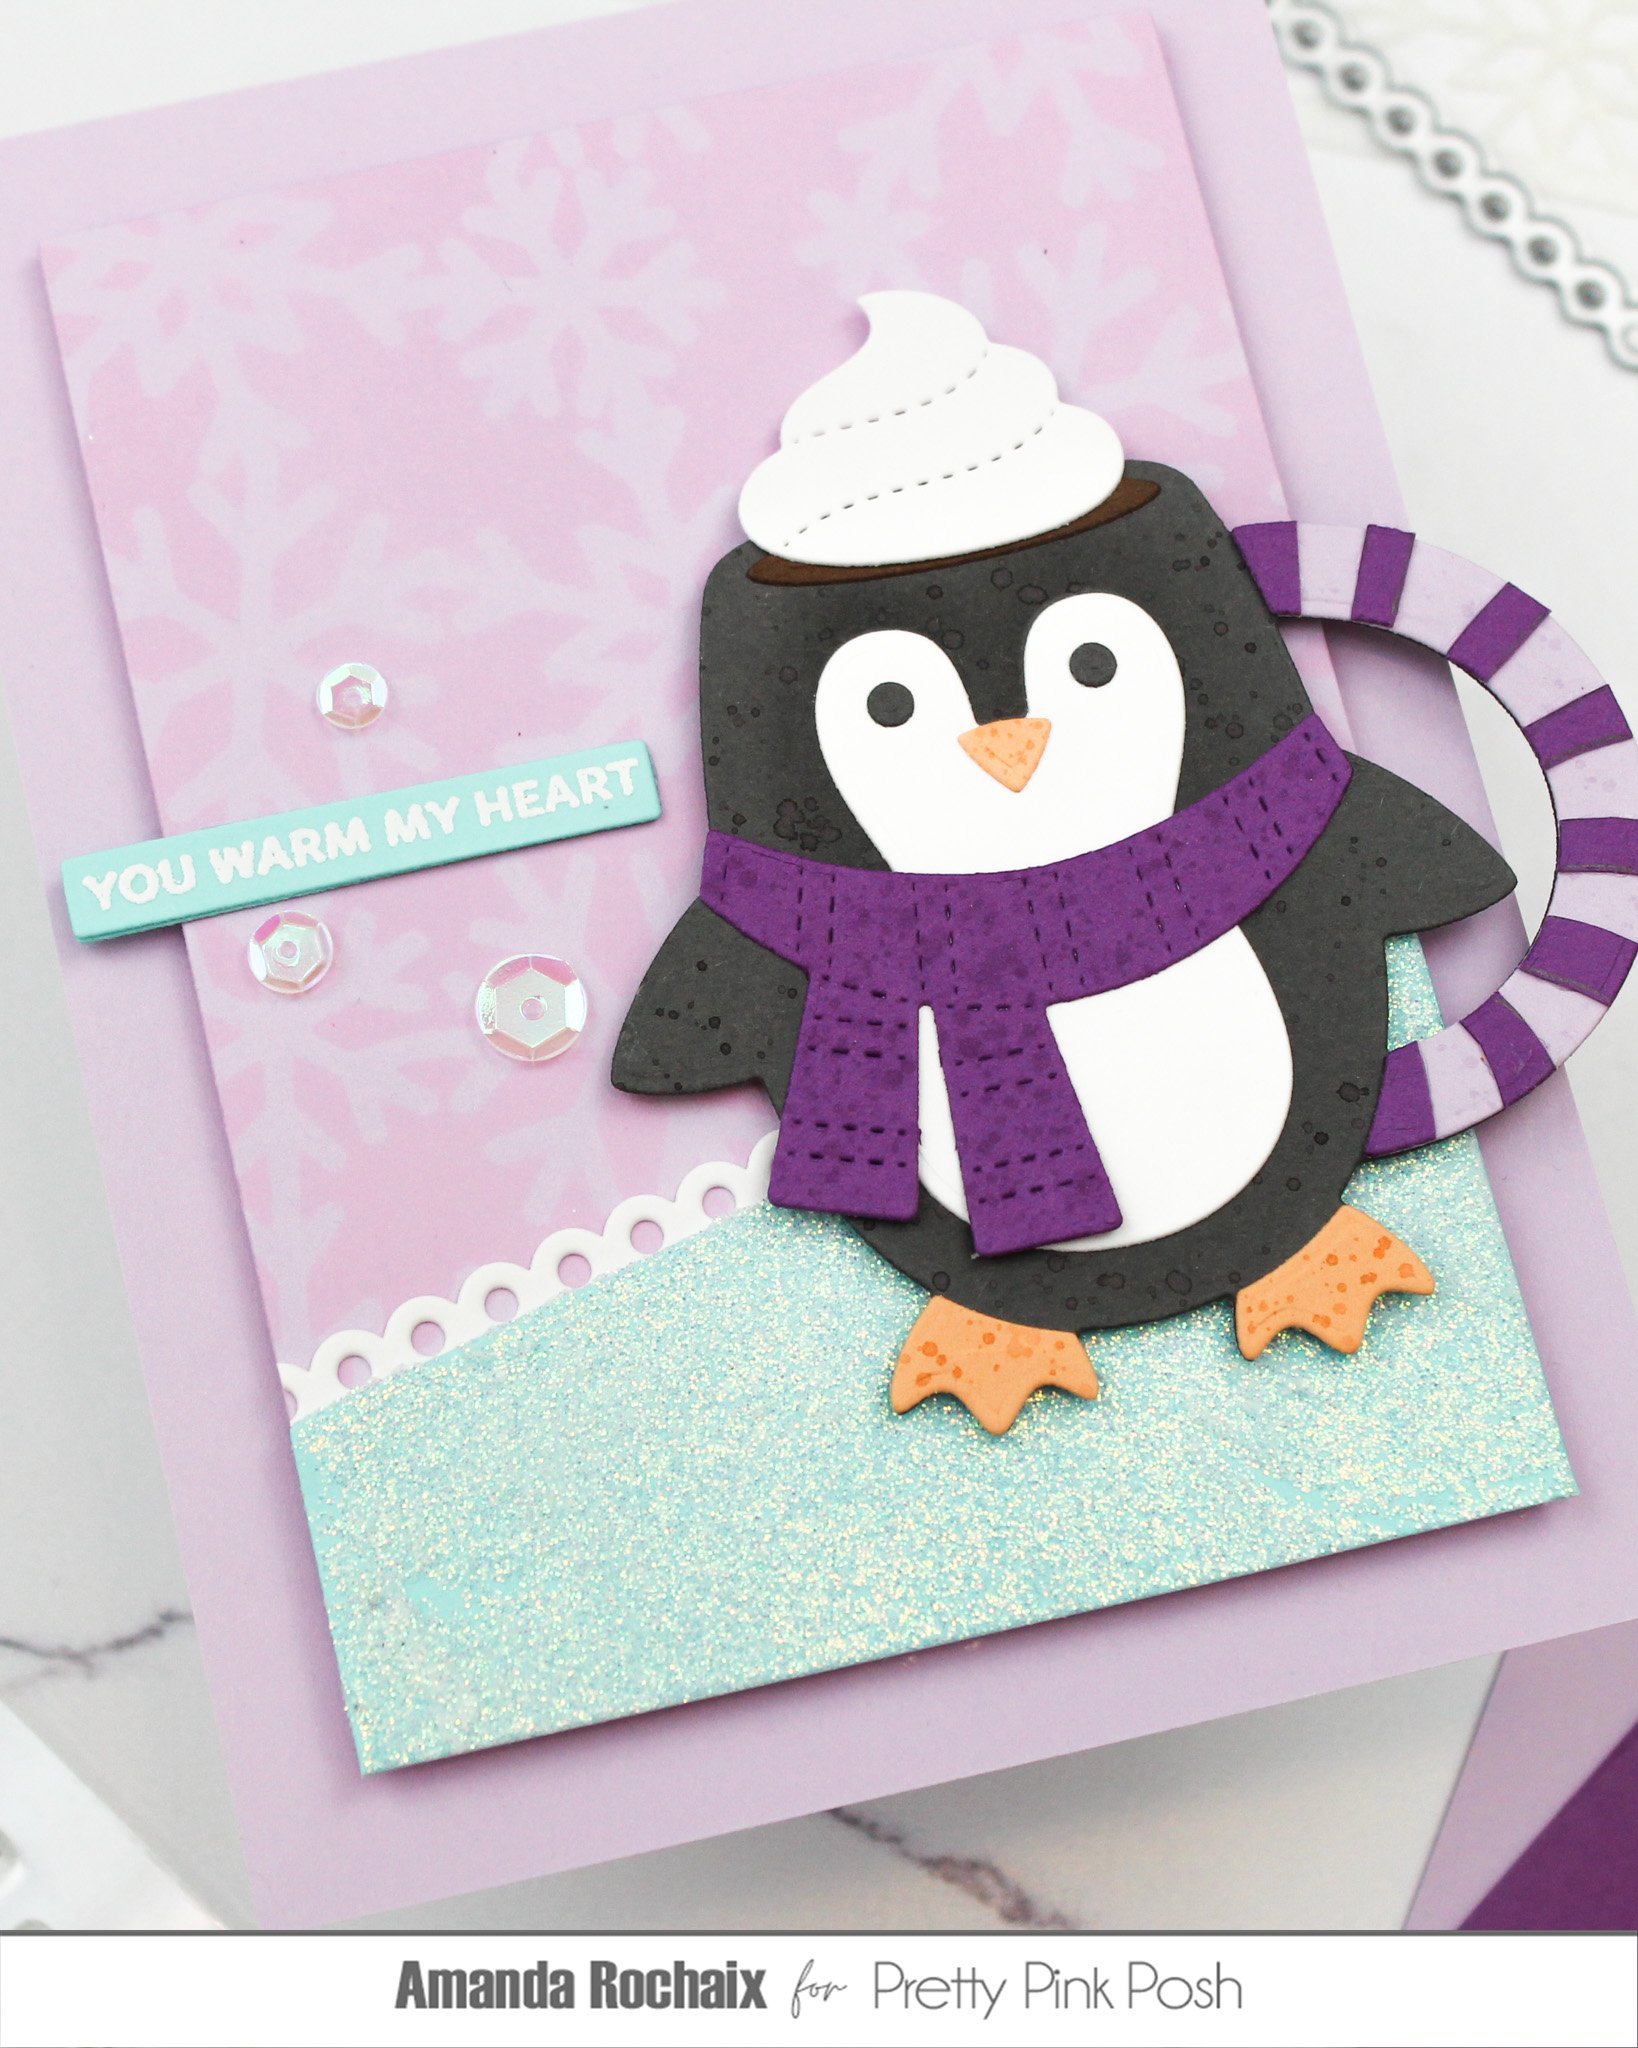
Next up, was the sentiment. I ended up using the Holiday Sentiments stamp set (this isn’t a new release item) because the perfect sentiment was in there: “you warm my heart”! What’s better than that with a cute little mug?! Anyway, I ended up white heat embossing the sentiment on some Aqua Sky cardstock because not only does it help to tie a bit more color into the card, but it also visually felt better than using black cardstock to me. To cut it out, I used the Sentiment Strip dies, and that sure made it a breeze!
With my sentiment and penguin mug ready to go, I popped the penguin up on some thin foam squares and stuck it down on the far right. I really like where this was placed, and if I mail it, I’ll be sure to put it in a larger envelope instead of trimming off the mug handle. To stick the sentiment down, I just added a sliver of dimension by diecutting another sentiment strip, and stuck it down. I didn’t want to get too crazy with dimension since I was more likely to be mailing this card.
For the final touch, I felt like just a smidge shine was needed, so I pulled out the Iridescent sequins from Altenew and grabbed three different sizes. I thought this card turned out pretty cute, what do you think?!
Thanks for stopping by the blog today, I hope to catch you sometime soon with another cute card to share!
Affiliate disclaimer: all links to Waffle Flower, Concord & 9th, Altenew, Scrapbook.com, and Spellbinders products are affiliate links. These links allow me to get a commission at no extra cost to you if you use them to shop! All other links provided are links to supplies and shops I am not affiliated with and I do not get a commission from.
