Concord & 9th—Lotus Card Front & Layered Lotus
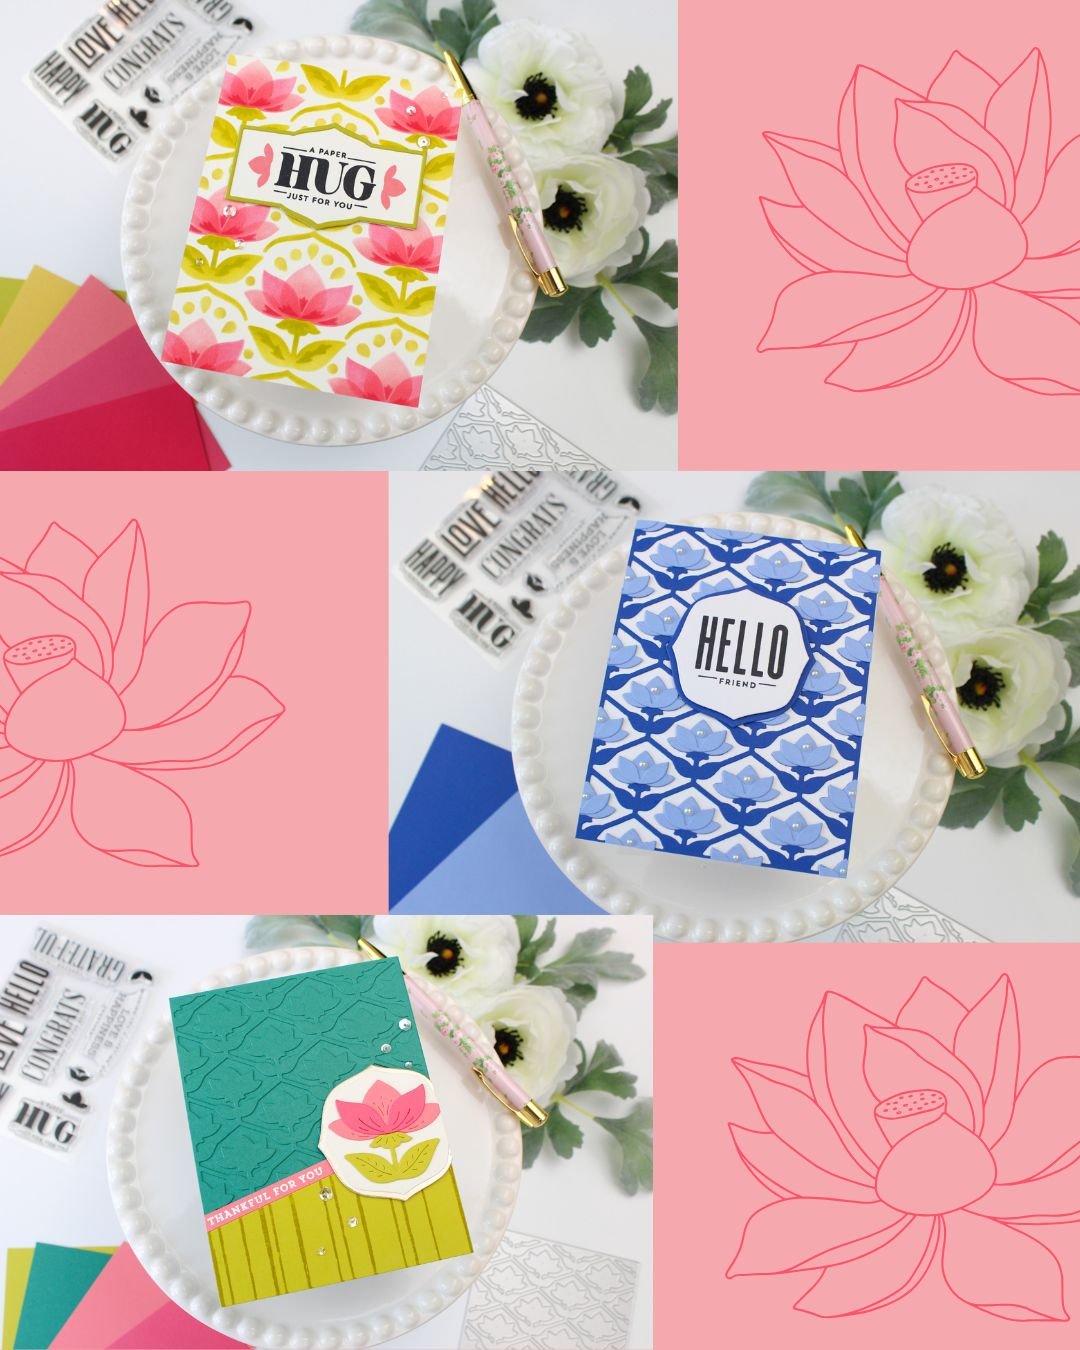
Hi friends! I was lucky to be one of the guest designers for Concord & 9th’s July release, and what a good one it was! Today I’ll be sharing my Lotus Card Front & Layered Lotus cards, these products are fabulous and they play together super well! The Layered Lotus Bundle consists of a six-layer stencil, a stamp set with wonderful greetings, and a die set that has a layered lotus and shapes to cut out and frame the coordinating sentiments. The Lotus Card Front die set consists of an A2 panel die that cuts out a sort of lattice lotus design, as well as two long strips of dies that cut out the flower layers. I had lots of fun creating these three cards while taking them in different directions with some unexpected color, a different use, and wrapping it up with a quick & easy stenciled card!
A Little Bit of Unexpected Color
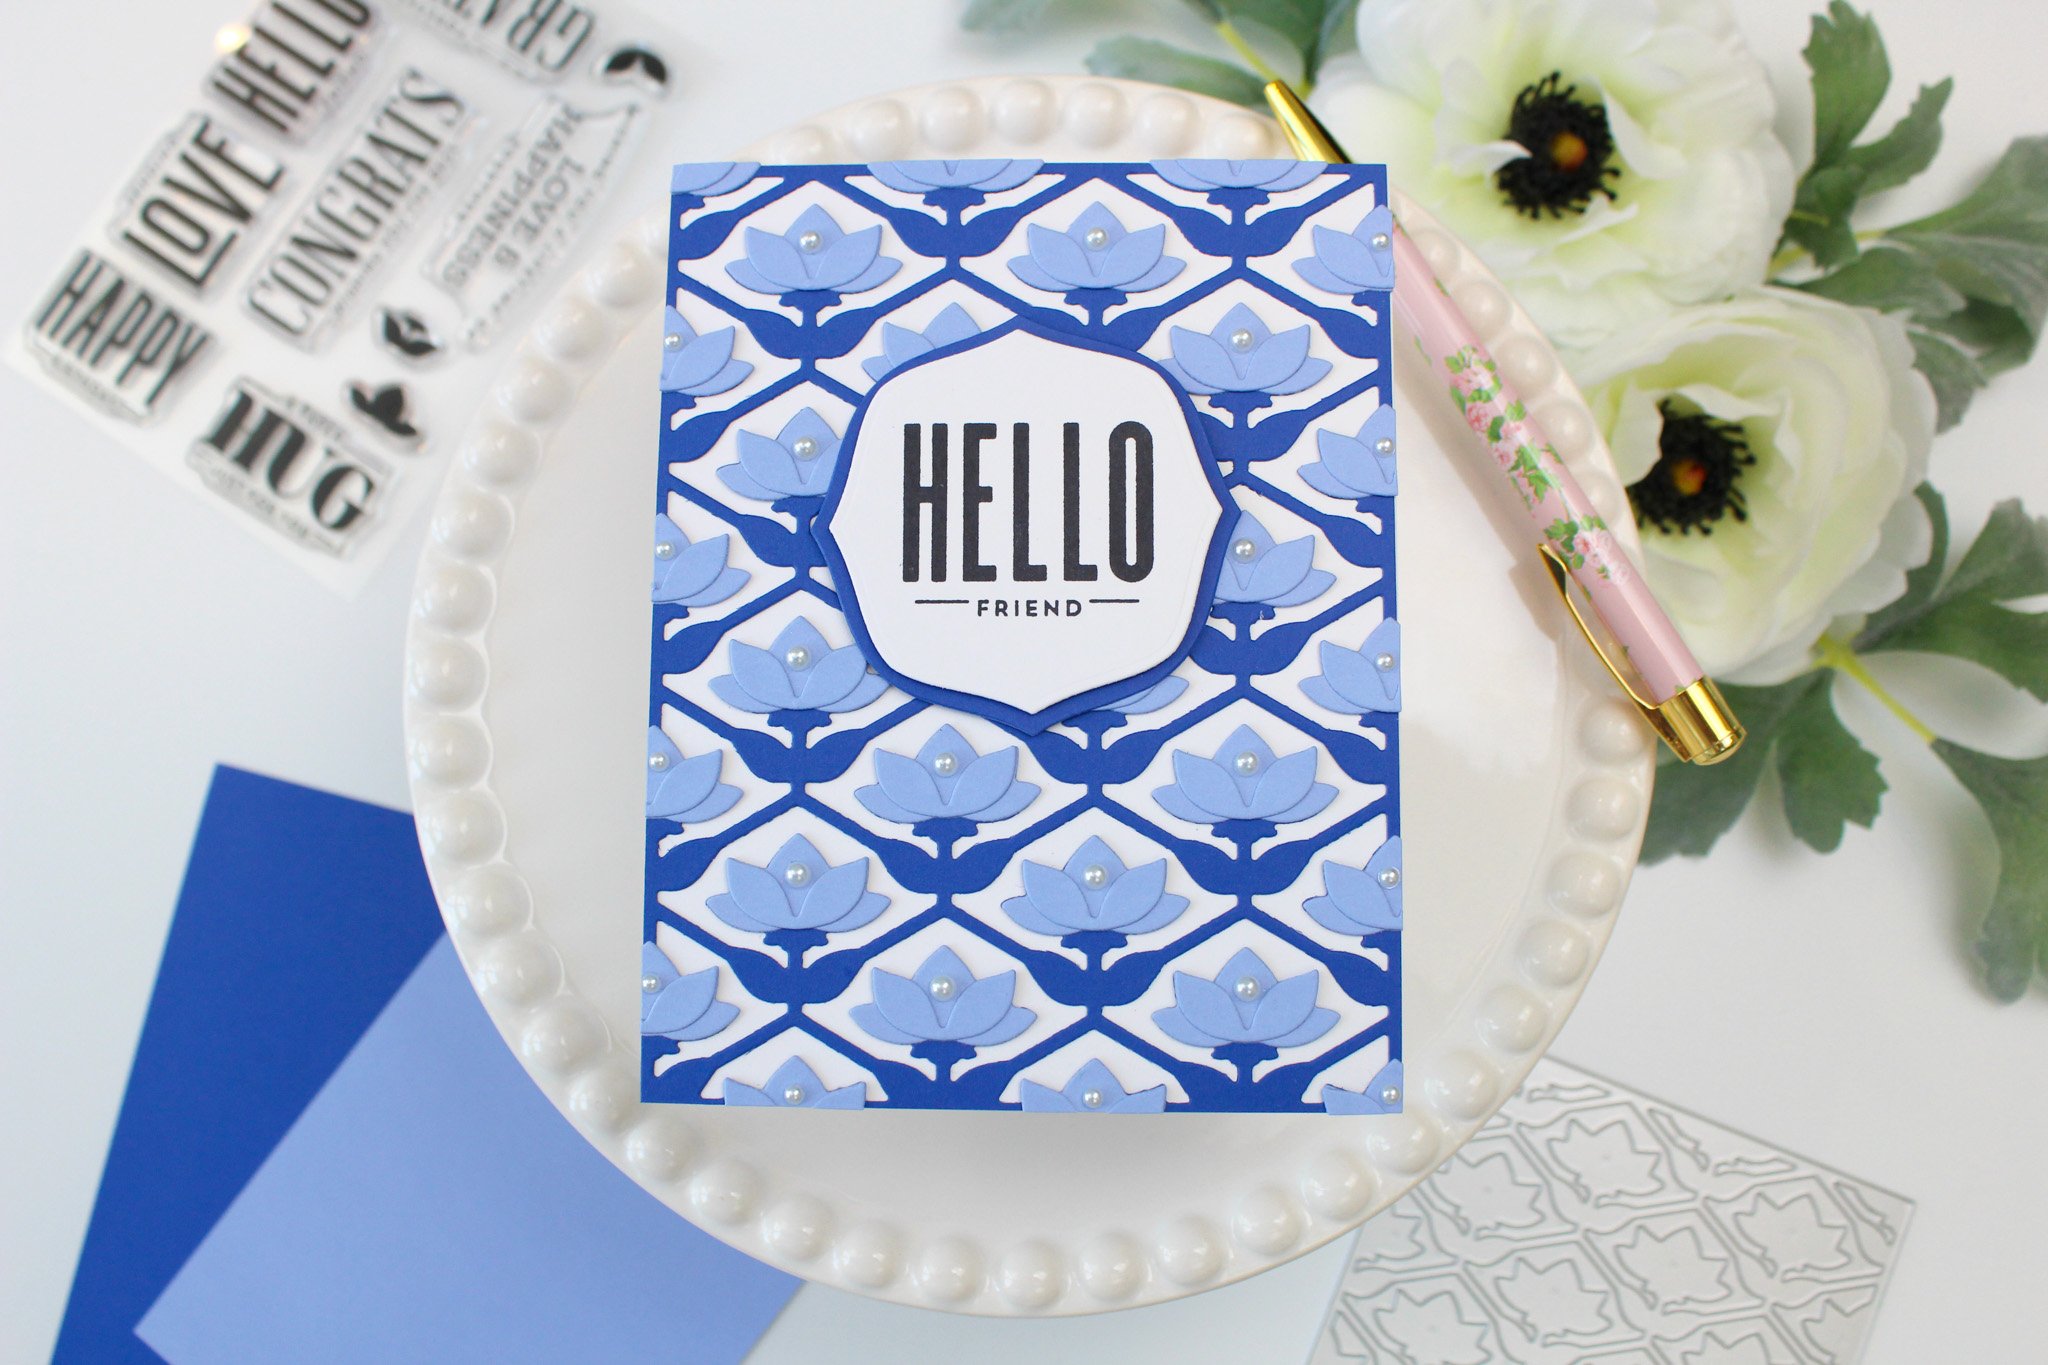
As you can imagine, when people think of a lotus, they’re often thinking of a gorgeous pink flower (as I did!). I wanted to do something a little different with this card front die and I was feeling super inspired by my new favorite colors (Capri & Bluebell) as well as Delft/Chinoiserie pottery. I started with a white cardbase, then glued down my Capri-colored Lotus Card Front diecut. After diecutting many lotus petals out of Bluebell cardstock, I layered them up on the Capri base.
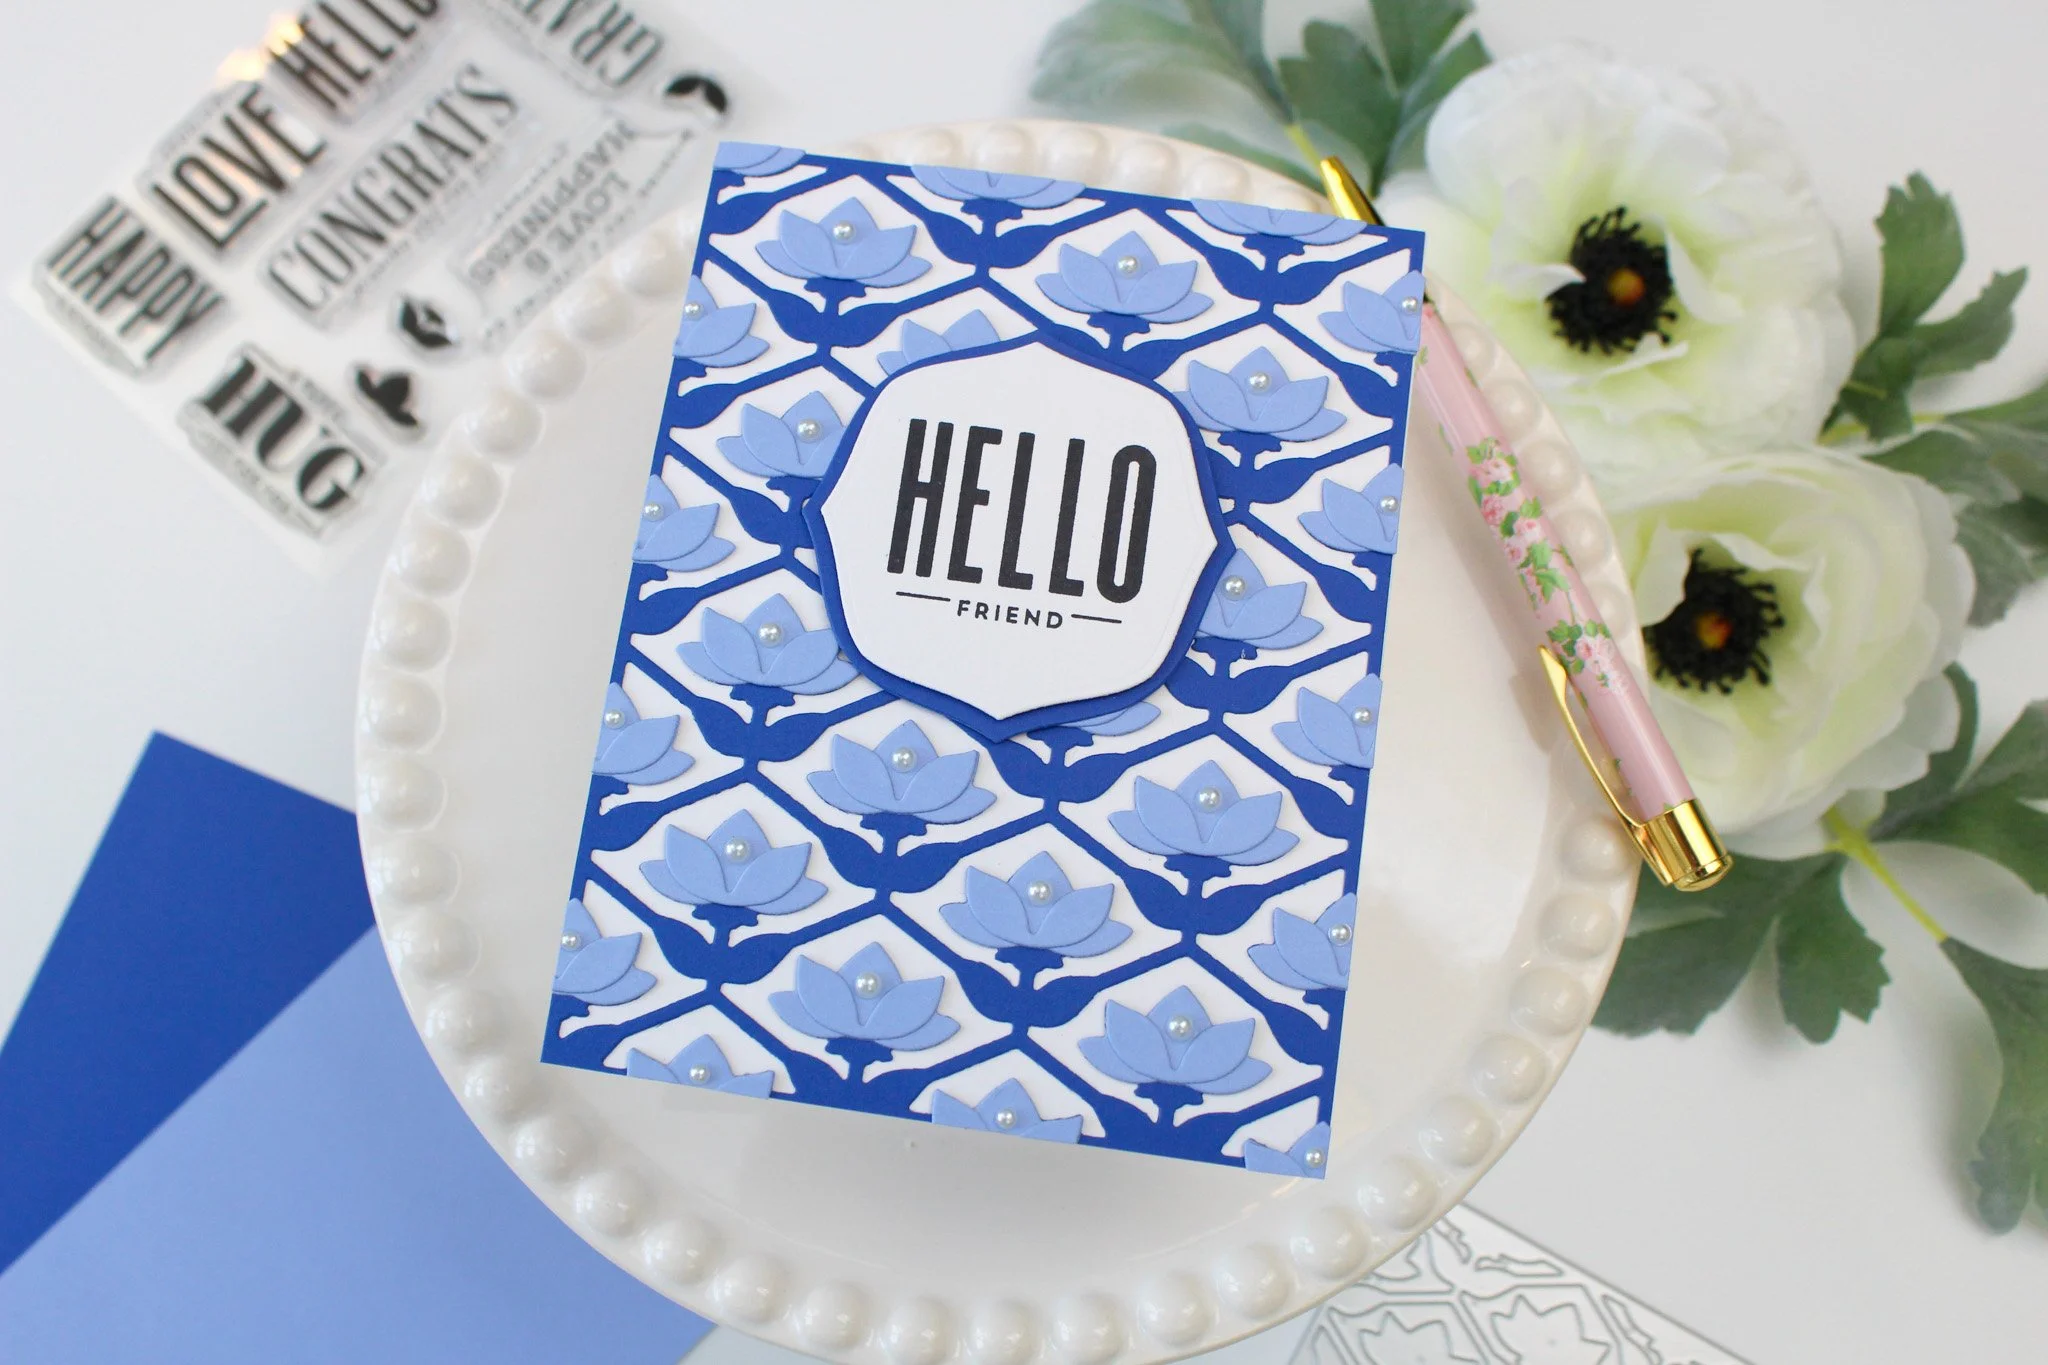
Next up I worked on my sentiment. I stamped the ‘hello friend’ sentiment from the Layered Lotus Stamp Set on white cardstock and die cut it with the smaller arabesque shape in the die set. I thought the sentiment needed more grounding and size, so I die cut the larger arabesque shape out of Capri cardstock. I glued the Capri arabesque shape in the middle of my card front, then popped my sentiment up on some 1mm foam squares and stuck it down.
I felt like the card was missing a little something, so I raided my embellishment stash for some pearls and pulled out the Rainbow Pearls 2 mix from Pink & Main. I was so happy to use these and for them to basically match the Bluebell cardstock! I nestled the smallest pearl from the mix in between the layered petals for each flower, and I really love how this turned out! I think Seeka also added embellishments like this but she put them at the base of the layering petal and I loooove how they look. I’m not sure why I didn’t do that haha! So feel free to put your embellishments where you like them best!
Background Texture vs. Focal Usage
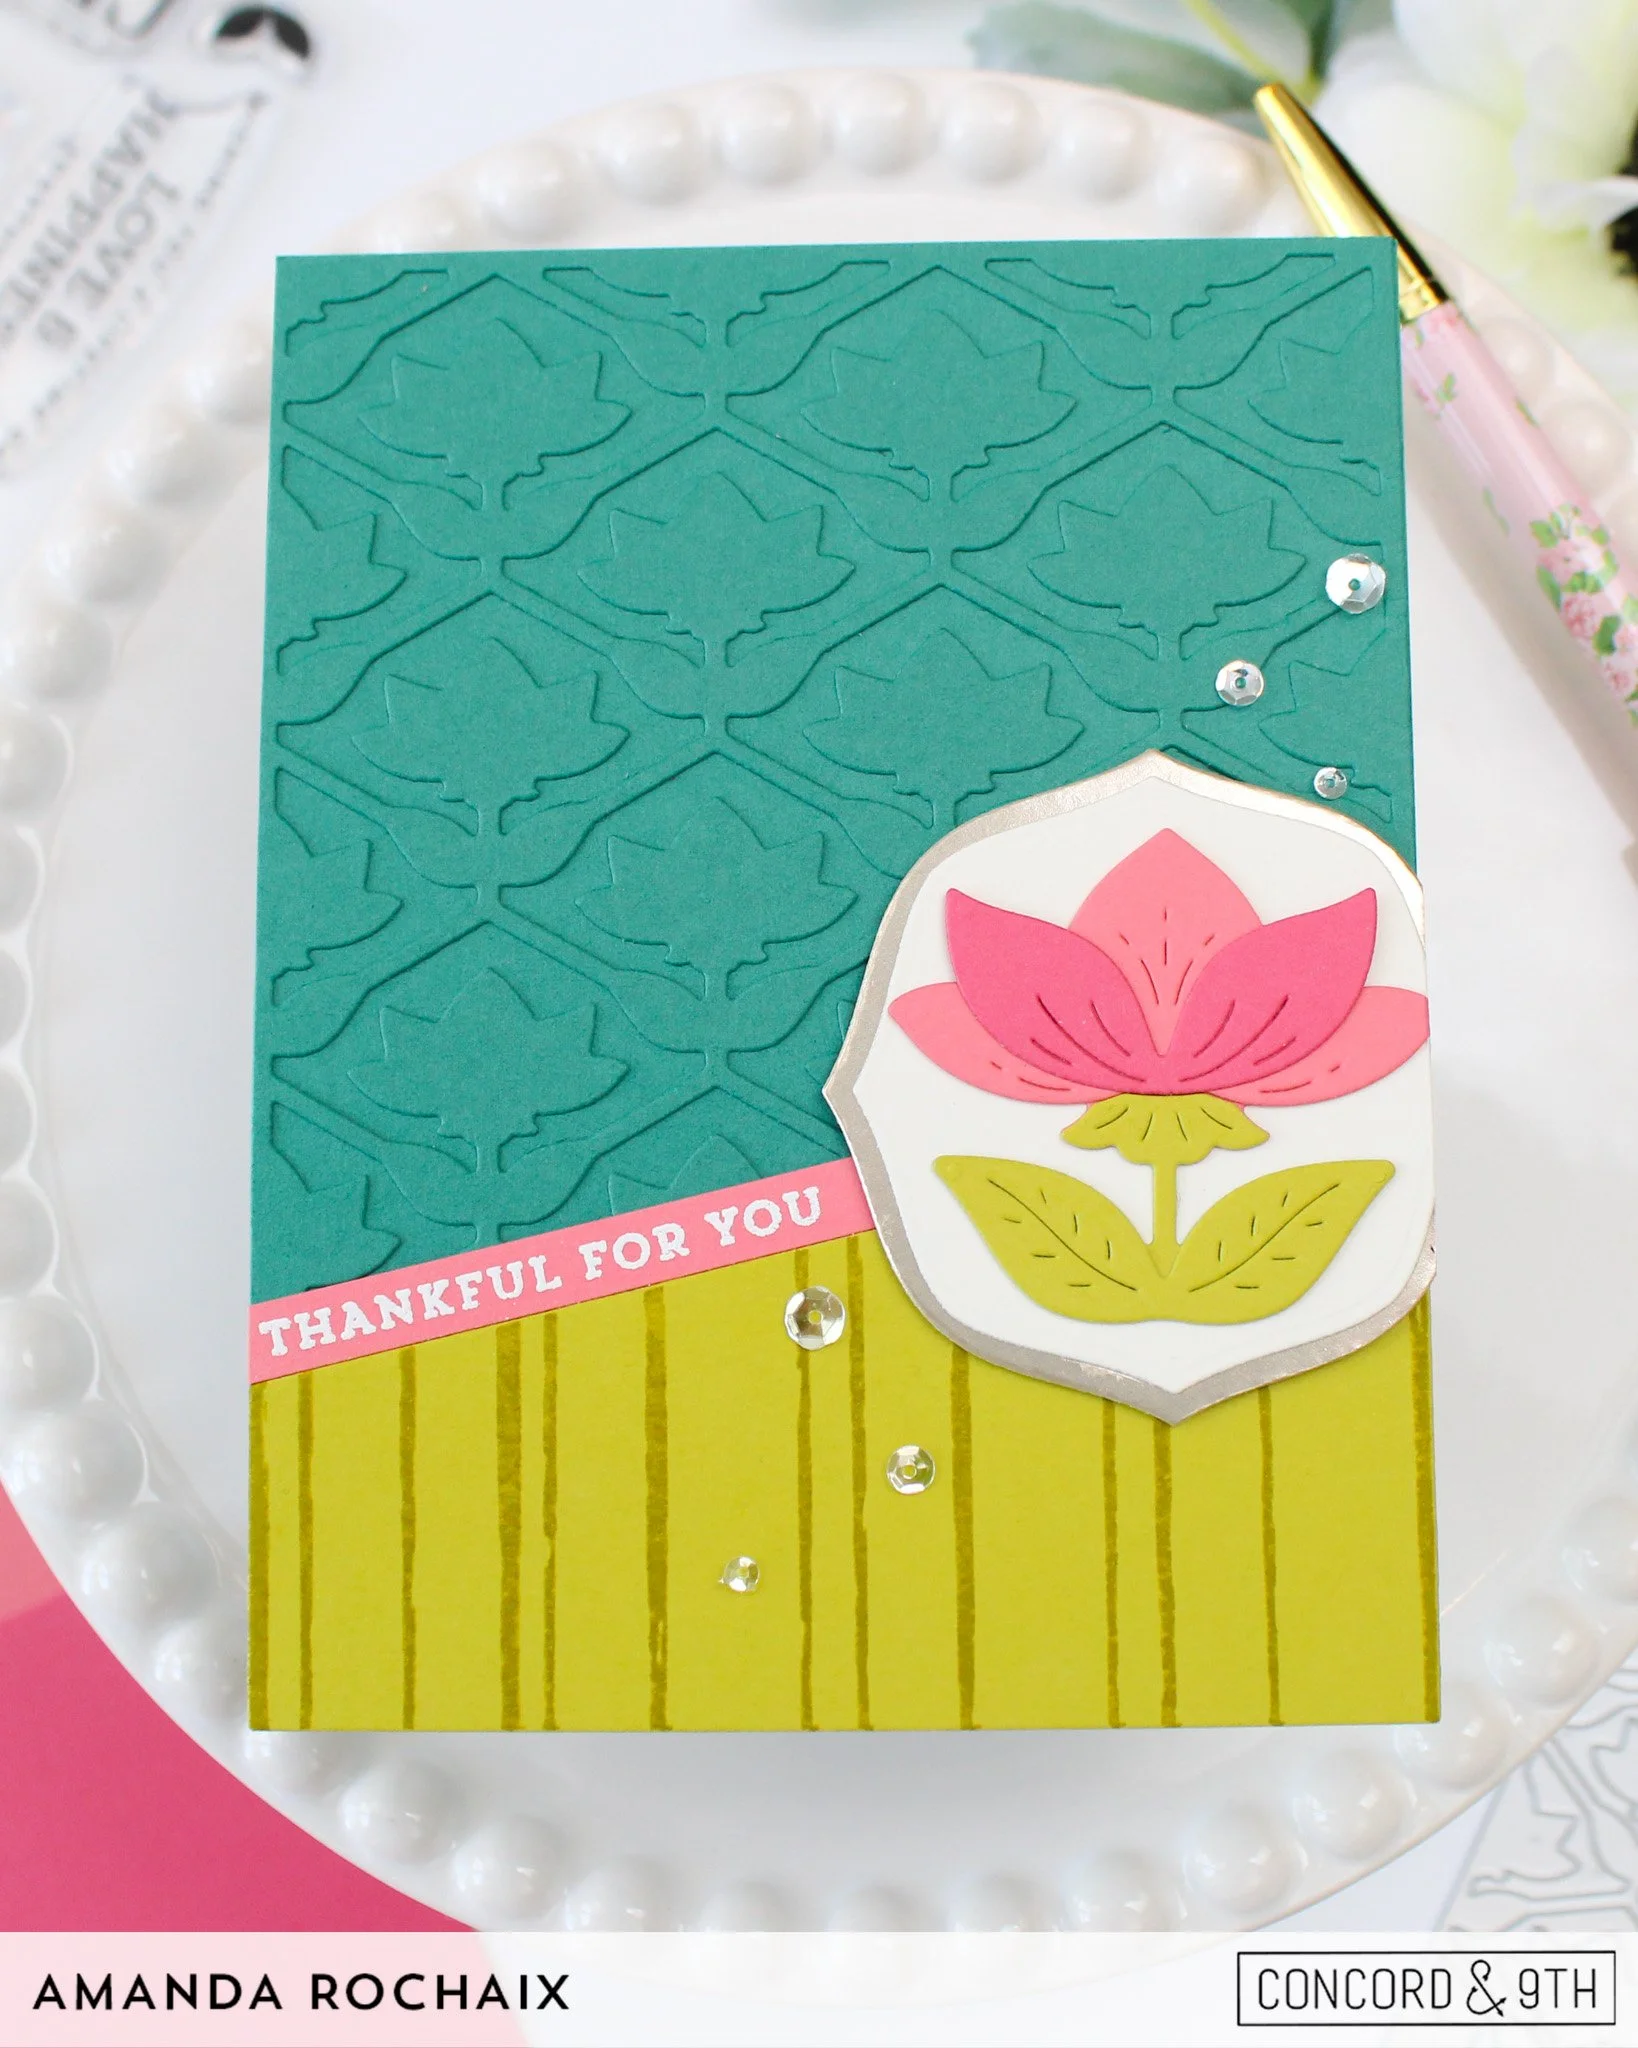
For this card, I played with things a little differently again by using the card front die as a subtle background texture die. I know what I’m doing isn’t groundbreaking, and I’m not trying to speak of myself like I’m the best thing since sliced bread (I’m definitely not!), but what I really enjoy doing while guest designing is showing you how you can stretch products a bit. I can get locked into how things are to be used (for example, I would think elephants can only be grey and I can’t use an elephant die to make a pink elephant because that’s not reality), so I like to do this as a reminder to myself and to others if they think the same way as I do, so I really enjoyed using this card front die this way! And, honestly, it’s a great way to get more bang for your buck using it in a ‘different’ way!
Anyways, I started off by building my background first since I knew I was going tone-on-tone with it. I die cut a panel of Juniper cardstock with the Layered Lotus Card Front Die, then glued it down on an A2-sized panel of Juniper cardstock. I knew I wanted to break the cardfront up by using the Slanted Shortcuts die (I adoreeeee these so much and definitely recommend purchasing!), so I cut a panel of Lemongrass with the portrait-orientation slanted die. I felt like the Lemongrass was a bit too plain for my liking, so I raided my stash and pulled out the Sketched Stripes Background Stamp (which it looks like it’s now discontinued? So sorry about that!) and stamped it in Lemongrass ink on my slanted cardstock. I love the graphic look of this!
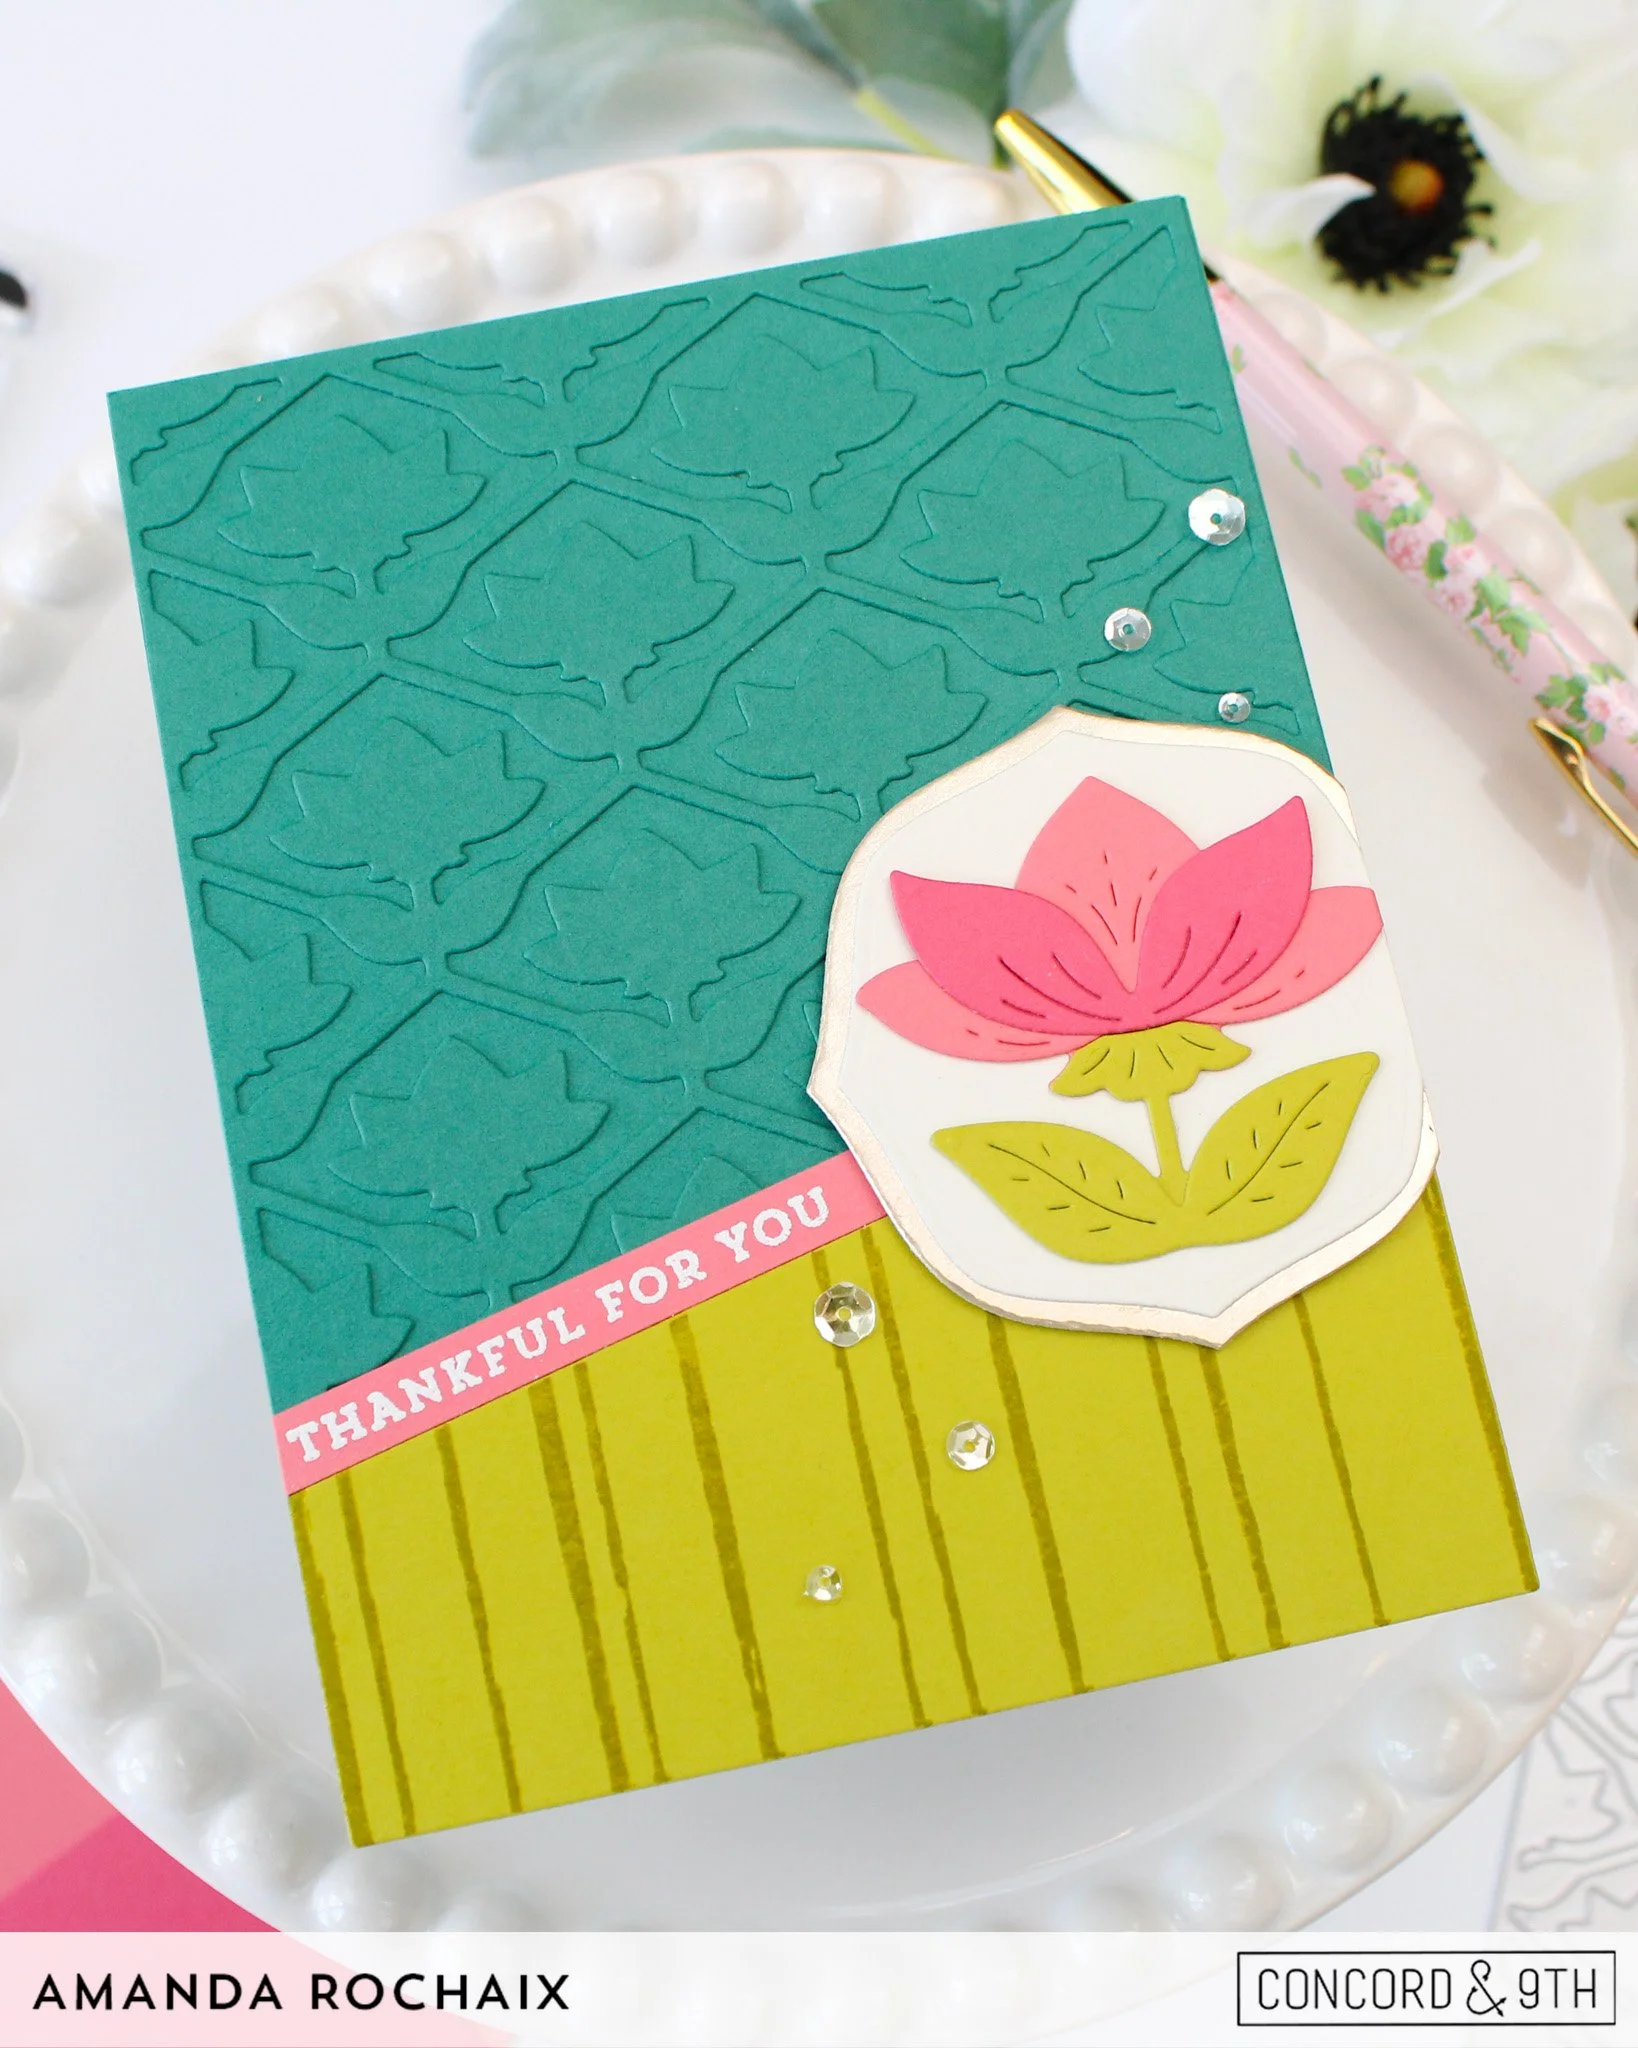
From there, I glued on my Lemongrass slant and moved onto my next element: the layered lotus. I adore this small but mighty layering die! I wanted to stick with a palette that I was working with while creating for this release, so I die cut the stem and leaves out of Lemongrass, the back petals out of Watermelon, and the layering petals out of Honeysuckle. I glued the flower together, then decided to matte it on the arabesque shapes in the die set: the larger layer cut out of Champagne foil cardstock, and the smaller layer out of Almond cardstock.
Since the lotus was my focal element, I went skinny with my sentiment! Whenever I use the slant dies, I like to try and soften the transition between the slant and the background, and my favorite way to do that is with a skinny sentiment strip! For the sentiment on this card, I white heat embossed the ‘thankful for you’ from the Petal Portraits stamp set on Watermelon cardstock. I glued that down, then popped my focal element up on 1mm foam squares and stuck it down. I trimmed off the overhang, then added some sequins from the Neutral Sequin Assortment set to finish it off. I just love how the colors pop on this card!
The Layered Lotus Stencil Pack
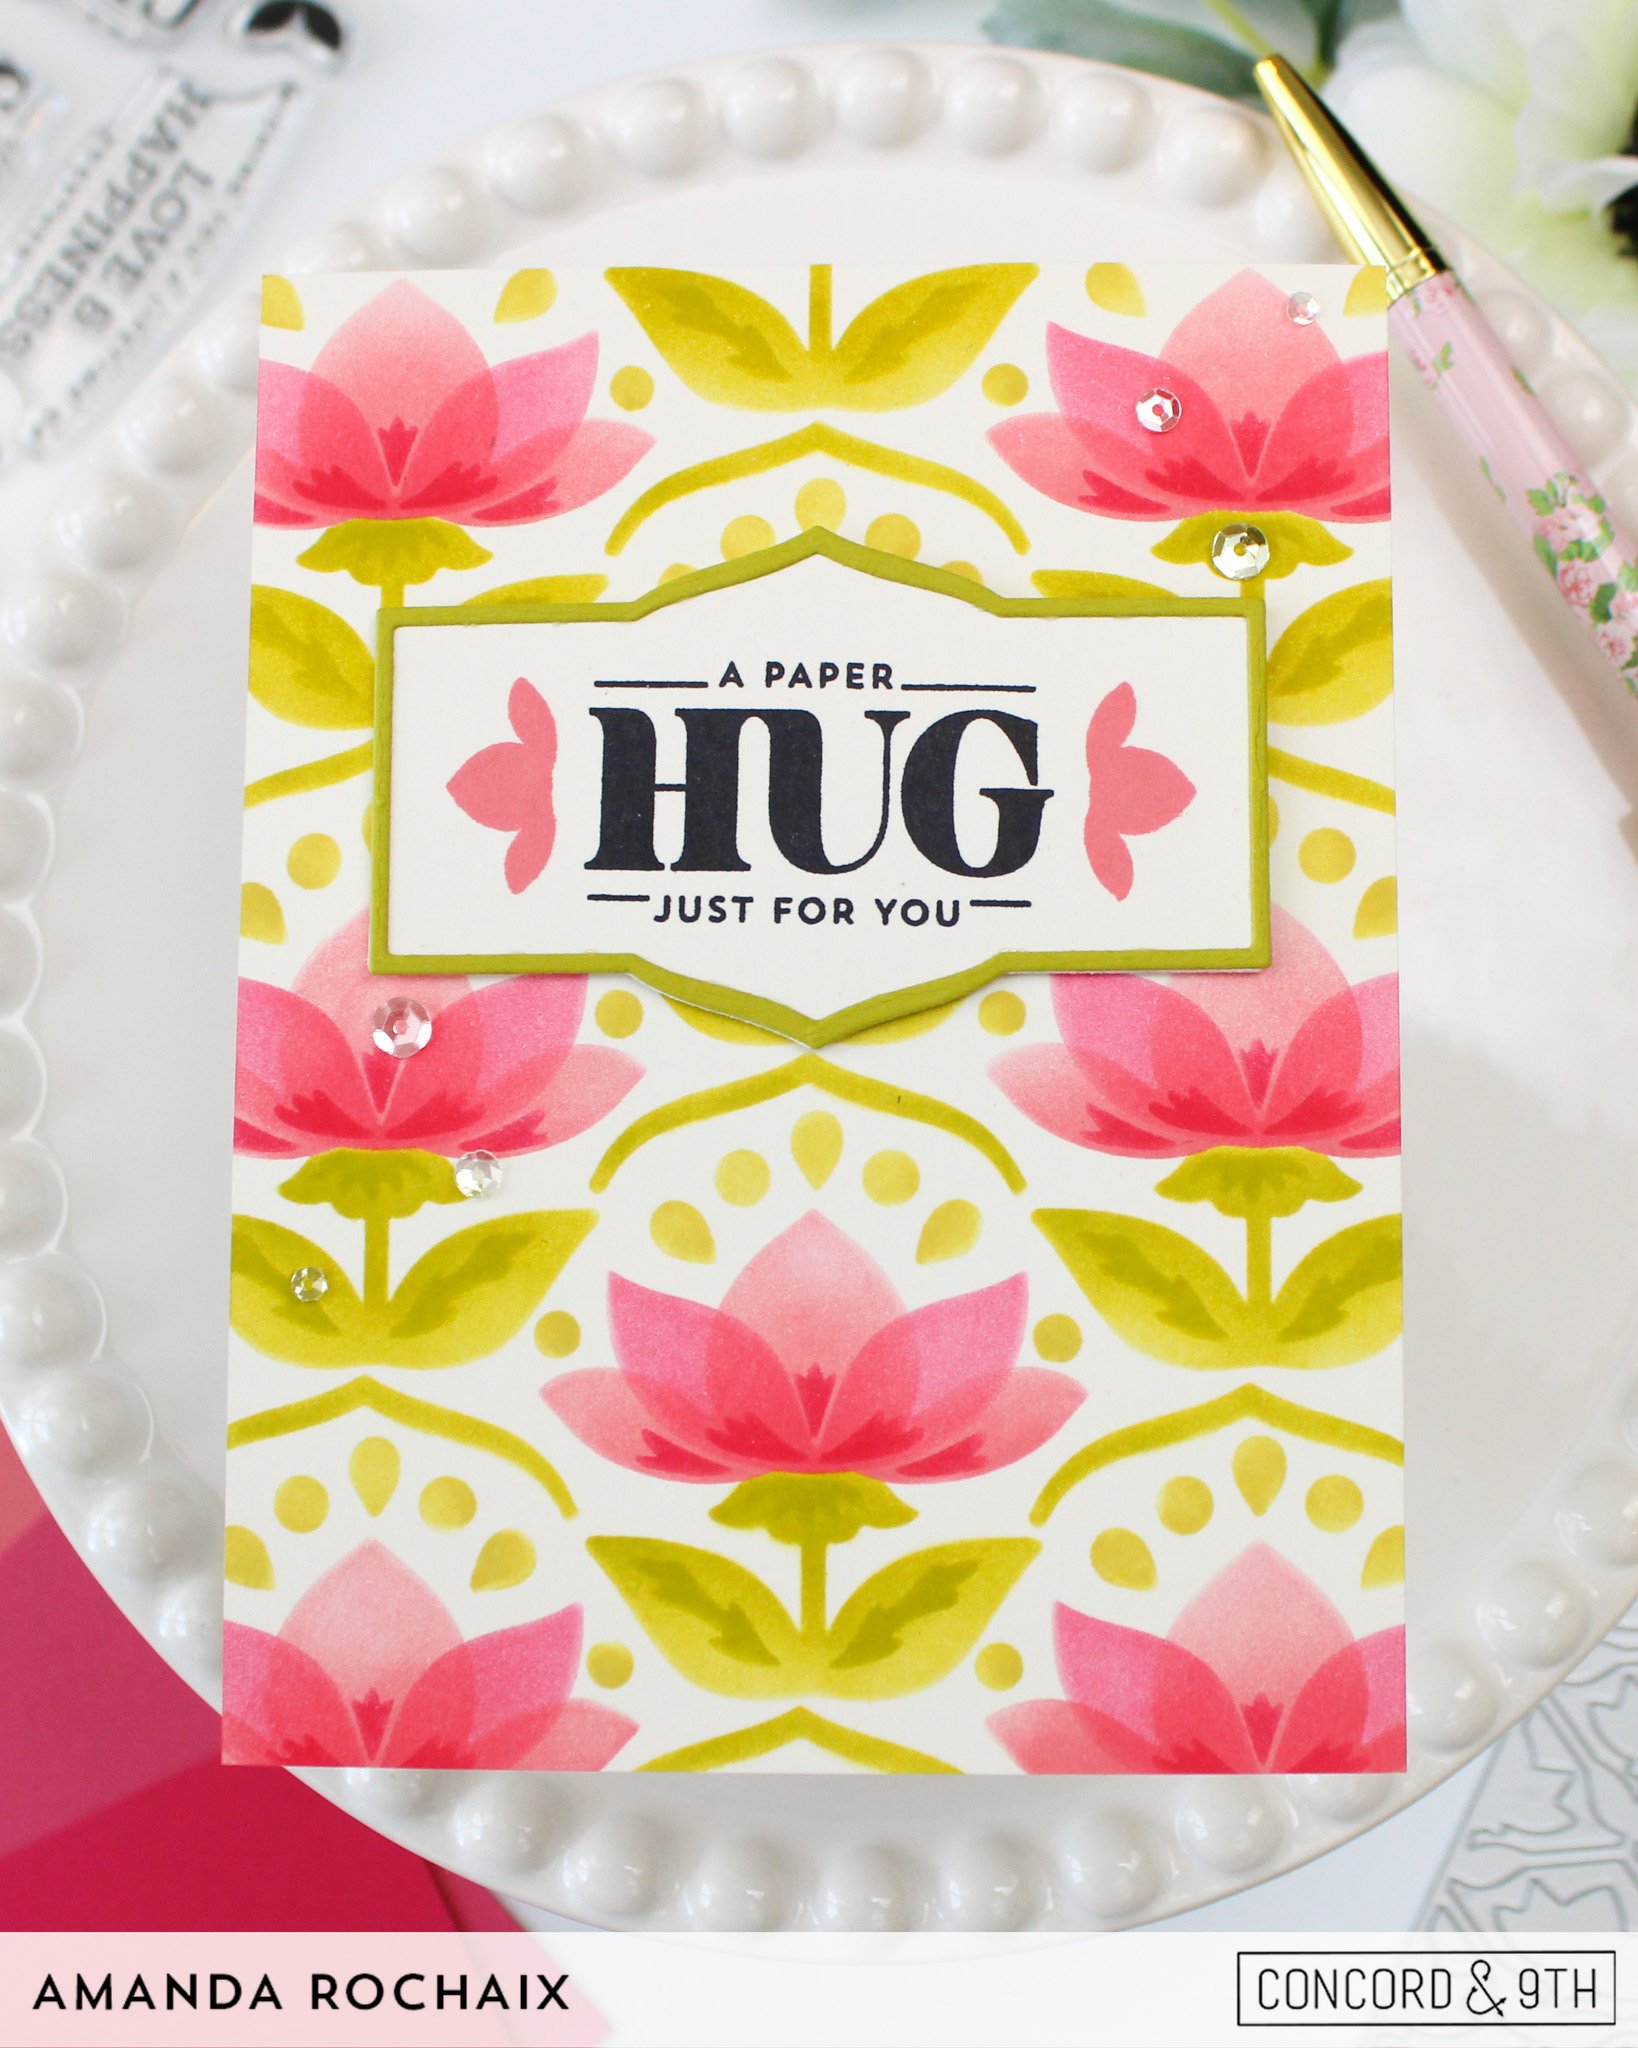
When I tell you this stencil pack makes the most gorgeous background in a flash, I mean it! I stuck with my tried and true color palette of Lemongrass, Watermelon, and Honeysuckle, but also added in Honeycomb and Berry Kiss! I started out with an A2-size panel of Almond cardstock, then stenciled on the large petal layer with Watermelon ink. I added the second layer of petals with Honeysuckle ink, then added the flower details with Berry Kiss ink. For the stems and half arabesque detail, I blended on Lemongrass ink, then blended it on with a heavier hand for the stem and leaf details. Lastly, and it’s hard to differentiate it in this photo, I blended on Honeycomb ink for the dot details above the flowers. This design is so gorgeous, and it would look fabulous in so many colors!
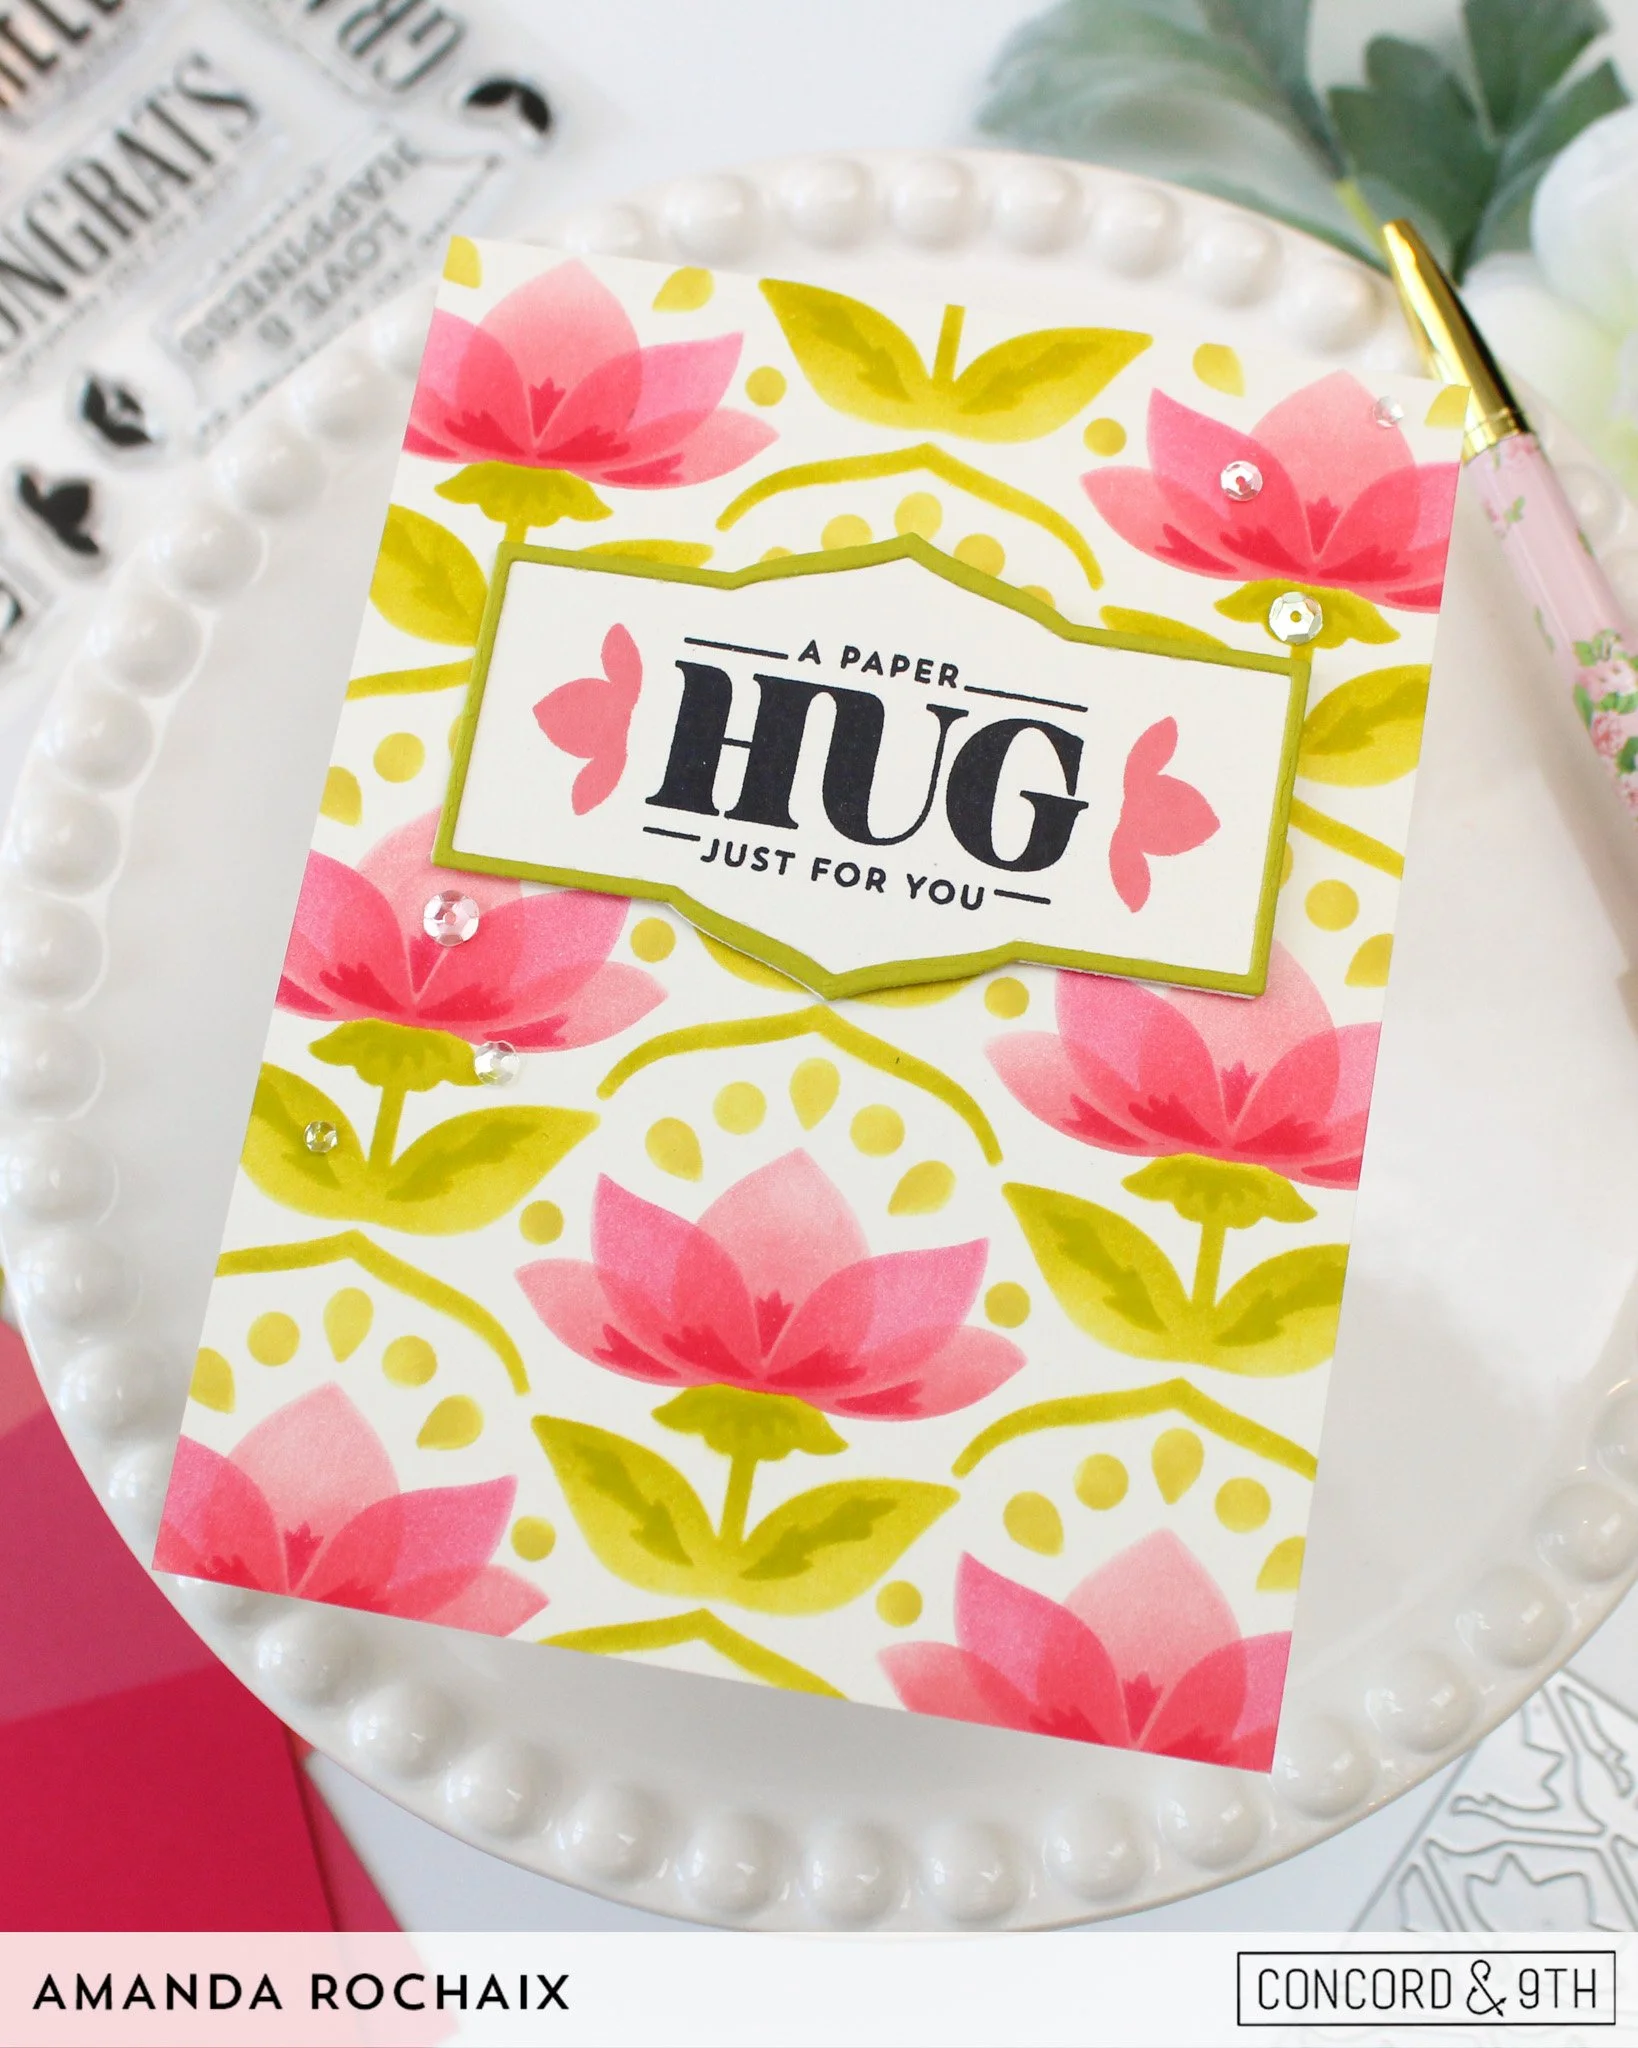
For a sentiment, I pulled out a scrap of Almond cardstock and the Layered Lotus stamp set and stamped ‘a paper hug just for you’ using Altenew Jet Black fresh dye ink. To bring some pink into my sentiment, I stamped the lotus petals on the sides of my sentiment in Watermelon ink. I die cut the sentiment out using the elongated arabesque shape, then die cut the frame die out of Lemongrass cardstock to layer on top. The main reason I did this was to make the sentiment stand out on my card front a bit more since I wasn’t planning to use a whole lot of dimension on the card so that it could mail easily. With the Lemongrass layer glued down, I popped the sentiment up on some 1mm foam squares, then finished the card off with more neutral sequins. I love how gorgeous this stencil is, and I really want to try it on some colored cardstock next!
Thanks so much for stopping by the blog today! I hope these lotus cards inspire you to play with this bundle if you’ve got it—it’s amazing! Catch you soon!💗
Affiliate disclaimer: all links to Waffle Flower, Concord & 9th, Altenew, Scrapbook.com, and Spellbinders products are affiliate links. These links allow me to get a commission at no extra cost to you if you use them to shop! All other links provided are links to supplies and shops I am not affiliated with and I do not get a commission from.