

Concord & 9th—Tree Lot Inlay Die for Mass Produced Christmas Cards!
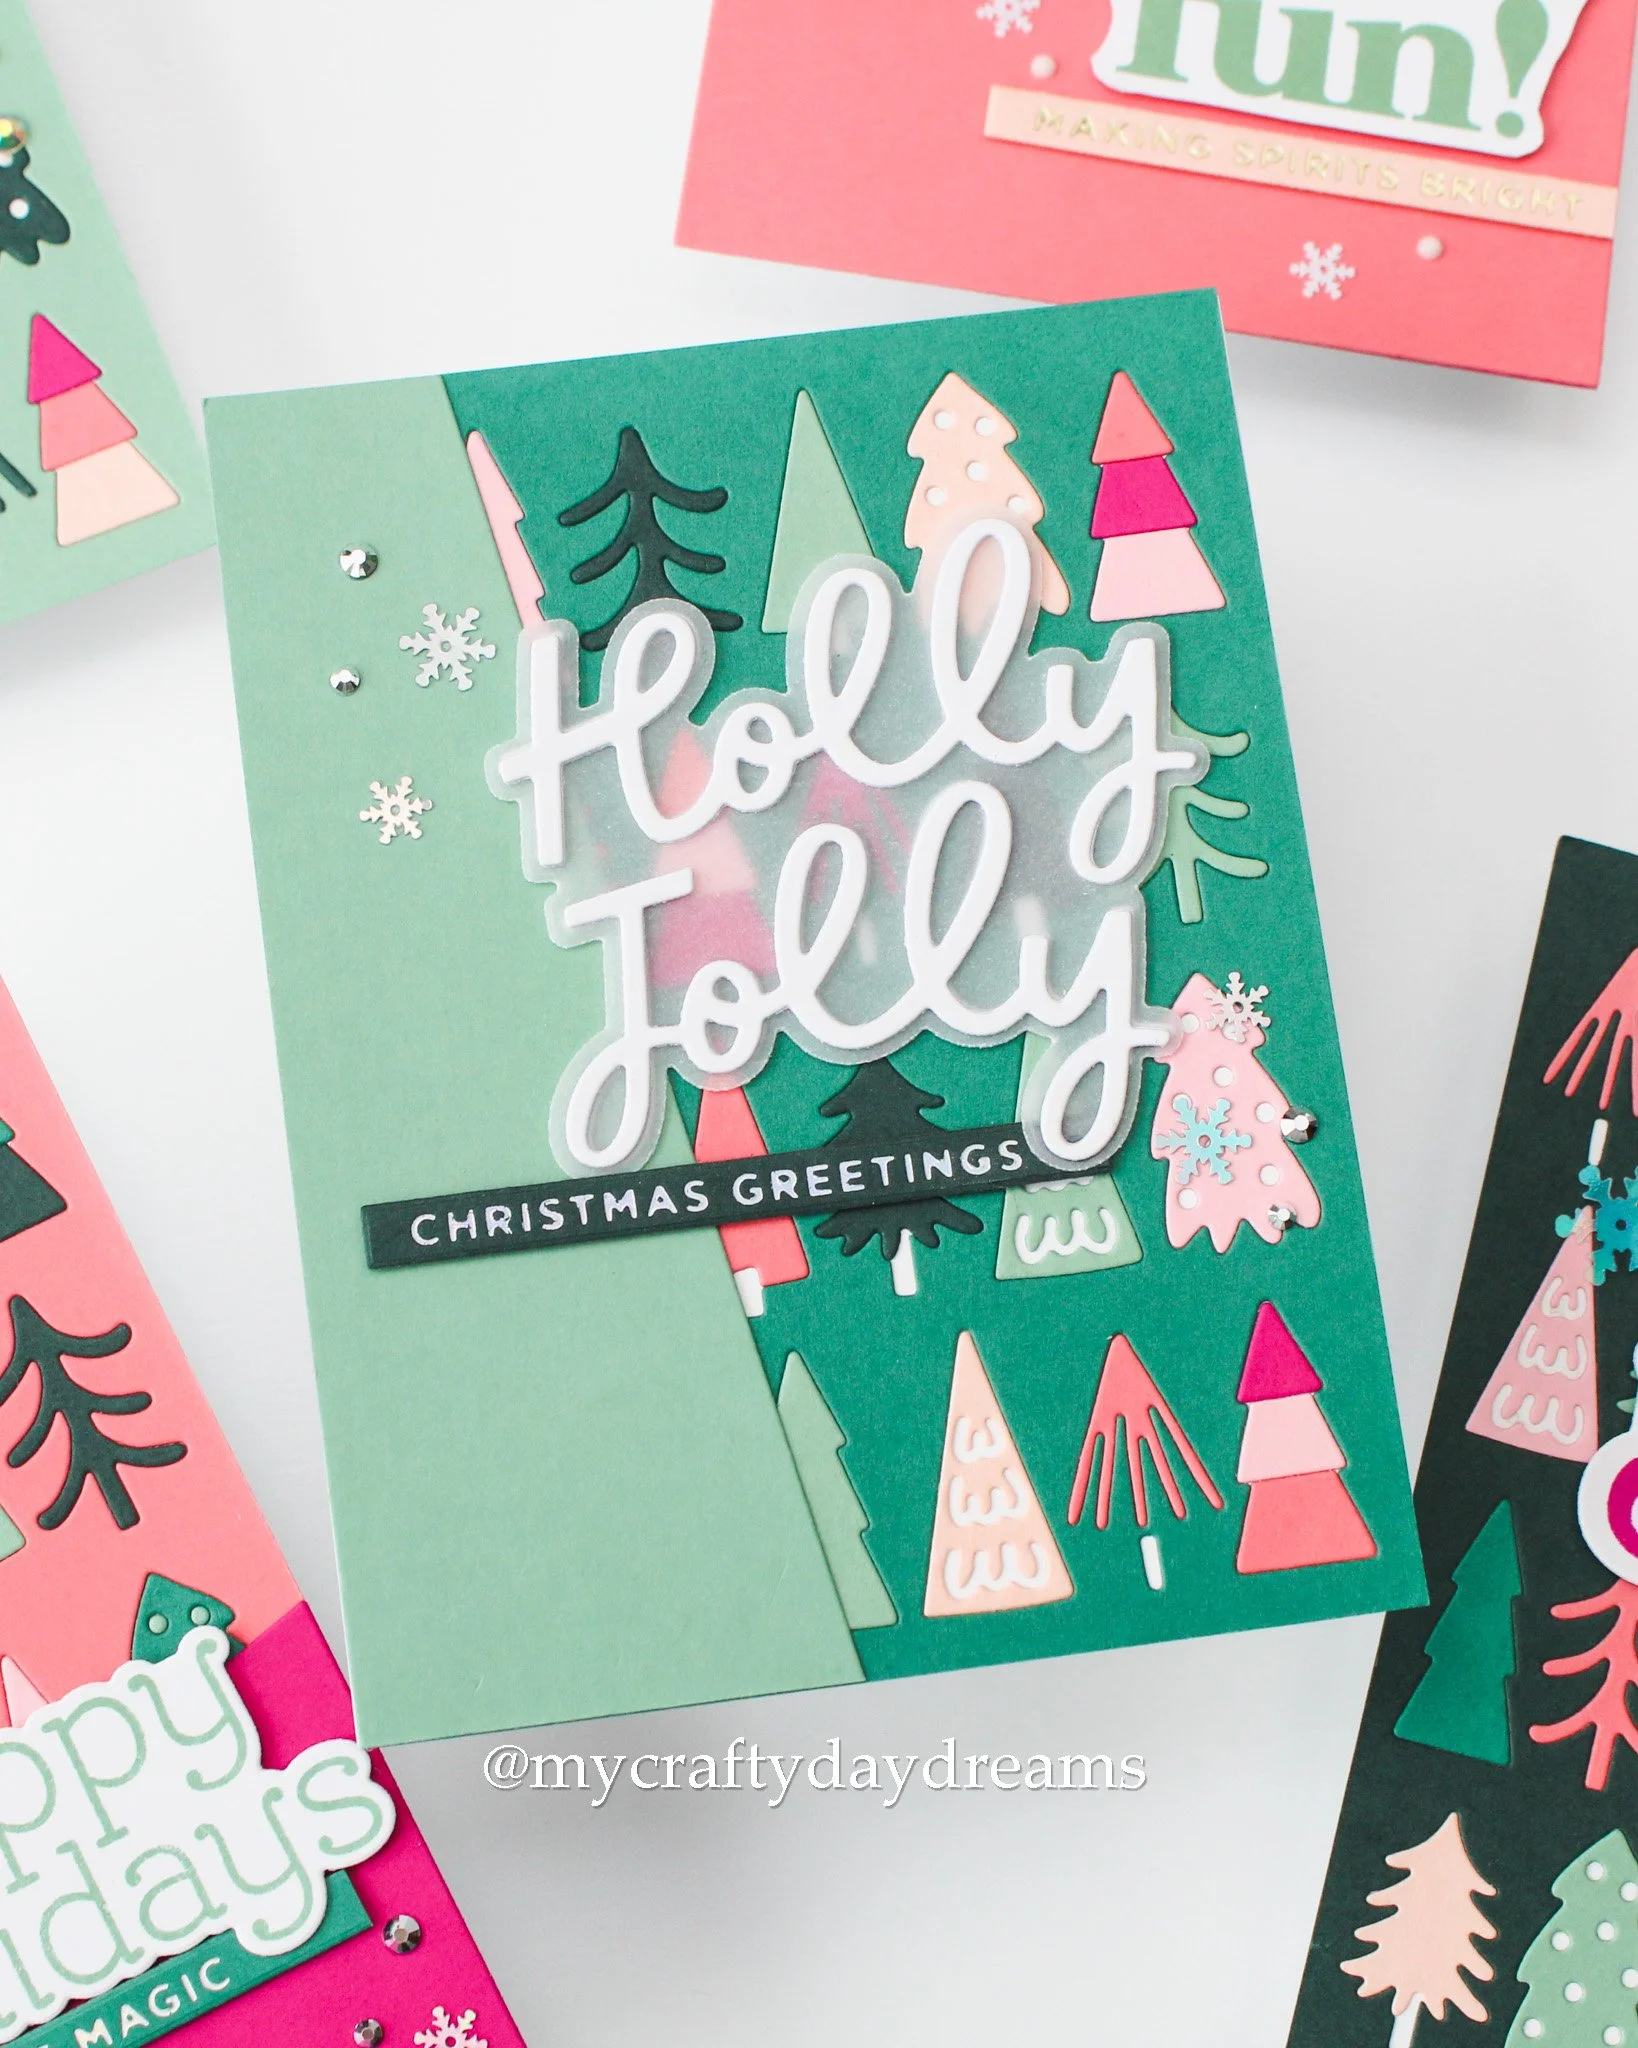
Hi, Crafters! Today I’m back with my first set of Christmas cards for the year! Wooooohooooo! But also oooof, am I behind 😅. I’m so thrilled to have these cards done, especially because I have a dirty little secret to share with you…..I’ve had these backgrounds unfinished for just about two years 😅. I fell in love with this background die, the Tree Lot Inlay Die from Concord & 9th, when they released it two years ago and have been fighting to get these cards finished. I really haven’t had the time or energy (mental or physical) to do them, which is why I’m even happier to have them done now! If you’re a fan of mass produced cards made with inlay dies, I also created these using another C9 die set!
Now, let’s kick off the inspo for these cards! As you may have noticed over the past couple years, Rainforest has been a huge favorite color of mine, and that was what inspired these cards. Or rather, that was what drove me to make these cards when I found this inspo pic on Pinterest.
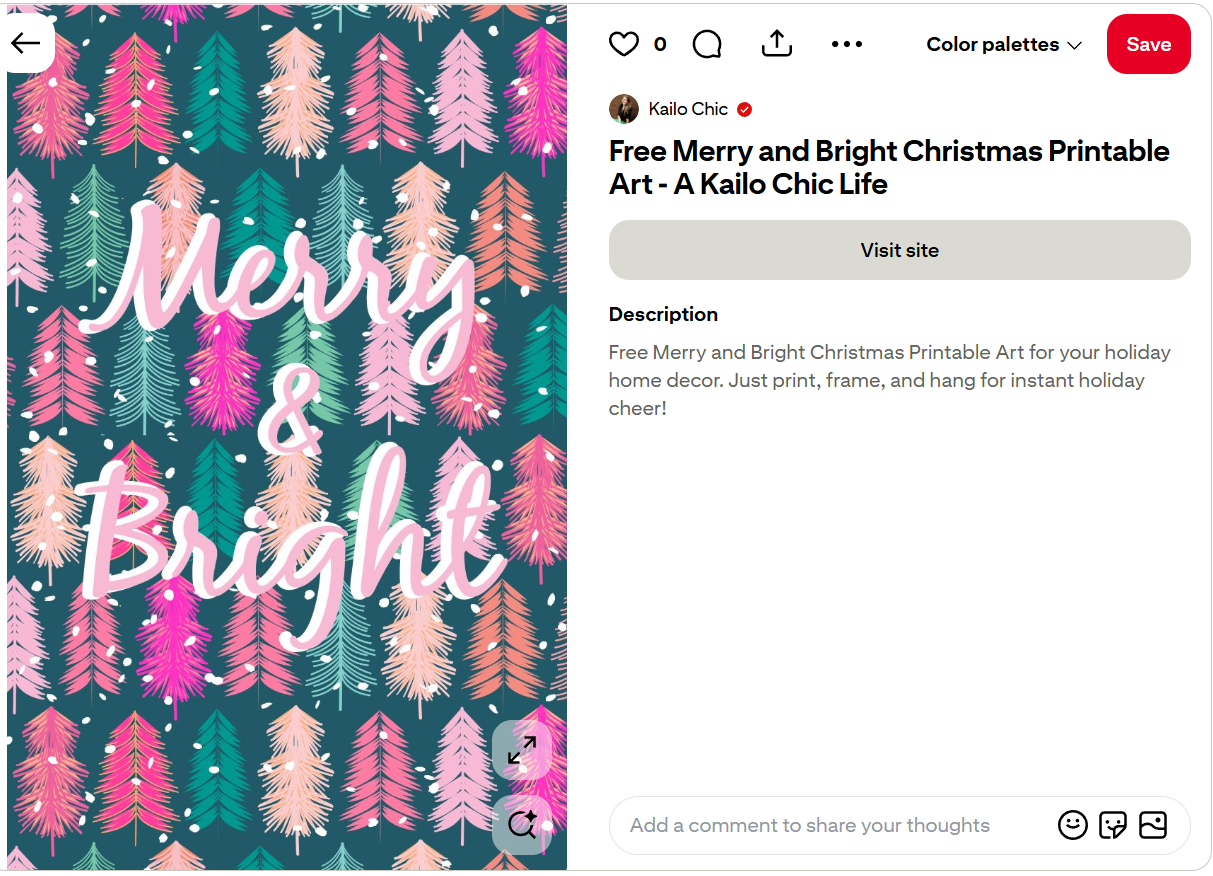
This picture was a love at first sight color palette of perfection, so I just had to recreate it with the Tree Lot Inlay and Concord & 9th colors! Going off this image, my palette consisted of Rainforest, Juniper, Eucalyptus, Nectar, Watermelon, Pink Lemonade, and Dragonfruit. What a lovely, punchy color palette this is! Since I was using an inlay die, I challenged myself to create multiple cards since I spent all that time diecutting so many colors of cardstock. So, from this one die set and lots of stash raiding for sentiments, I created 5 cards plus one bonus using the inlay pieces. I had so much fun playing in my stash creating these cards, it’s definitely something I want to do more of!
From Illustration to Paper
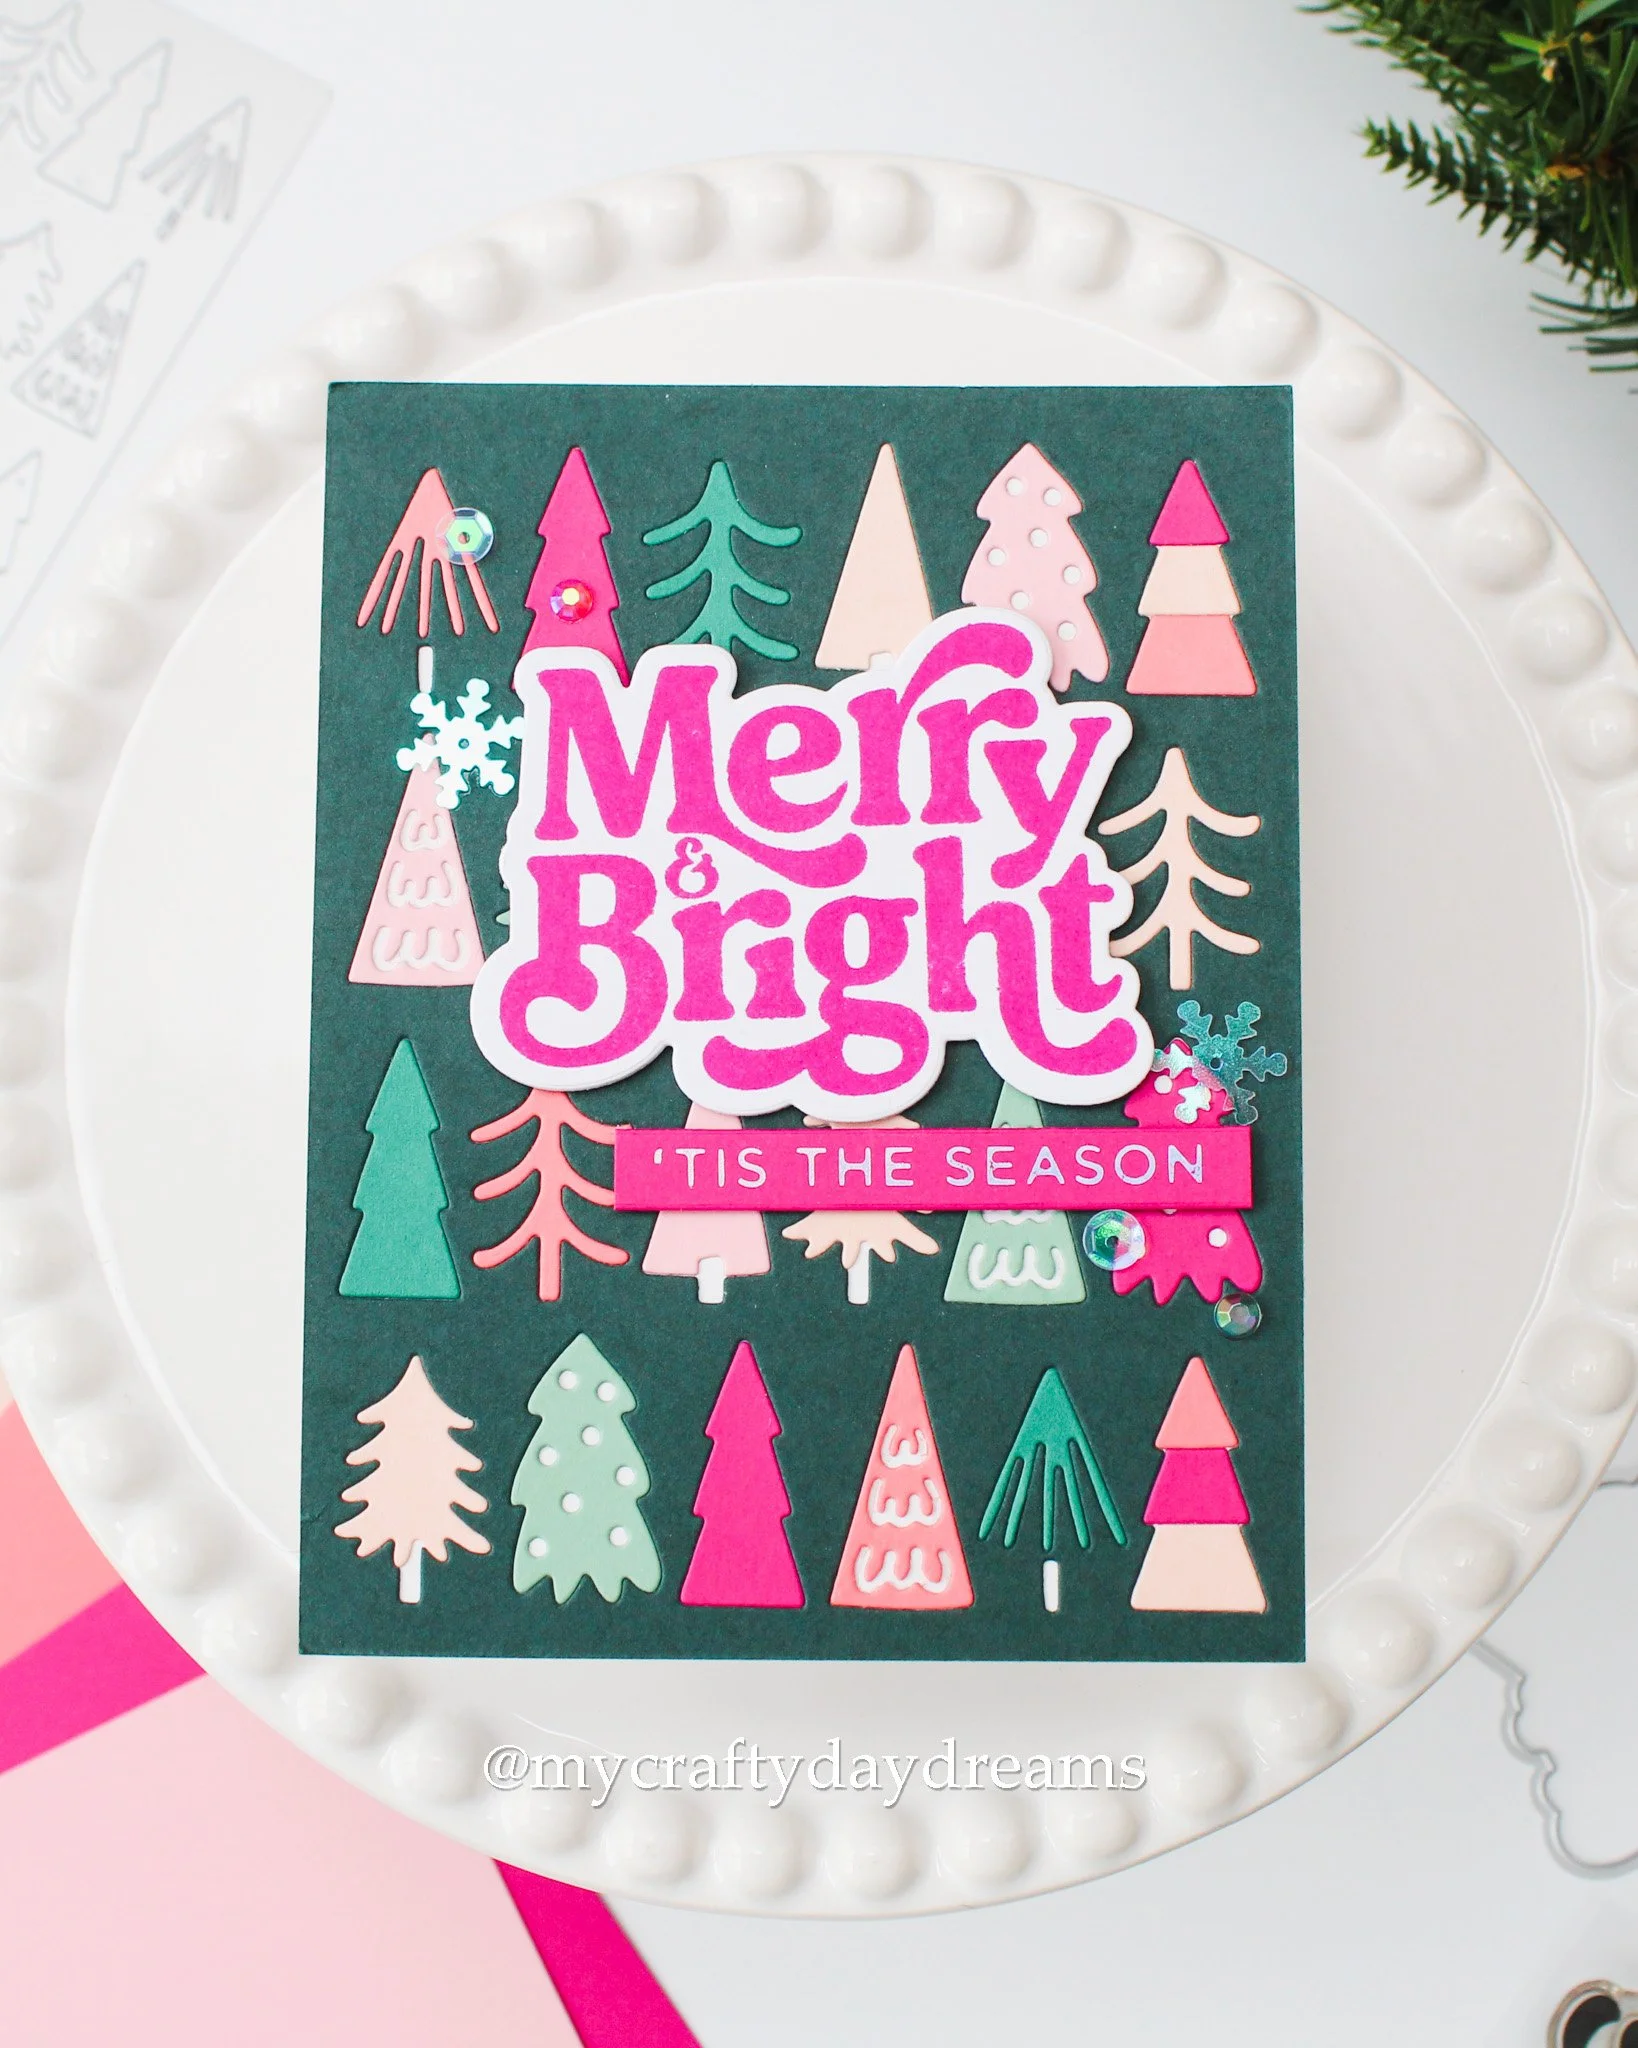
How good of a replication is this?! I looooove how it turned out and the drama and contrast this card has with the Rainforest background. For the sentiments on these cards, unfortunately, only half of them are available since I believe the foil plates I used are discontinued on Spellbinders. I apologize for showing you product you can’t buy (maybe you can find it in the buy/sell/trade Spellbinders pages), but odds are some of you may also have these plate sets in your stash!
So, for the sentiments on this card, I used the ‘merry & bright’ from Concord & 9th’s Season’s Greetings Stamp Set and stamped it in Dragonfruit ink on white cardstock, which I then cut out with the coordinating die. The subsentiment, which is from the Holiday Sentiments Series 2 Glimmer set, is hot foiled on Dragonfruit cardstock with Prism foil. Prism is the perfect color for the subsentiment, and it inspired me when it came to picking my embellishments! Since I wanted to make all of these cards very mailable, the dimension is kept a bit to a minimum, so I layered the ‘merry & bright’ with another die cut, then popped it on the card using some 1mm foam squares. Since I wanted a little dimension for the subsentiment, I also used 1mm foam, too. Funny enough, that extra die cut behind the ‘merry & bright’ added just enough dimension to keep these sentiments from being the same height and adding a bit of contrast between them.
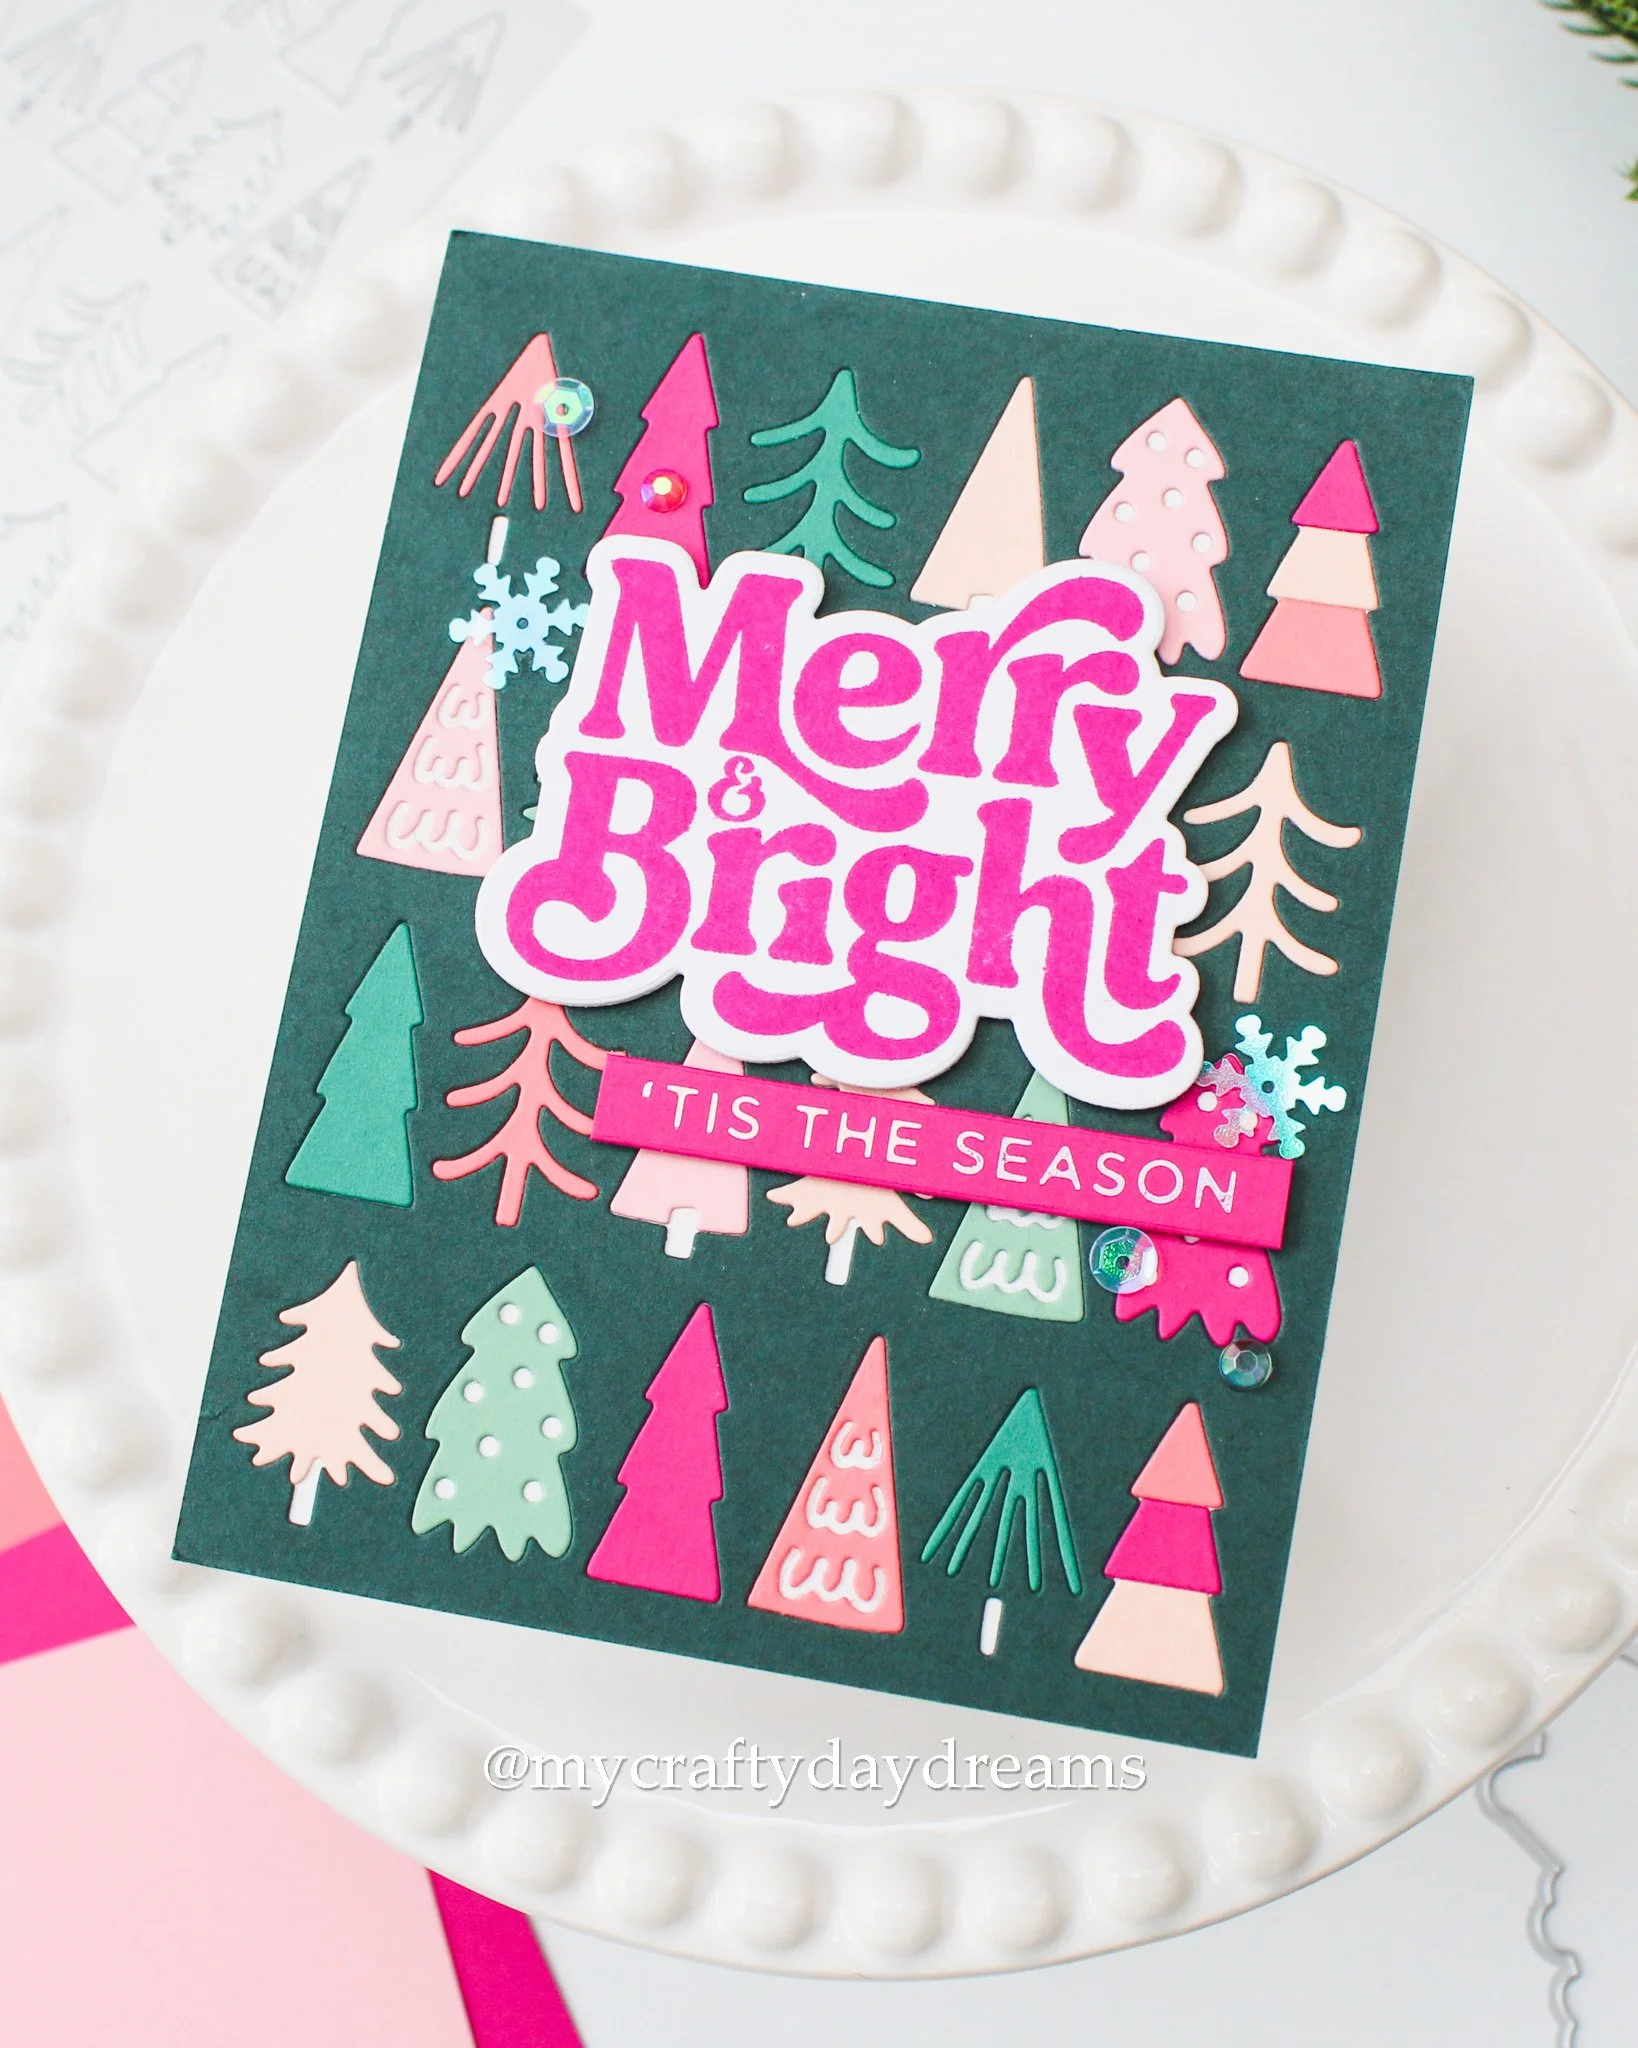
To finish this vibrant card off, I decided to stick with iridescent sequins because the shimmer they have really played into the Prism foil. I pulled out my Packed Powder sequin mix from Buttons Galore & More and did two little groupings of three on opposite sides of the sentiment. The cool thing with this embellishment mix is it has gems, regular cup sequins, and snowflake sequins in it! This is the first time I’ve ever mixed types of sequins on a card, and it’s pretty fun!
Season’s Greetings
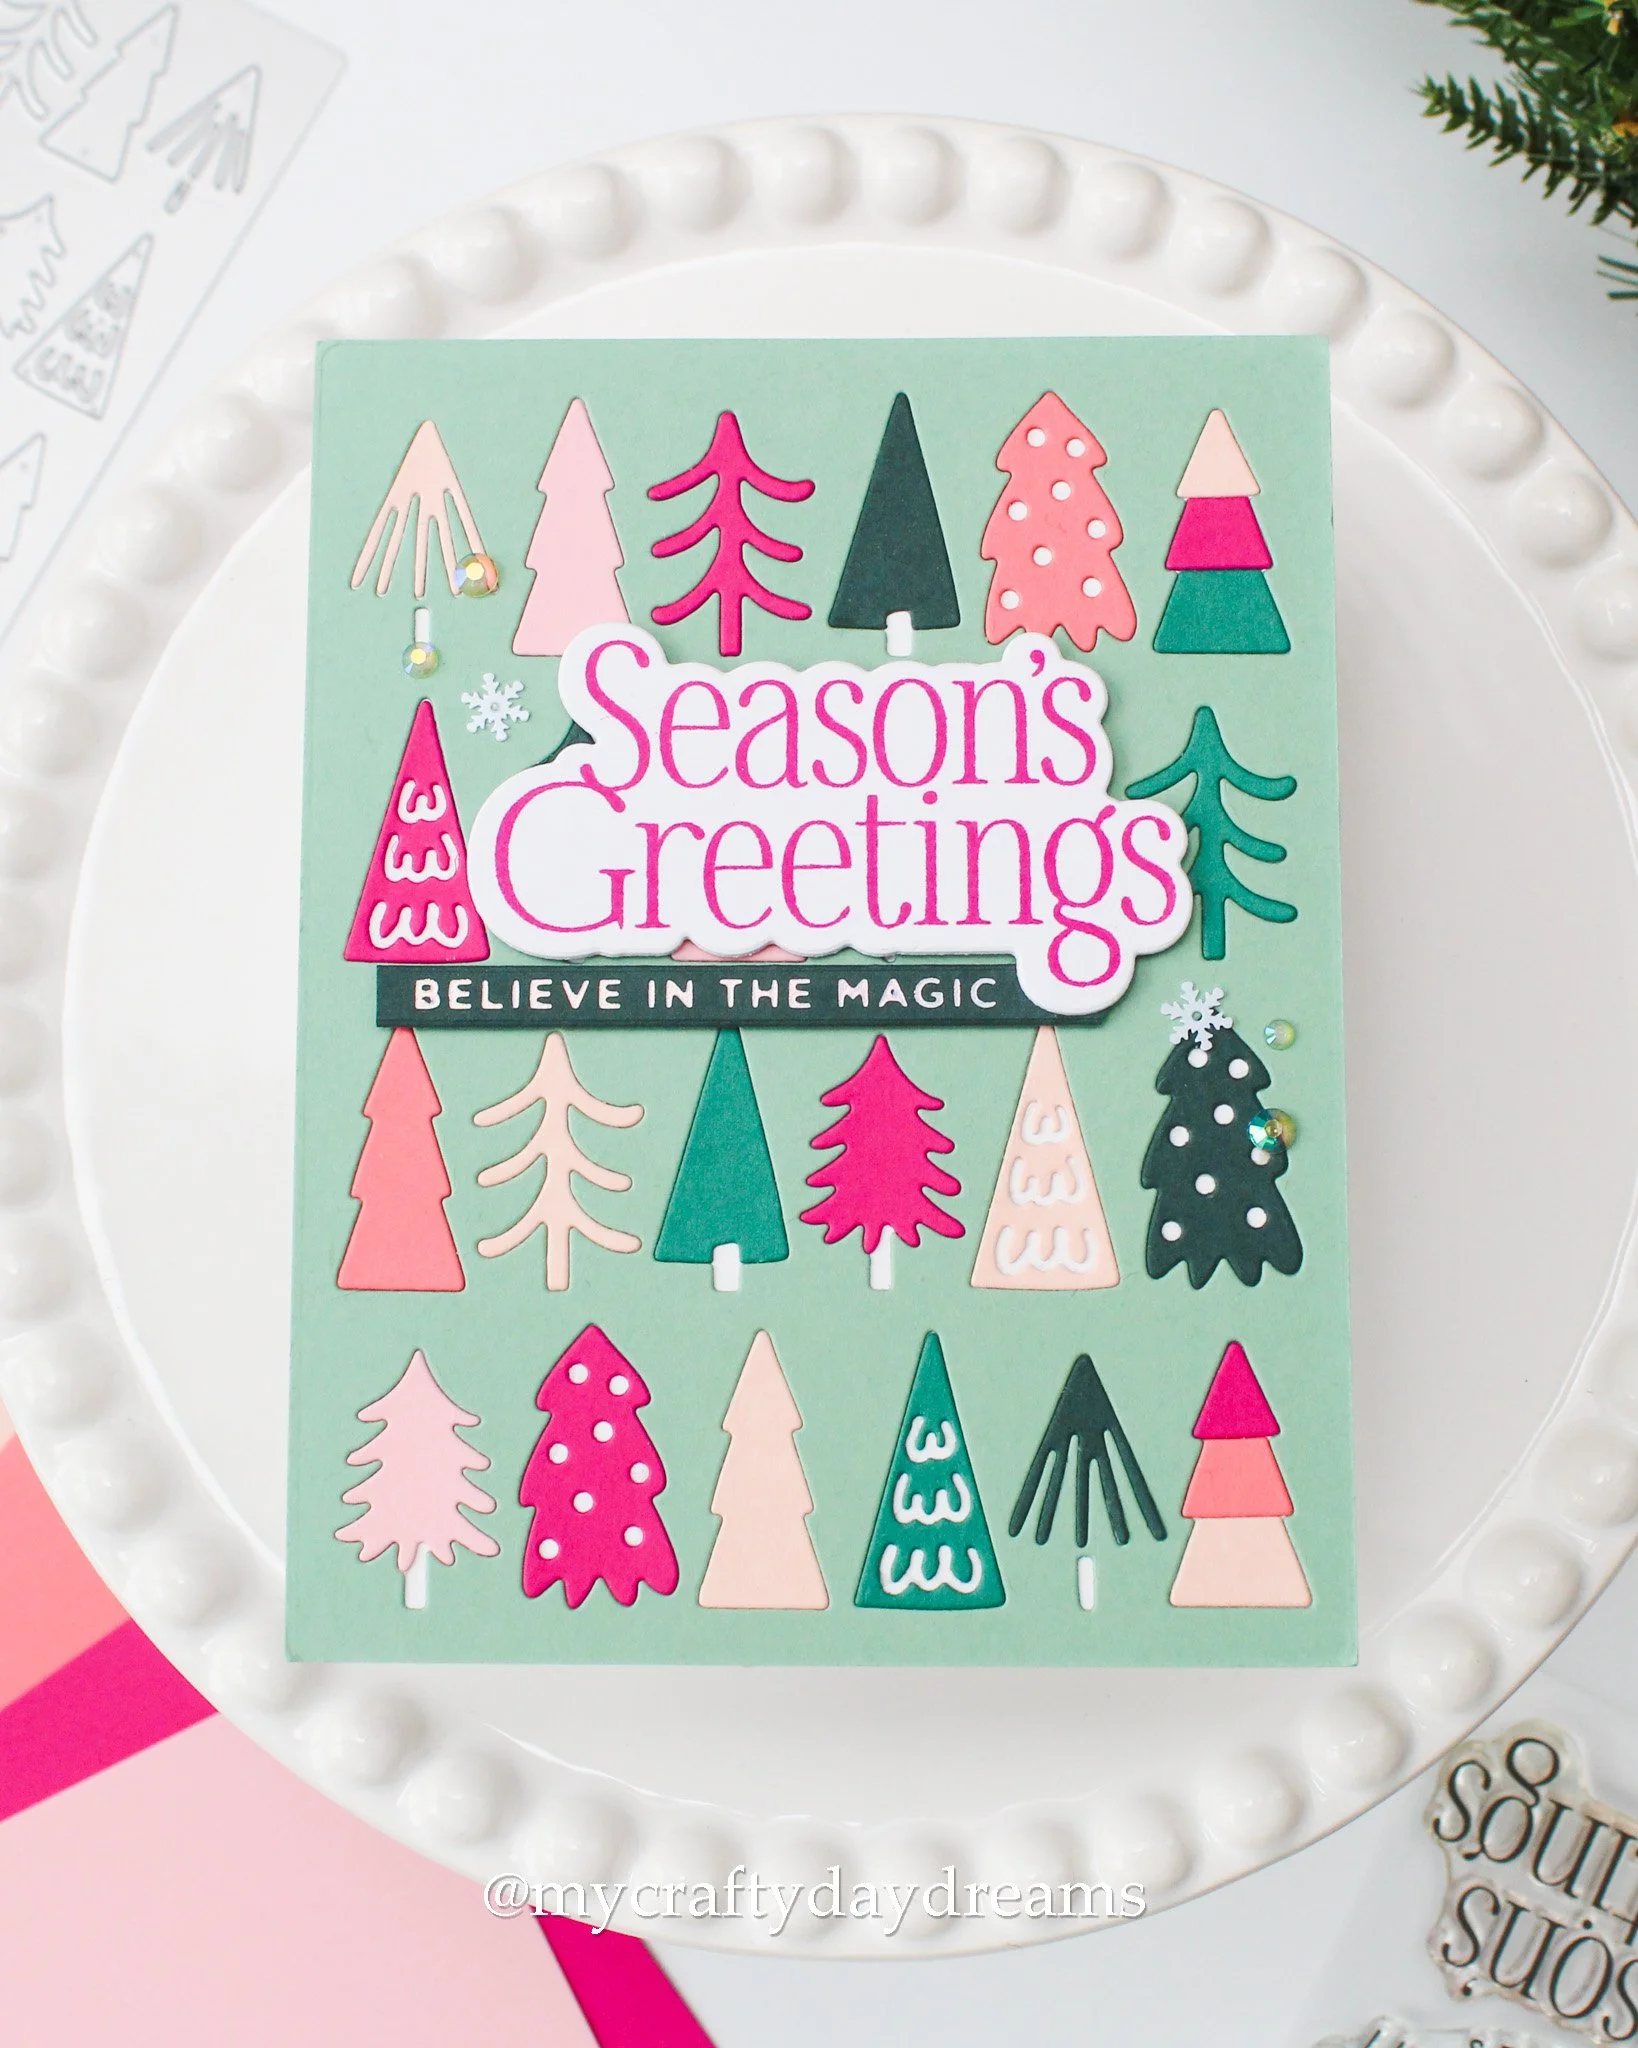
I really enjoy the Eucalyptus background on this card and how well it plays with the whole color palette! I feel like I don’t use Eucalyptus enough when I’m crafting, so maybe this is my sign to keep doing so! For the sentiments on this guy, I pulled out the Season’s Greetings Stamp Set again and stamped ‘season’s greetings’ in Dragonfruit ink on white cardstock, which I then cut out with the coordinating die. For the subsentiment, I pulled out the Mini Christmas Sentiment Strips Glimmer set from Spellbinders. Again, this set is unfortunately discontinued, but you may have it in your stash, or you may be able to find it in a buy/sell/trade group! I hot foiled the sentiment in Prism foil on Rainforest cardstock, and I love how it looks, especially since it pulls more Rainforest into the card!
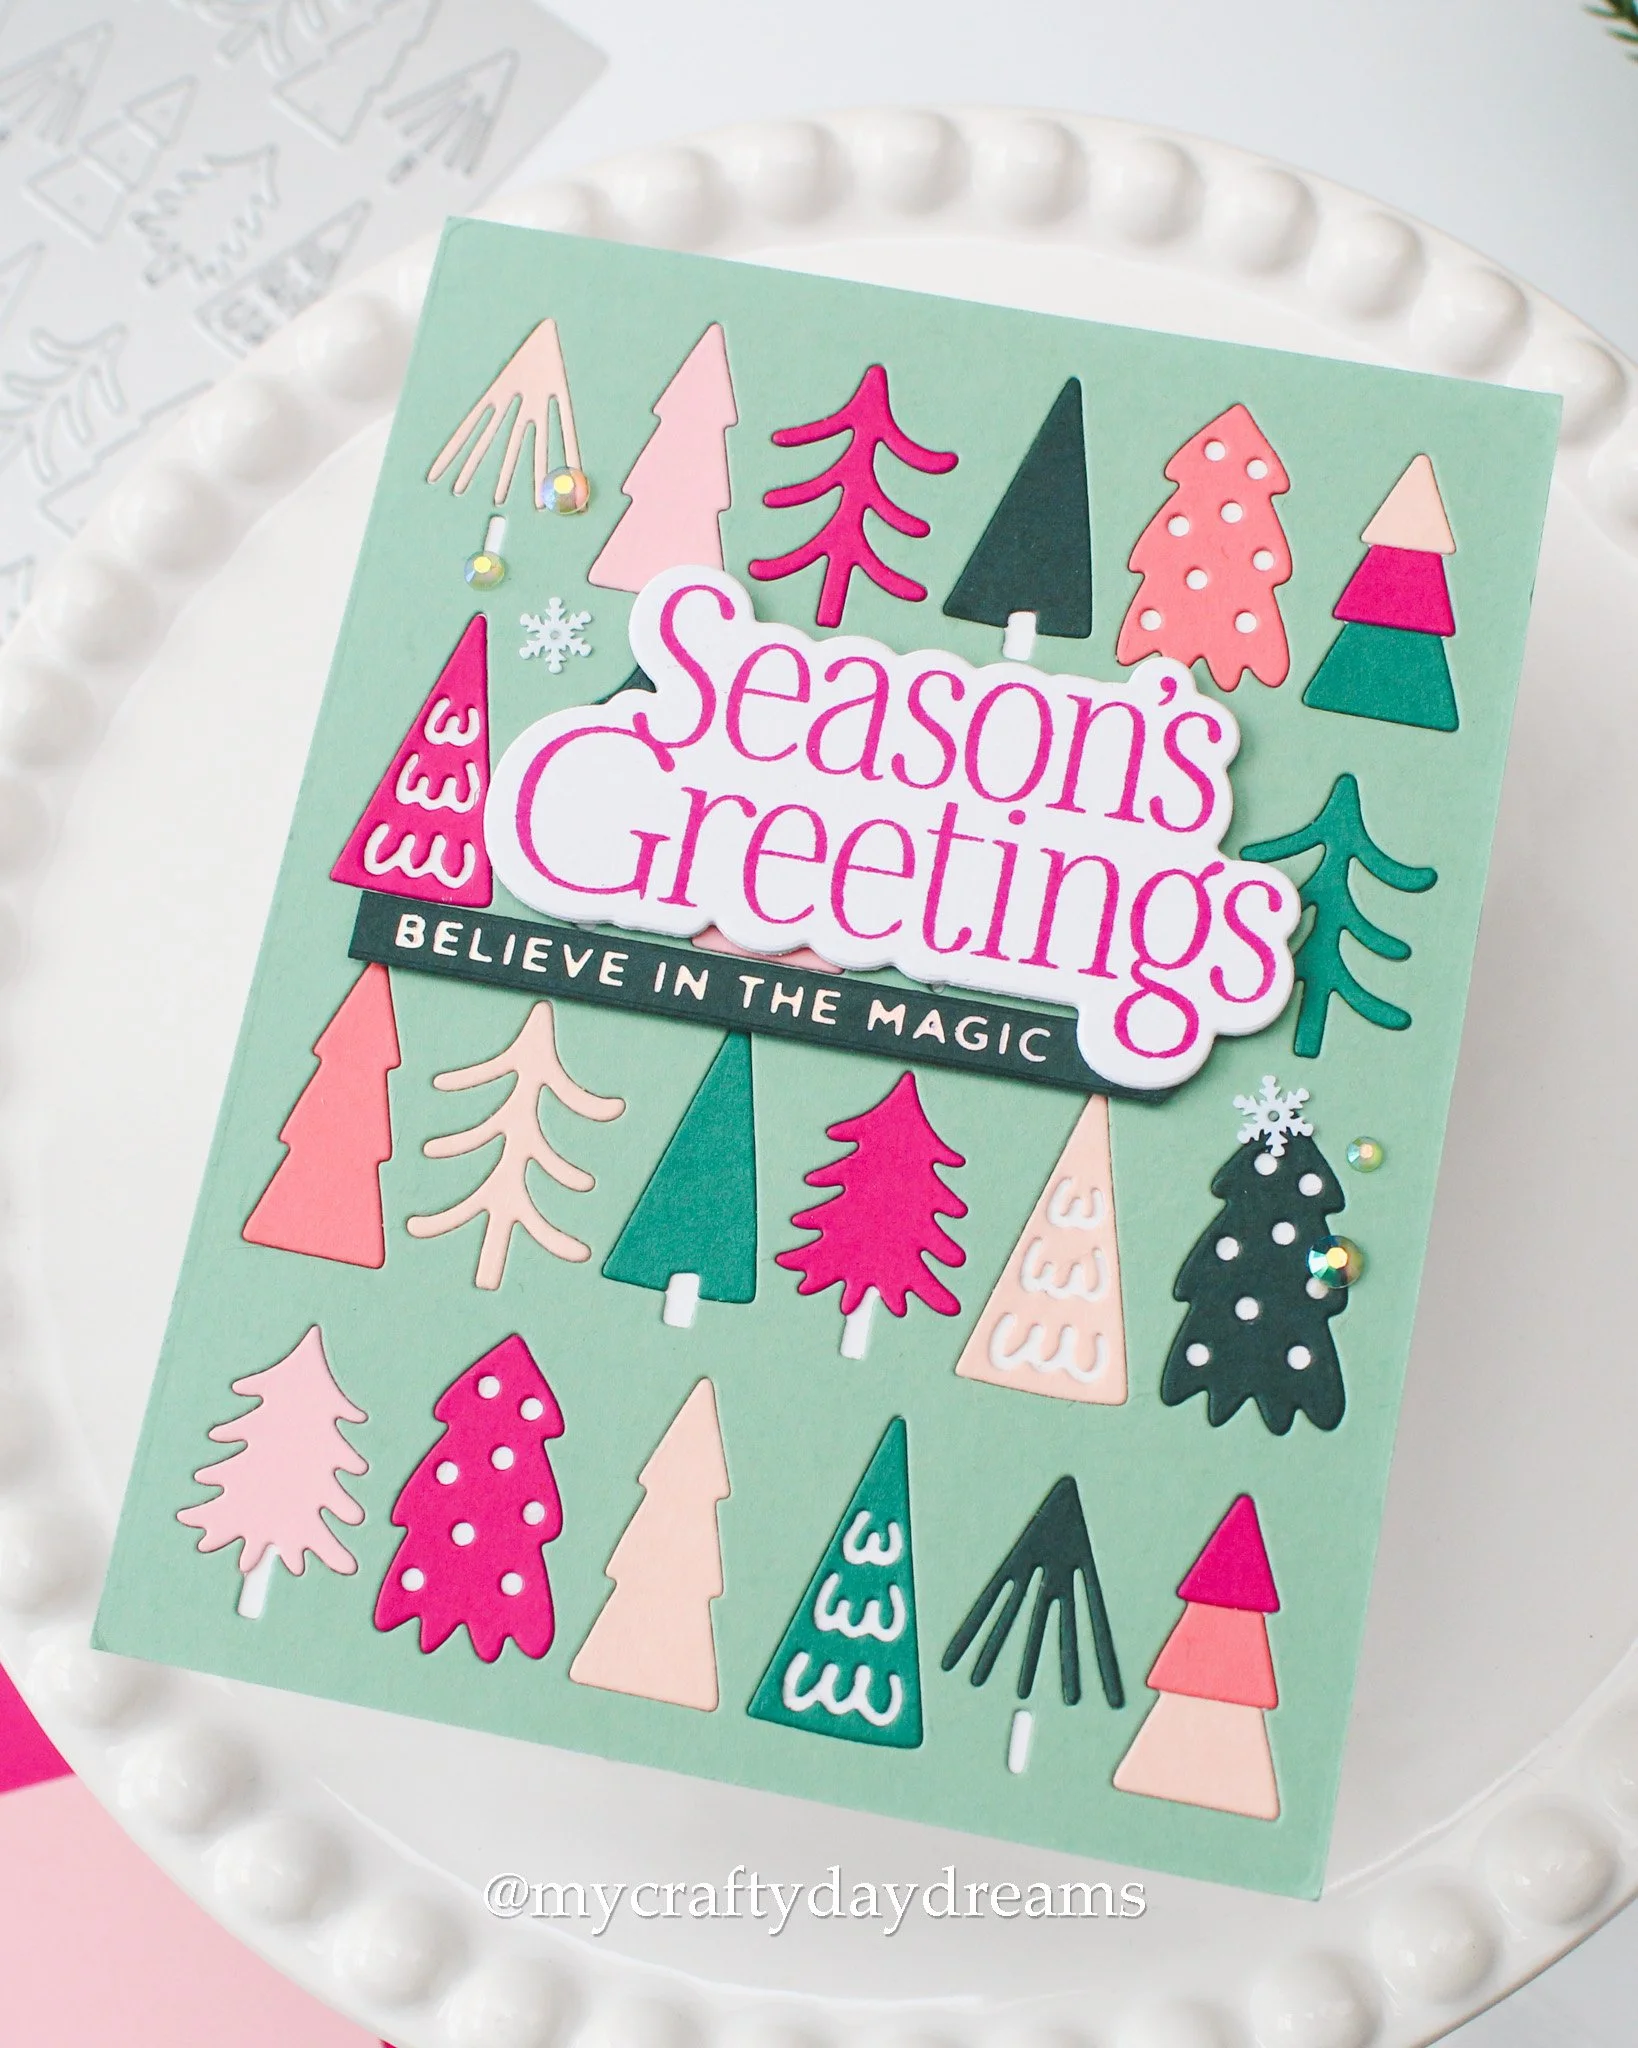
I did the same as I did with the last card when it came to adhering the sentiment, using only 1mm foam squares and some extra diecuts for dimension. To add the finishing touch to this card, I raided my embellishment stash again. This time, I used the Avalanche Sparkletz embellishments from Buttons Galore & More and added two groupings of three on opposite sides of the sentiment. I really had fun playing with embellishment types on these cards!
When In Doubt, Slant it Out
These next three cards all have something in common besides the Tree Lot Inlay die. Because I didn’t want all my cards just to be a rinse and repeat of a large sentiment in the middle (and there’s nothing wrong with that! I just wanted something different!), I pulled out one of my favorite tools— the Slanted Shortcuts dies from Concord & 9th. These dies are some of my favorites to use when I have a large or patterned background that I want to break up. So I did just that on these three cards!
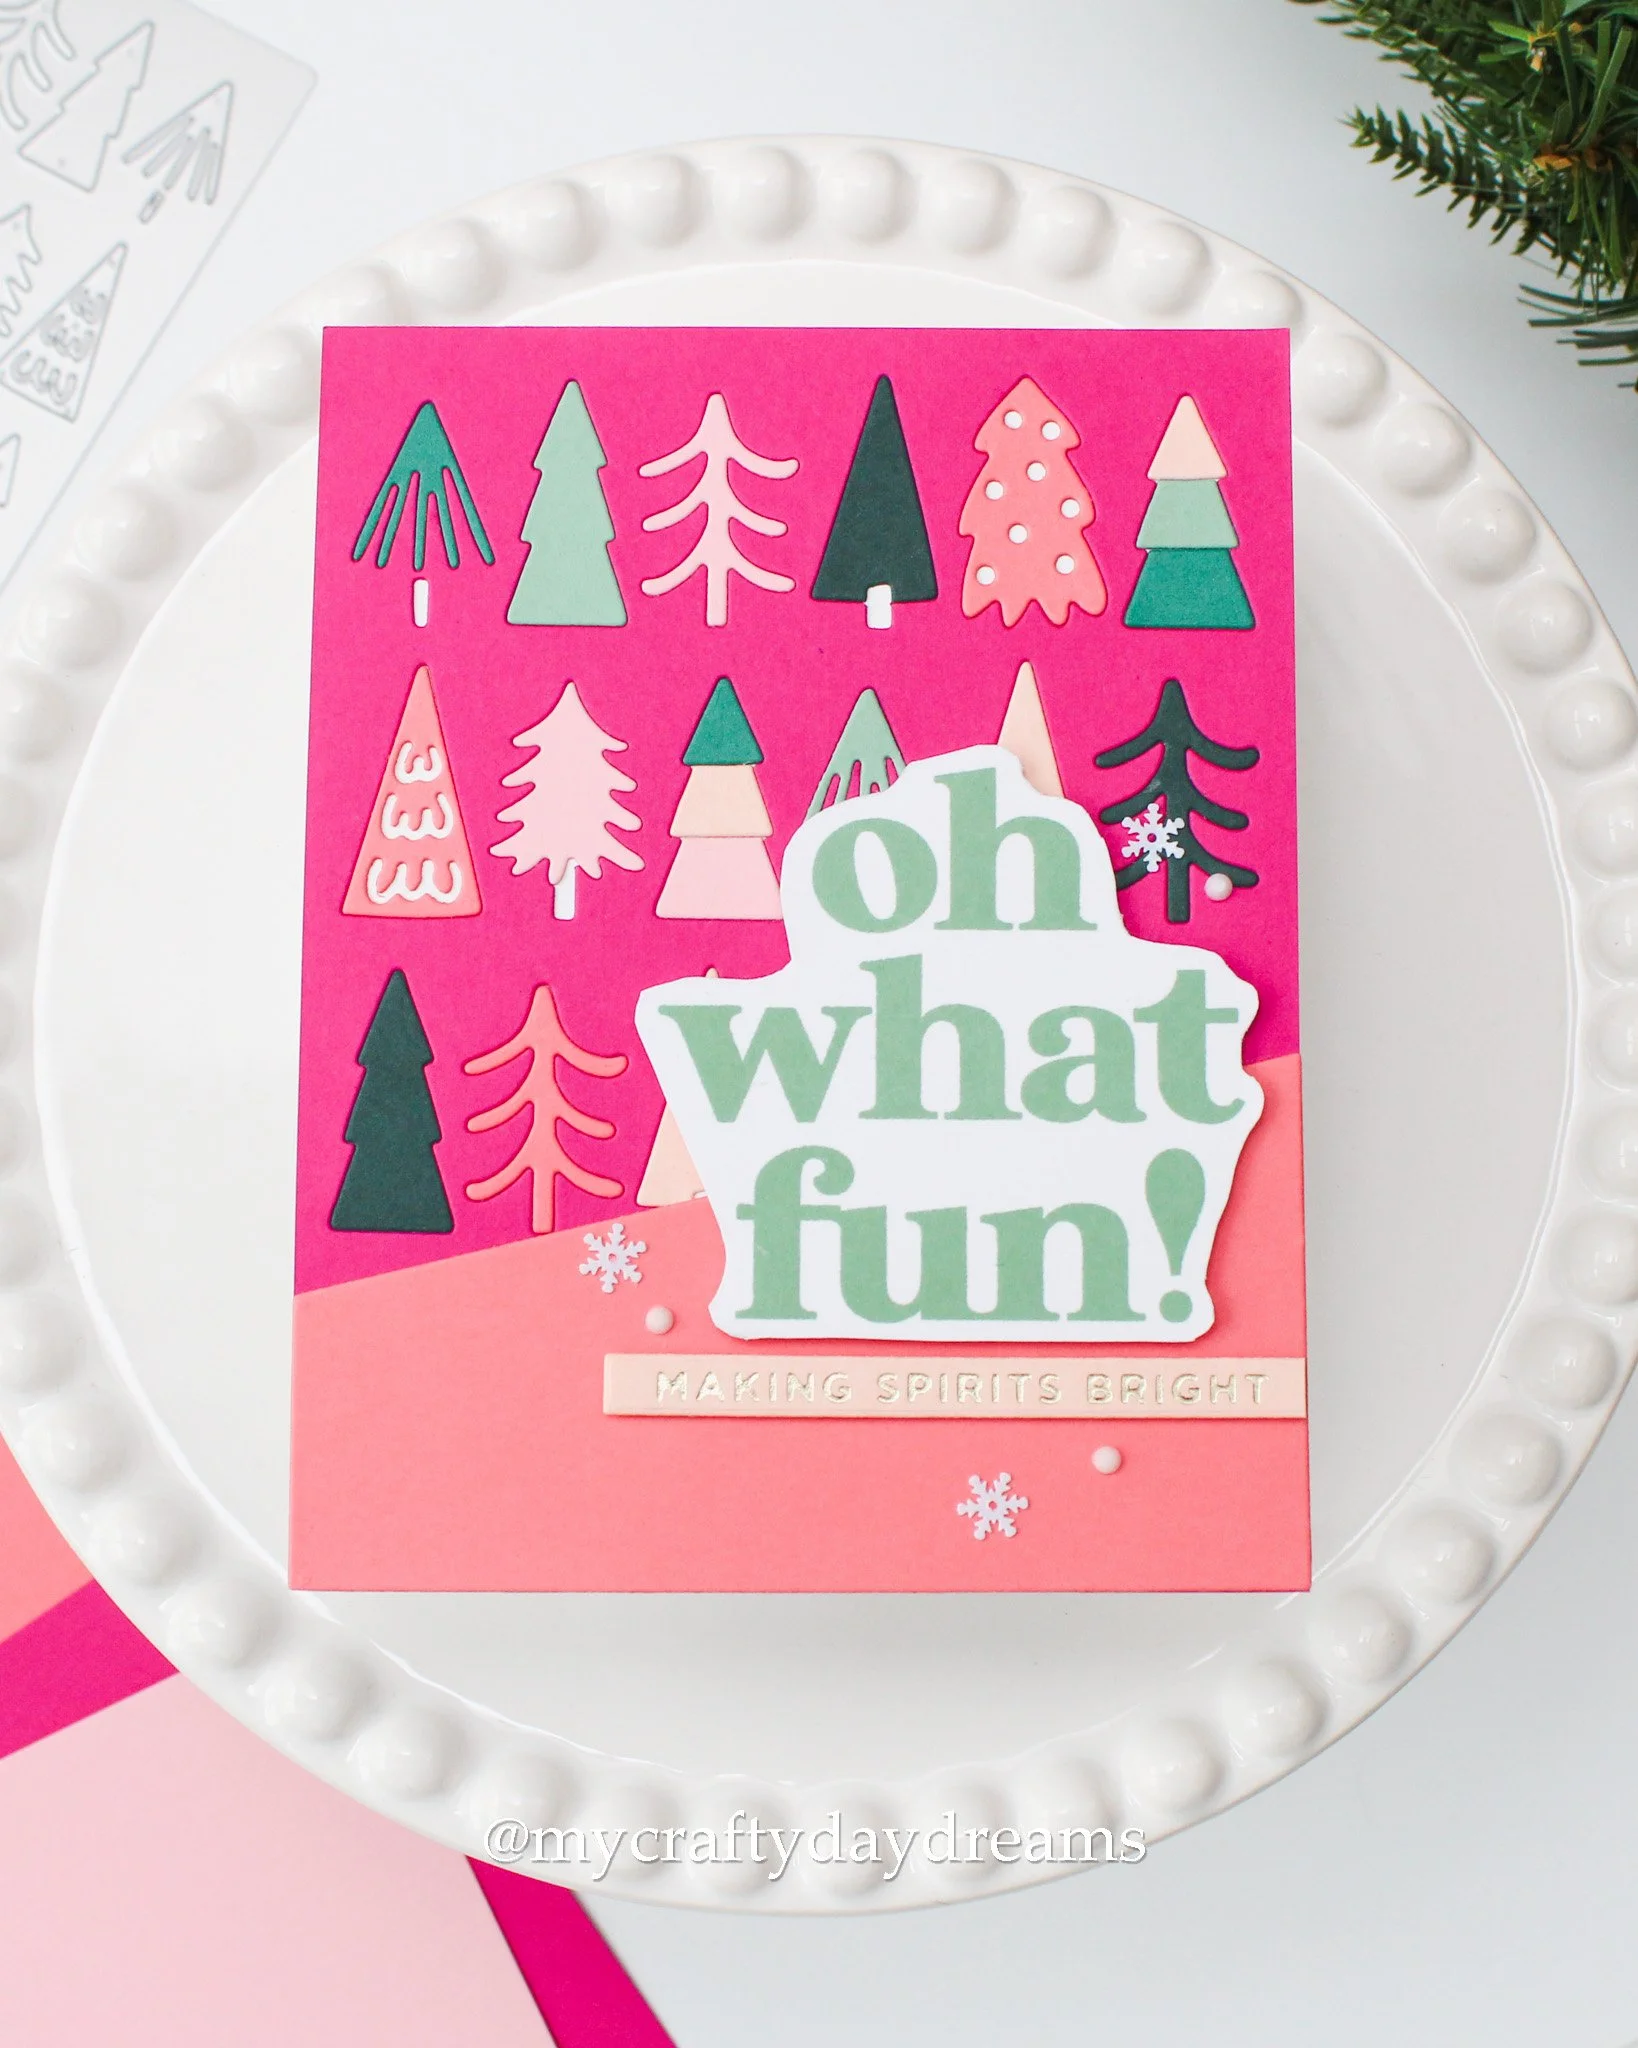
How playful is this card?! I absolutely adore it, it’s hard to pick a favorite from this wonderful group of cards, but this one is up there! For this one, I used Dragonfruit cardstock as my base and I love the contrast it has with the inlayed trees. I die cut the portrait-oriented slant out of Watermelon cardstock and glued it down. I think I really love Dragonfruit and Watermelon together, they’re such a playful mix!
For my sentiments, I fear I committed a whole crime since both of them are discontinued. But, before you get mad at me, be proud of me!!! I finally used that gorgeous, playful ‘oh what fun!’ stamp set from Ellen Hutson that had been in my stash for 4 years! I just had to use it on this card because it felt so right to match that playful background. I stamped it in Eucalyptus ink on white cardstock, then fussy cut it out. I’m not a fan of fussy cutting, but I will do it when I’m desperate, and luckily Kristina Werner passed on a trick a couple years back in a YouTube video where she said to take a pencil and trace a line around the greeting. This makes a huuuuge difference and gets you a nice clean edge that’s (mostly) even on all sides so long as you can draw a pretty consistent line!
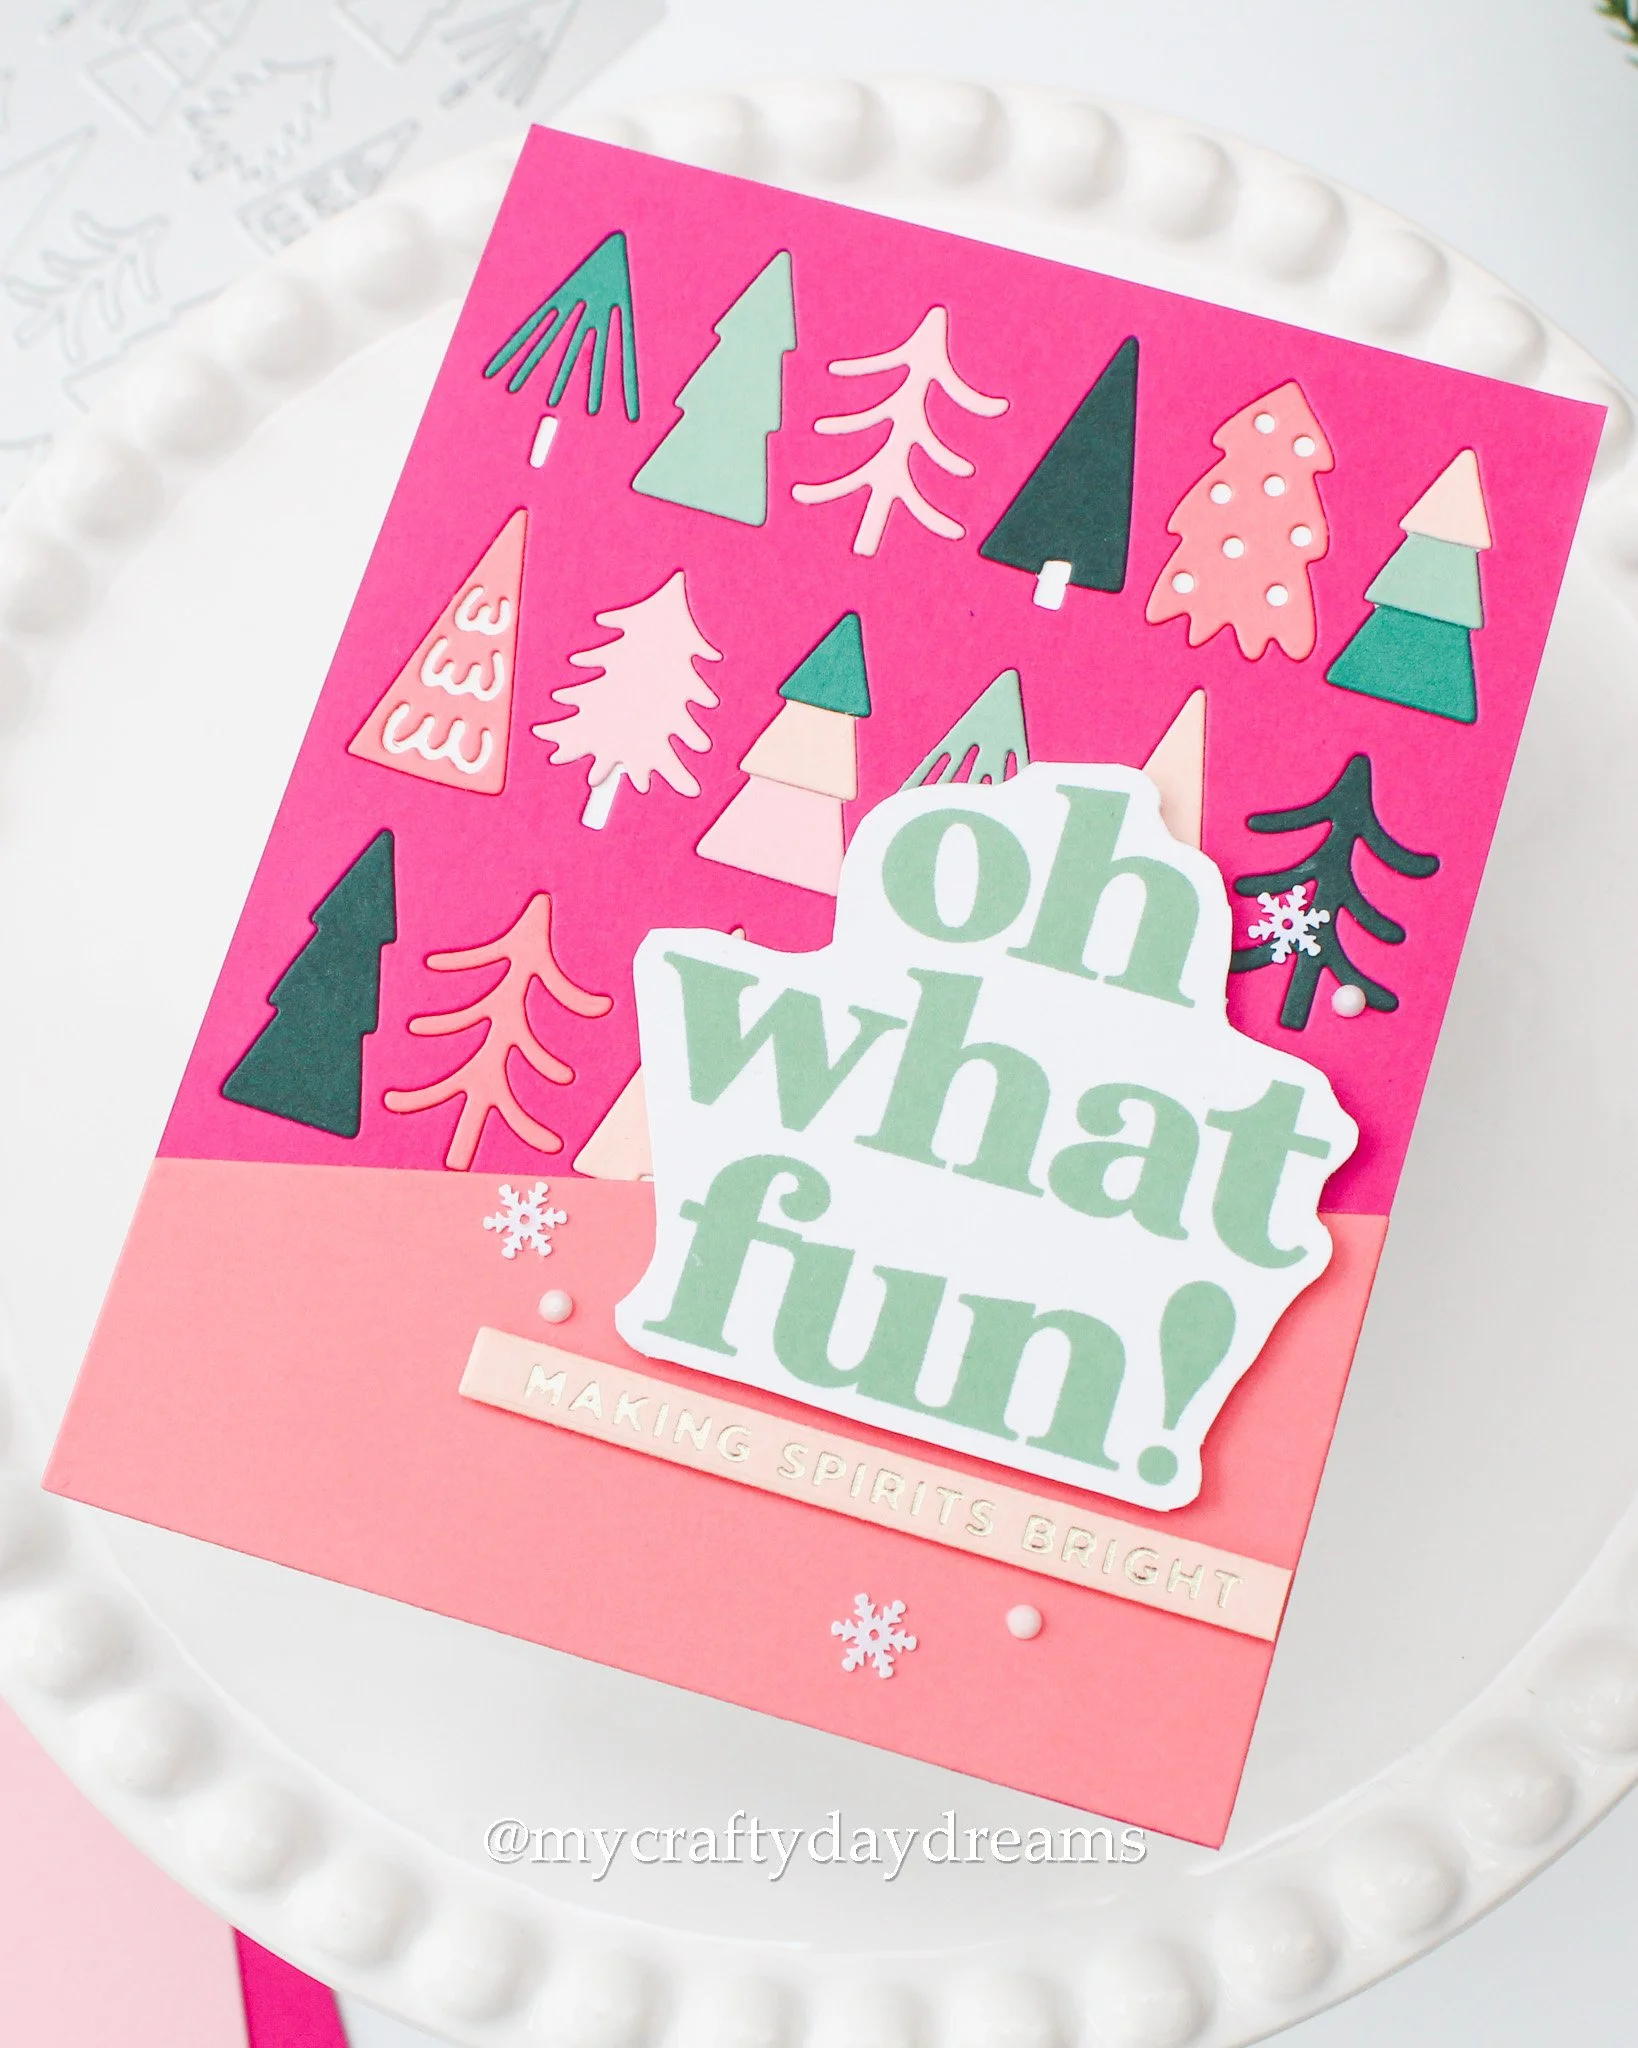
For my subsentiment, which unfortunately isn’t the easiest to see thanks to my lighting on the day of these photos, I used the Mini Christmas Sentiment Strips again but this time foiled with Champagne foil on Nectar cardstock. This is such a perfect pairing! I went for the Champagne foil this time because the Prism foil didn’t feel right to me on the Nectar cardstock, it was way too cool-toned.
When it came to embellishing, I pulled out two different products this time. I grabbed some white snowflakes from the Avalanche Sparkletz embellishment mix from Buttons Galore & More, and some white gems also from Buttons Galore & More. I loved pairing these together because to me it felt like a snowball fight on a card. Those white gems always remind me of snowballs, so it felt perfect with the sentiment.
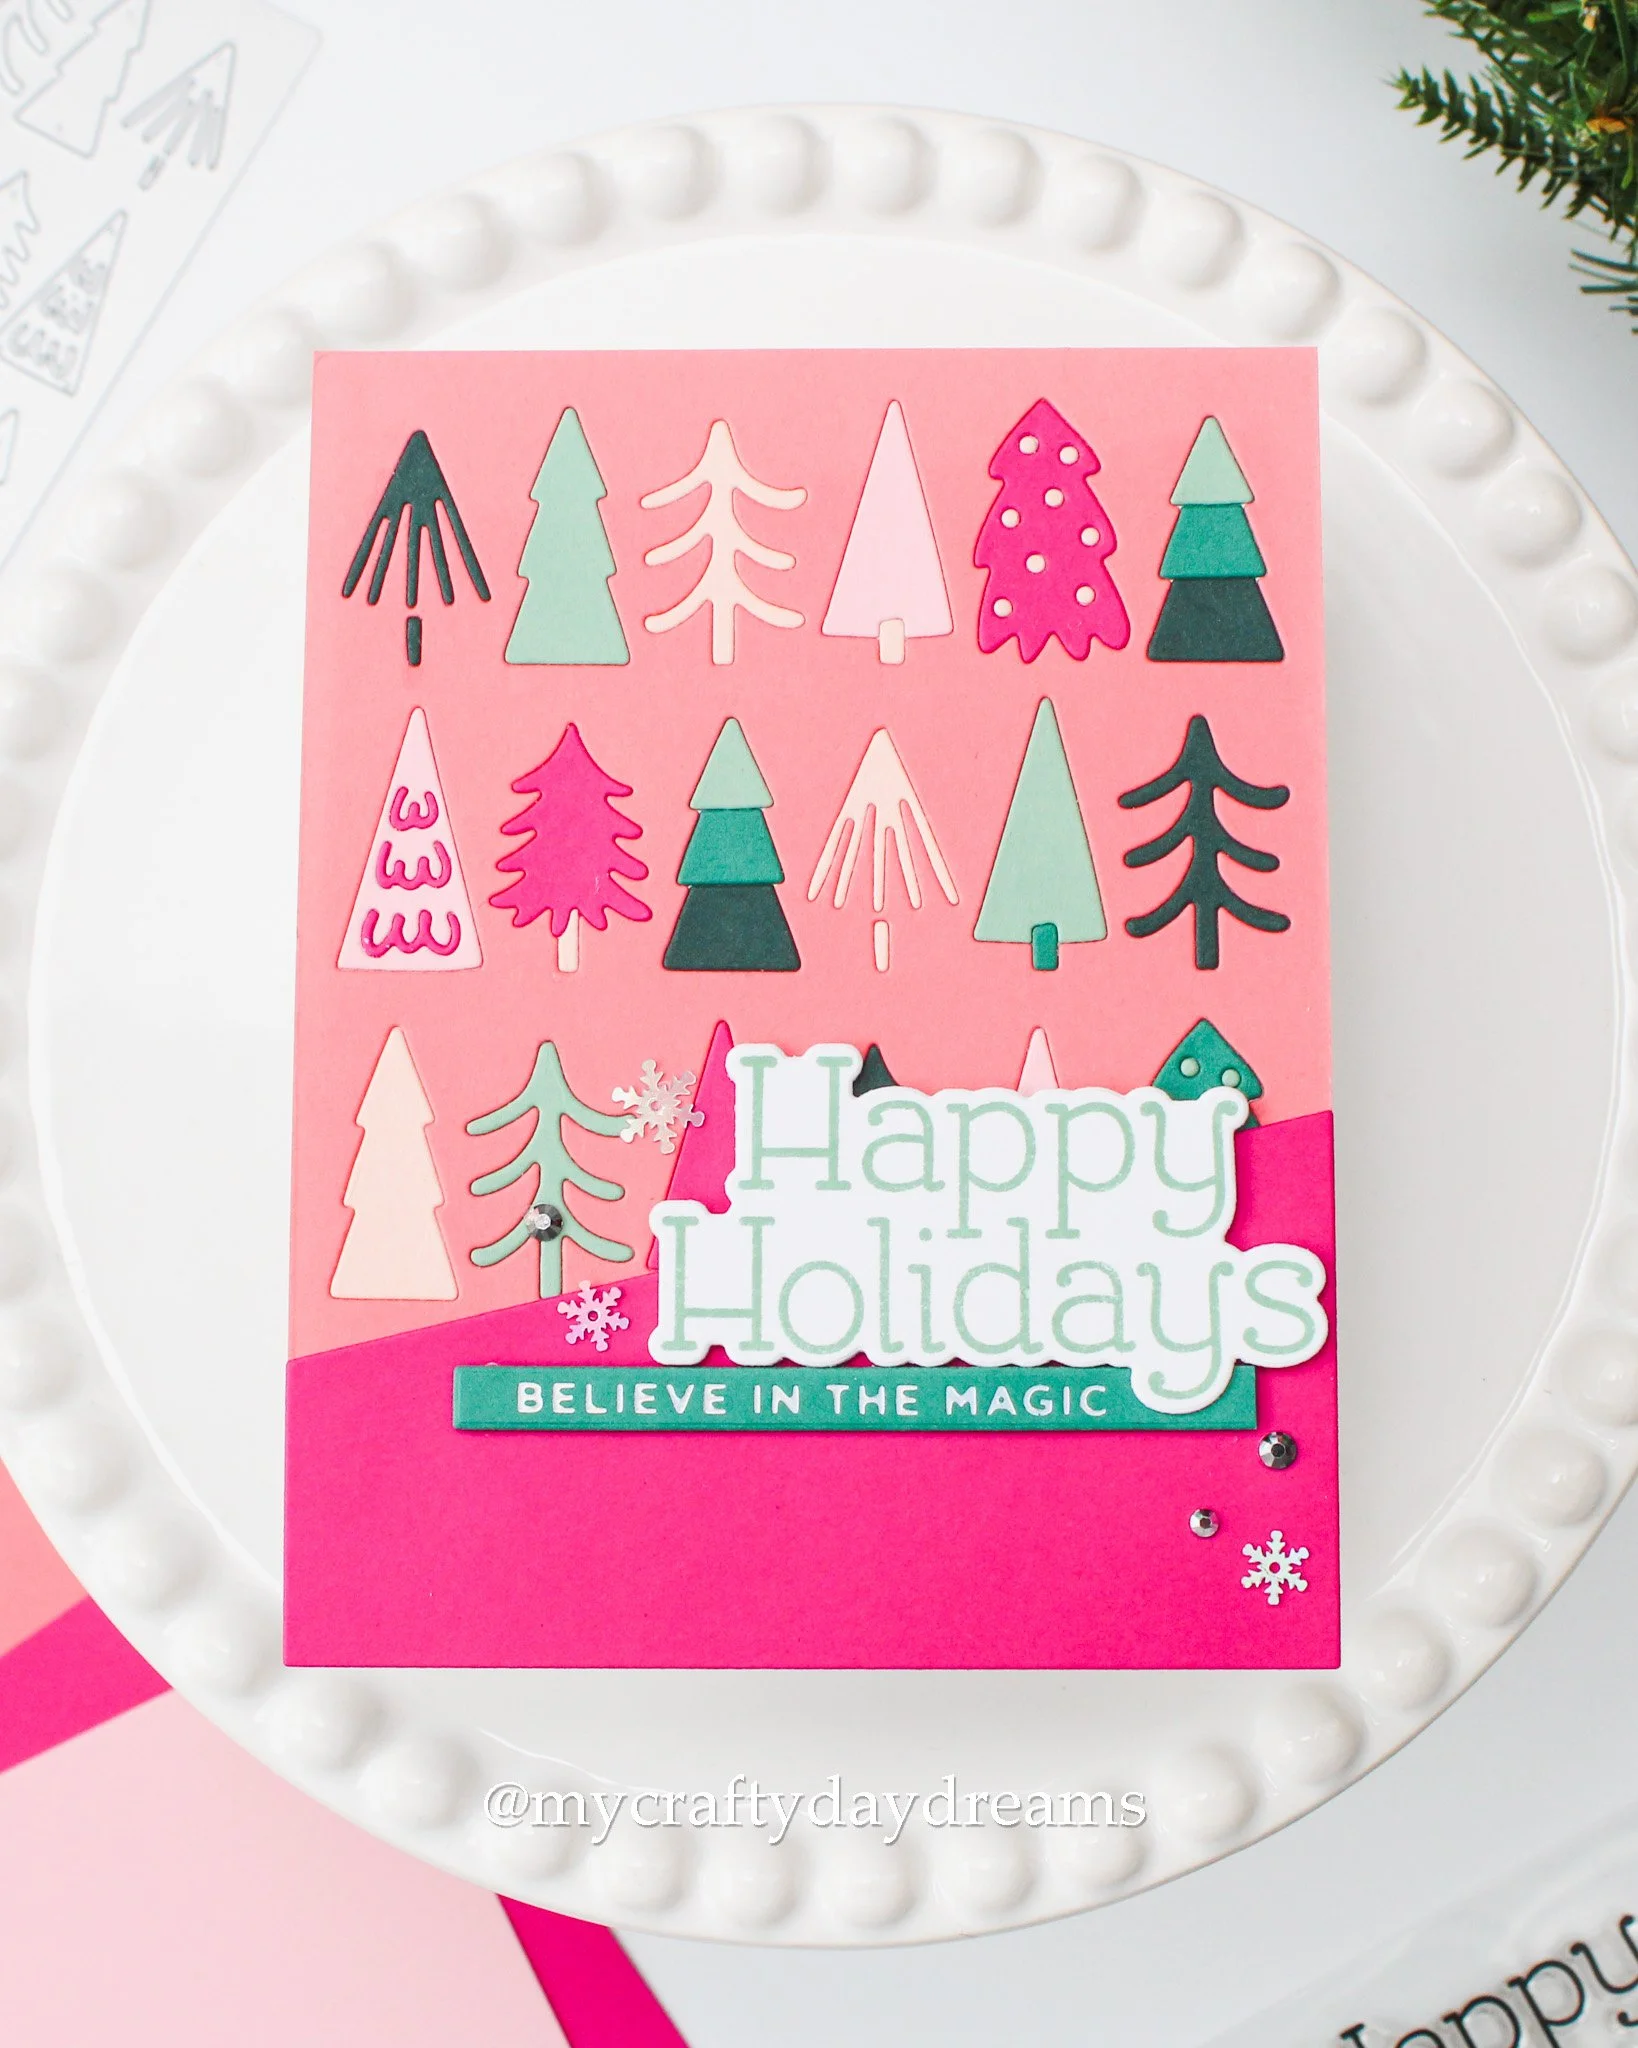
I love how playful this card is, too! Since the background was Watermelon cardstock, I decided to cut the slant out of Dragonfruit cardstock since I loved these colors together so much that I had to pair them up again!
For my sentiment, I pulled out the Festive Phrases Stamp Set from Concord & 9th and stamped the ‘happy holidays’ in Eucalyptus ink on white cardstock. Then I used the coordinating die to cut it out—yay for no fussy cutting!
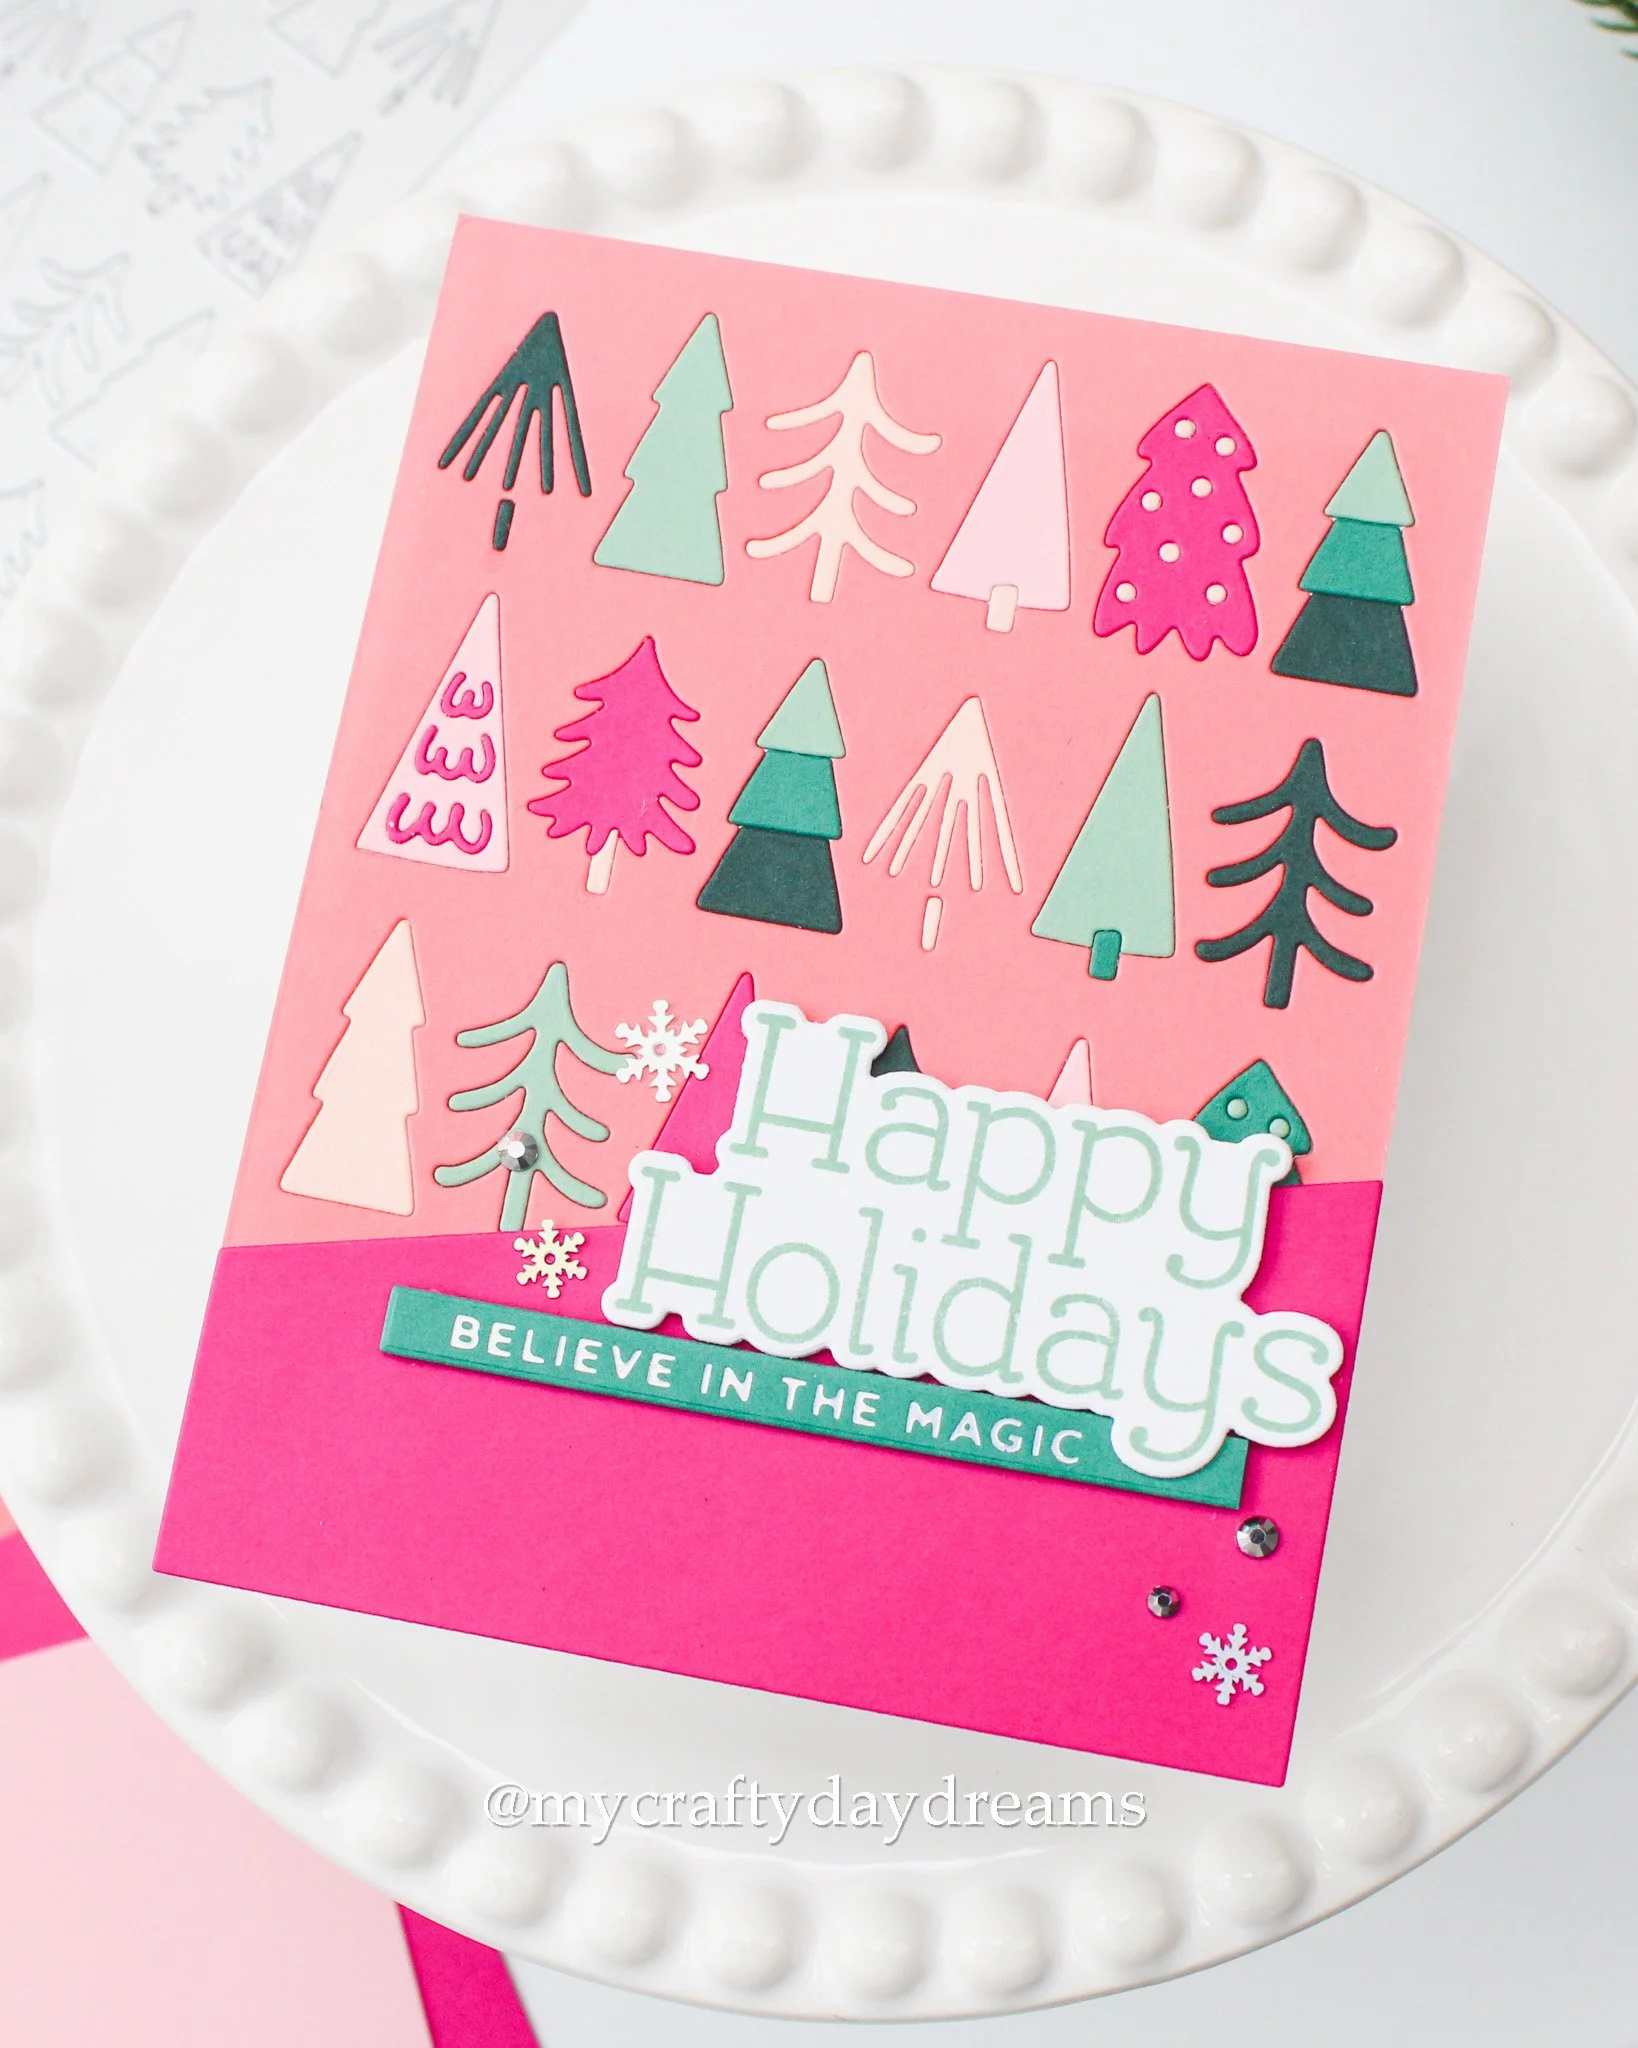
For the subsentiment, I once again went for the Mini Christmas Sentiment Strips, and hot foiled the ‘believe in the magic’ on Juniper cardstock in Prism foil. I love how the sentiments just pop on this card!
To finish this one off, I pulled out my embellishments again. I grabbed some silver iridescent snowflakes from the Snow Squall Shimmerz embellishment mix from Buttons Galore & More, and some silver gems also from BG&M. I love how this brings a little bit of a subtle shine to the card.
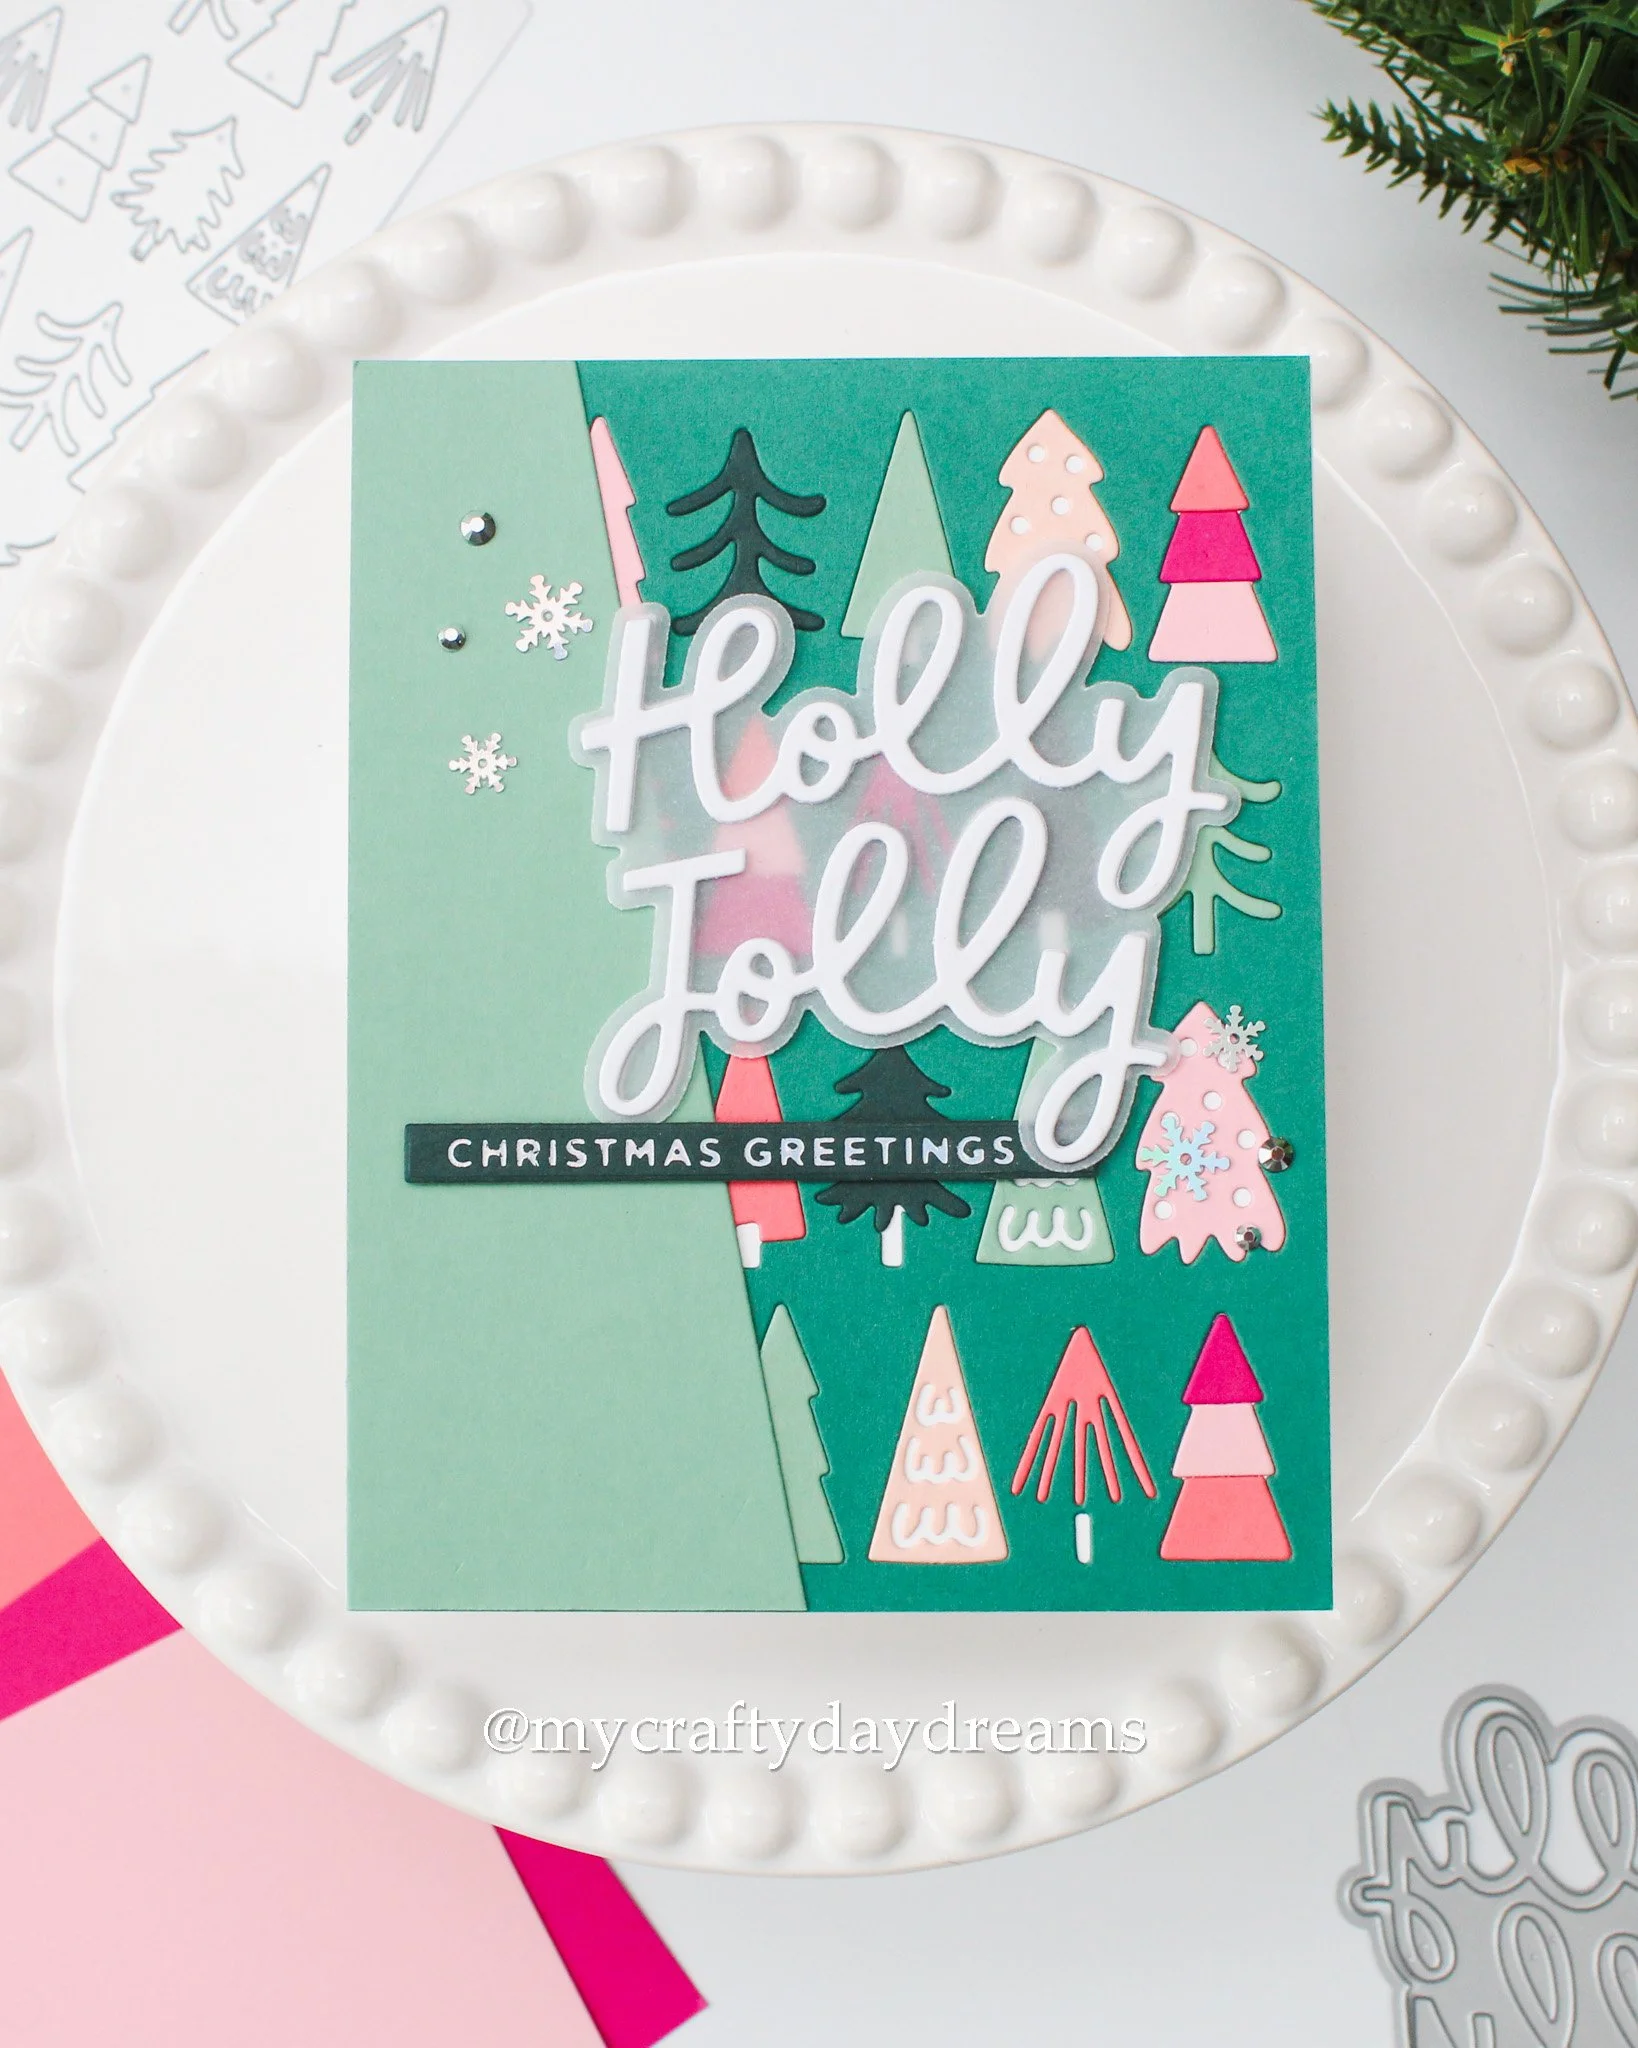
I wanted to make this card different from the last two, so I decided to go with the landscape -oriented slant for this one. The base of the card is Juniper, so I thought Eucalyptus would look really nice with it and bring a little bit of a masculine flair to the card to balance out the pink (I was planning to send this one to my brother when I was making it, and he’s not a fan of pink).
For my focal sentiment, I pulled out the Festive Phrases Die Set and die cut the ‘holly jolly’ out of white cardstock (2x) and vellum for the shadow. For the subsentiment, I used the Mini Christmas Sentiment Strips again and foiled ‘christmas greetings’ in Prism foil on Rainforest cardstock.
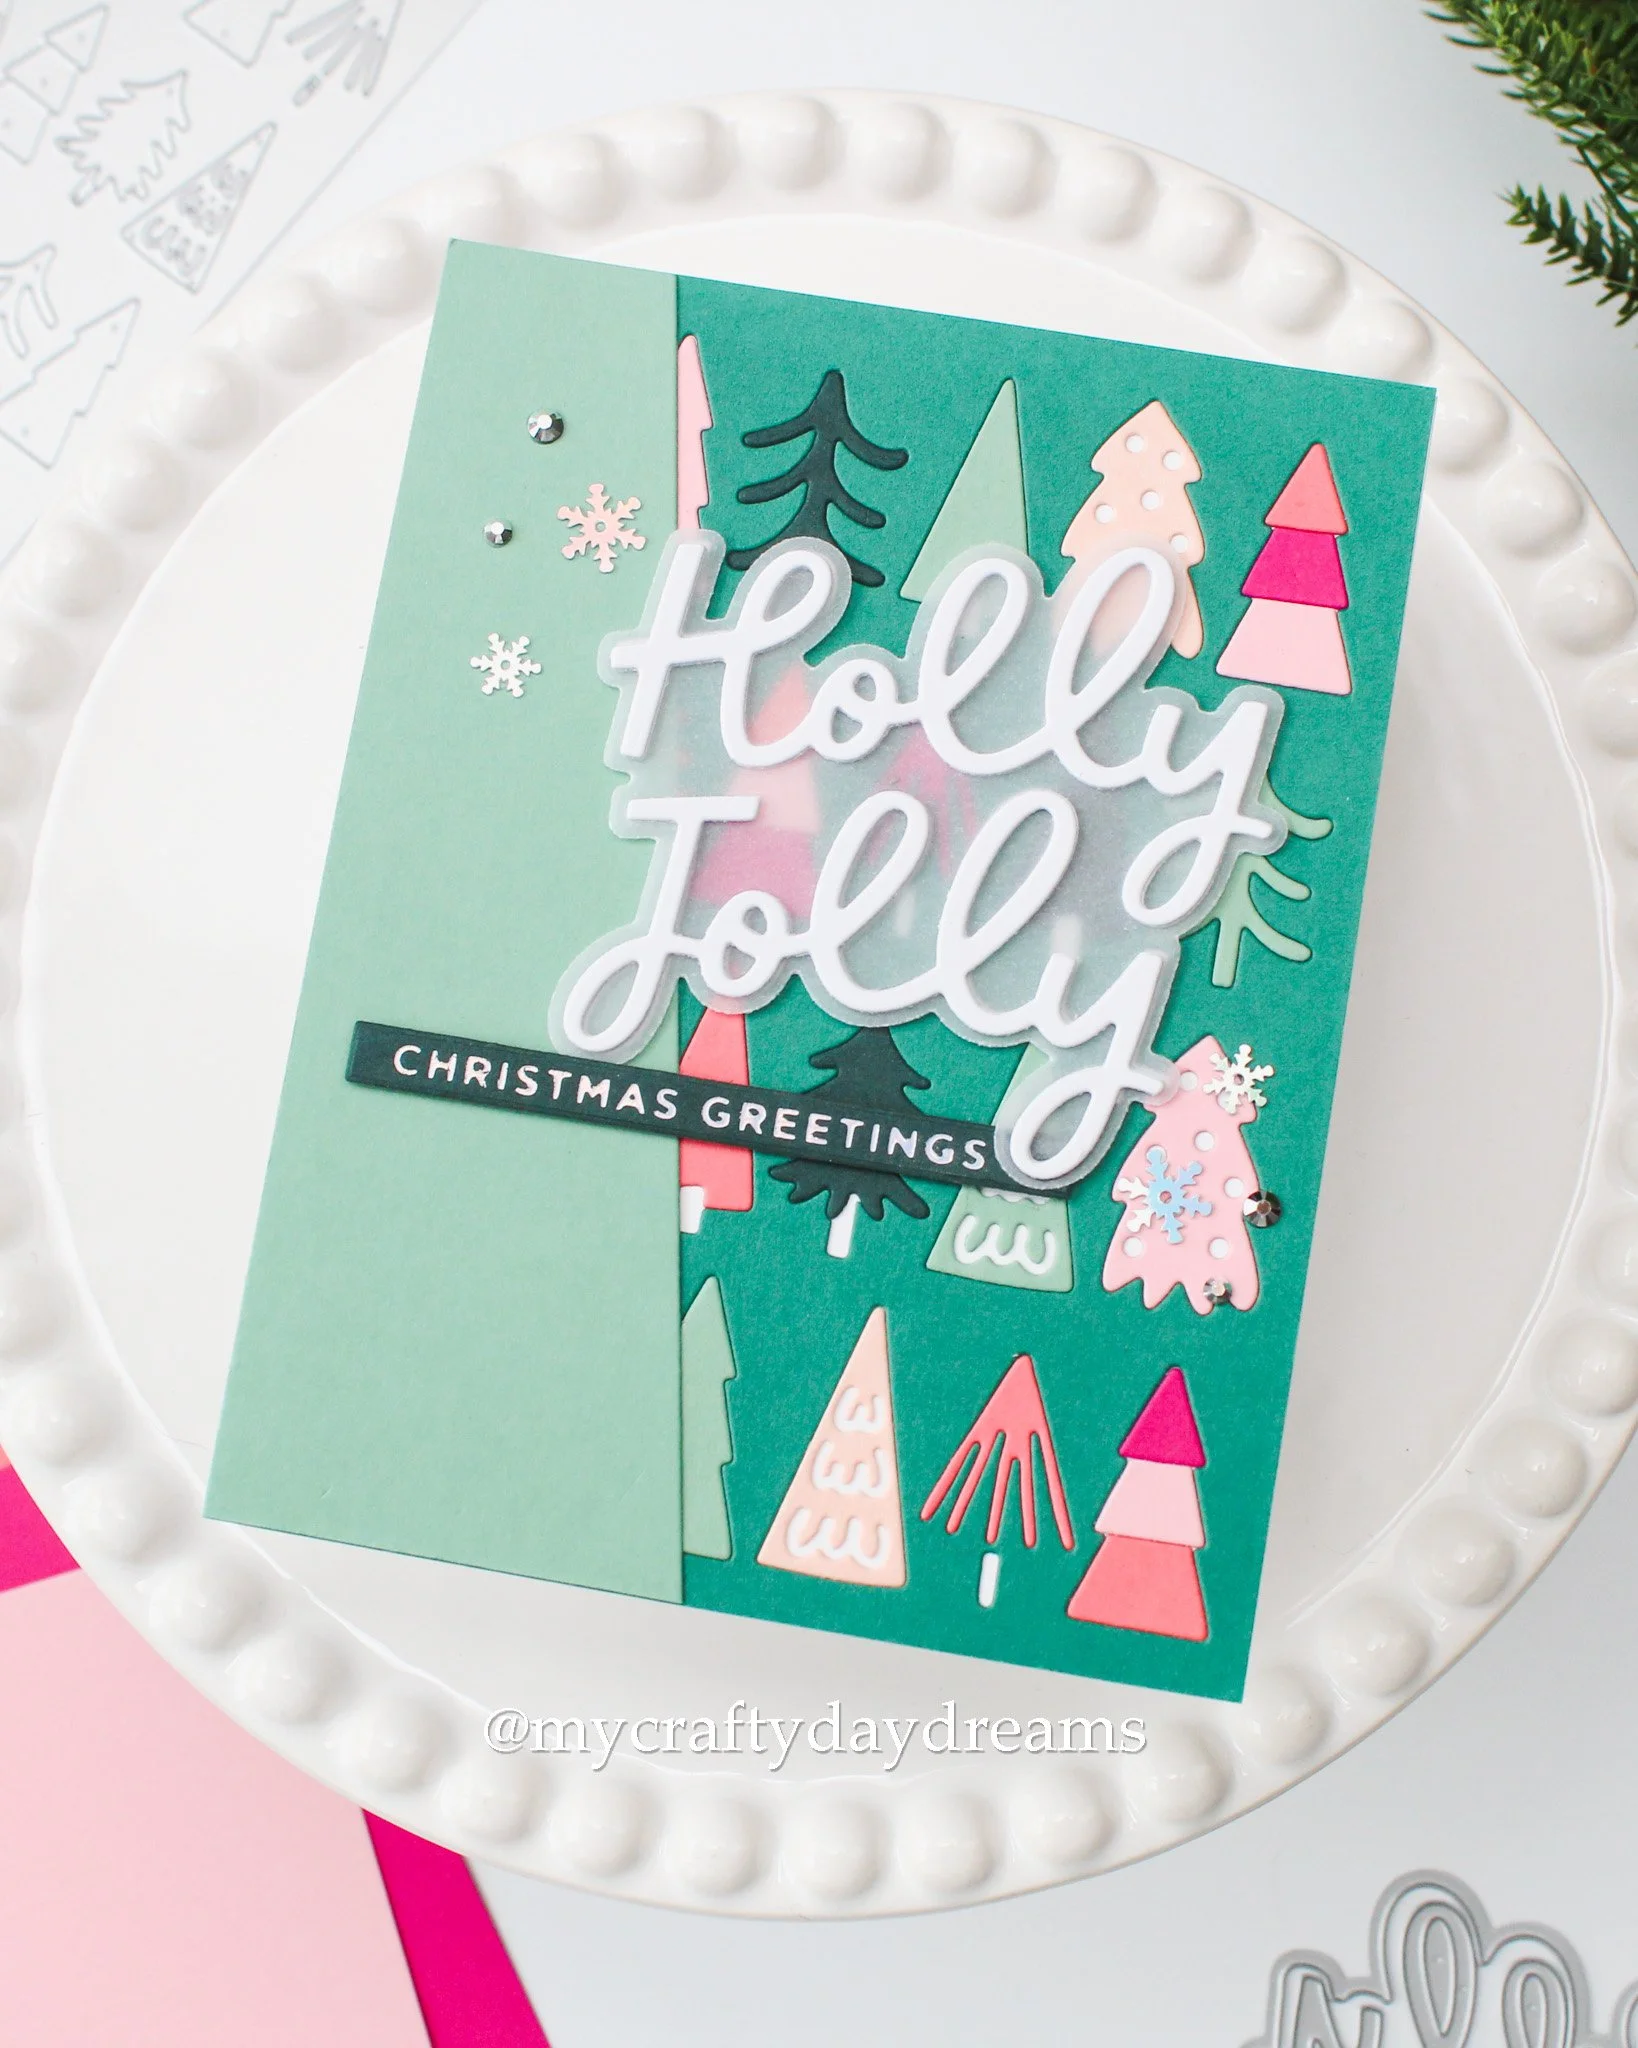
When it came to adding the sentiments to the card, I still wanted that difference in dimension between the main sentiment and the focal sentiment. Having a vellum shadow and thin letters meant foam was out of the question, so I die cut the ‘holly jolly’ twice out of white cardstock and layered it on the back of the sentiment. I probably should have added one more diecut for more dimension, but I’m not mad about how it turned out! I glued the sentiment down, then popped some 1mm foam behind the subsentiment then stuck it down.
To finish off the card, embellishments were once again needed! I used the Snow Squall Shimmerz mix again for those iridescent silver snowflakes, and paired them with silver gems. I love how all of these turned out!
Now A Bonus Card!
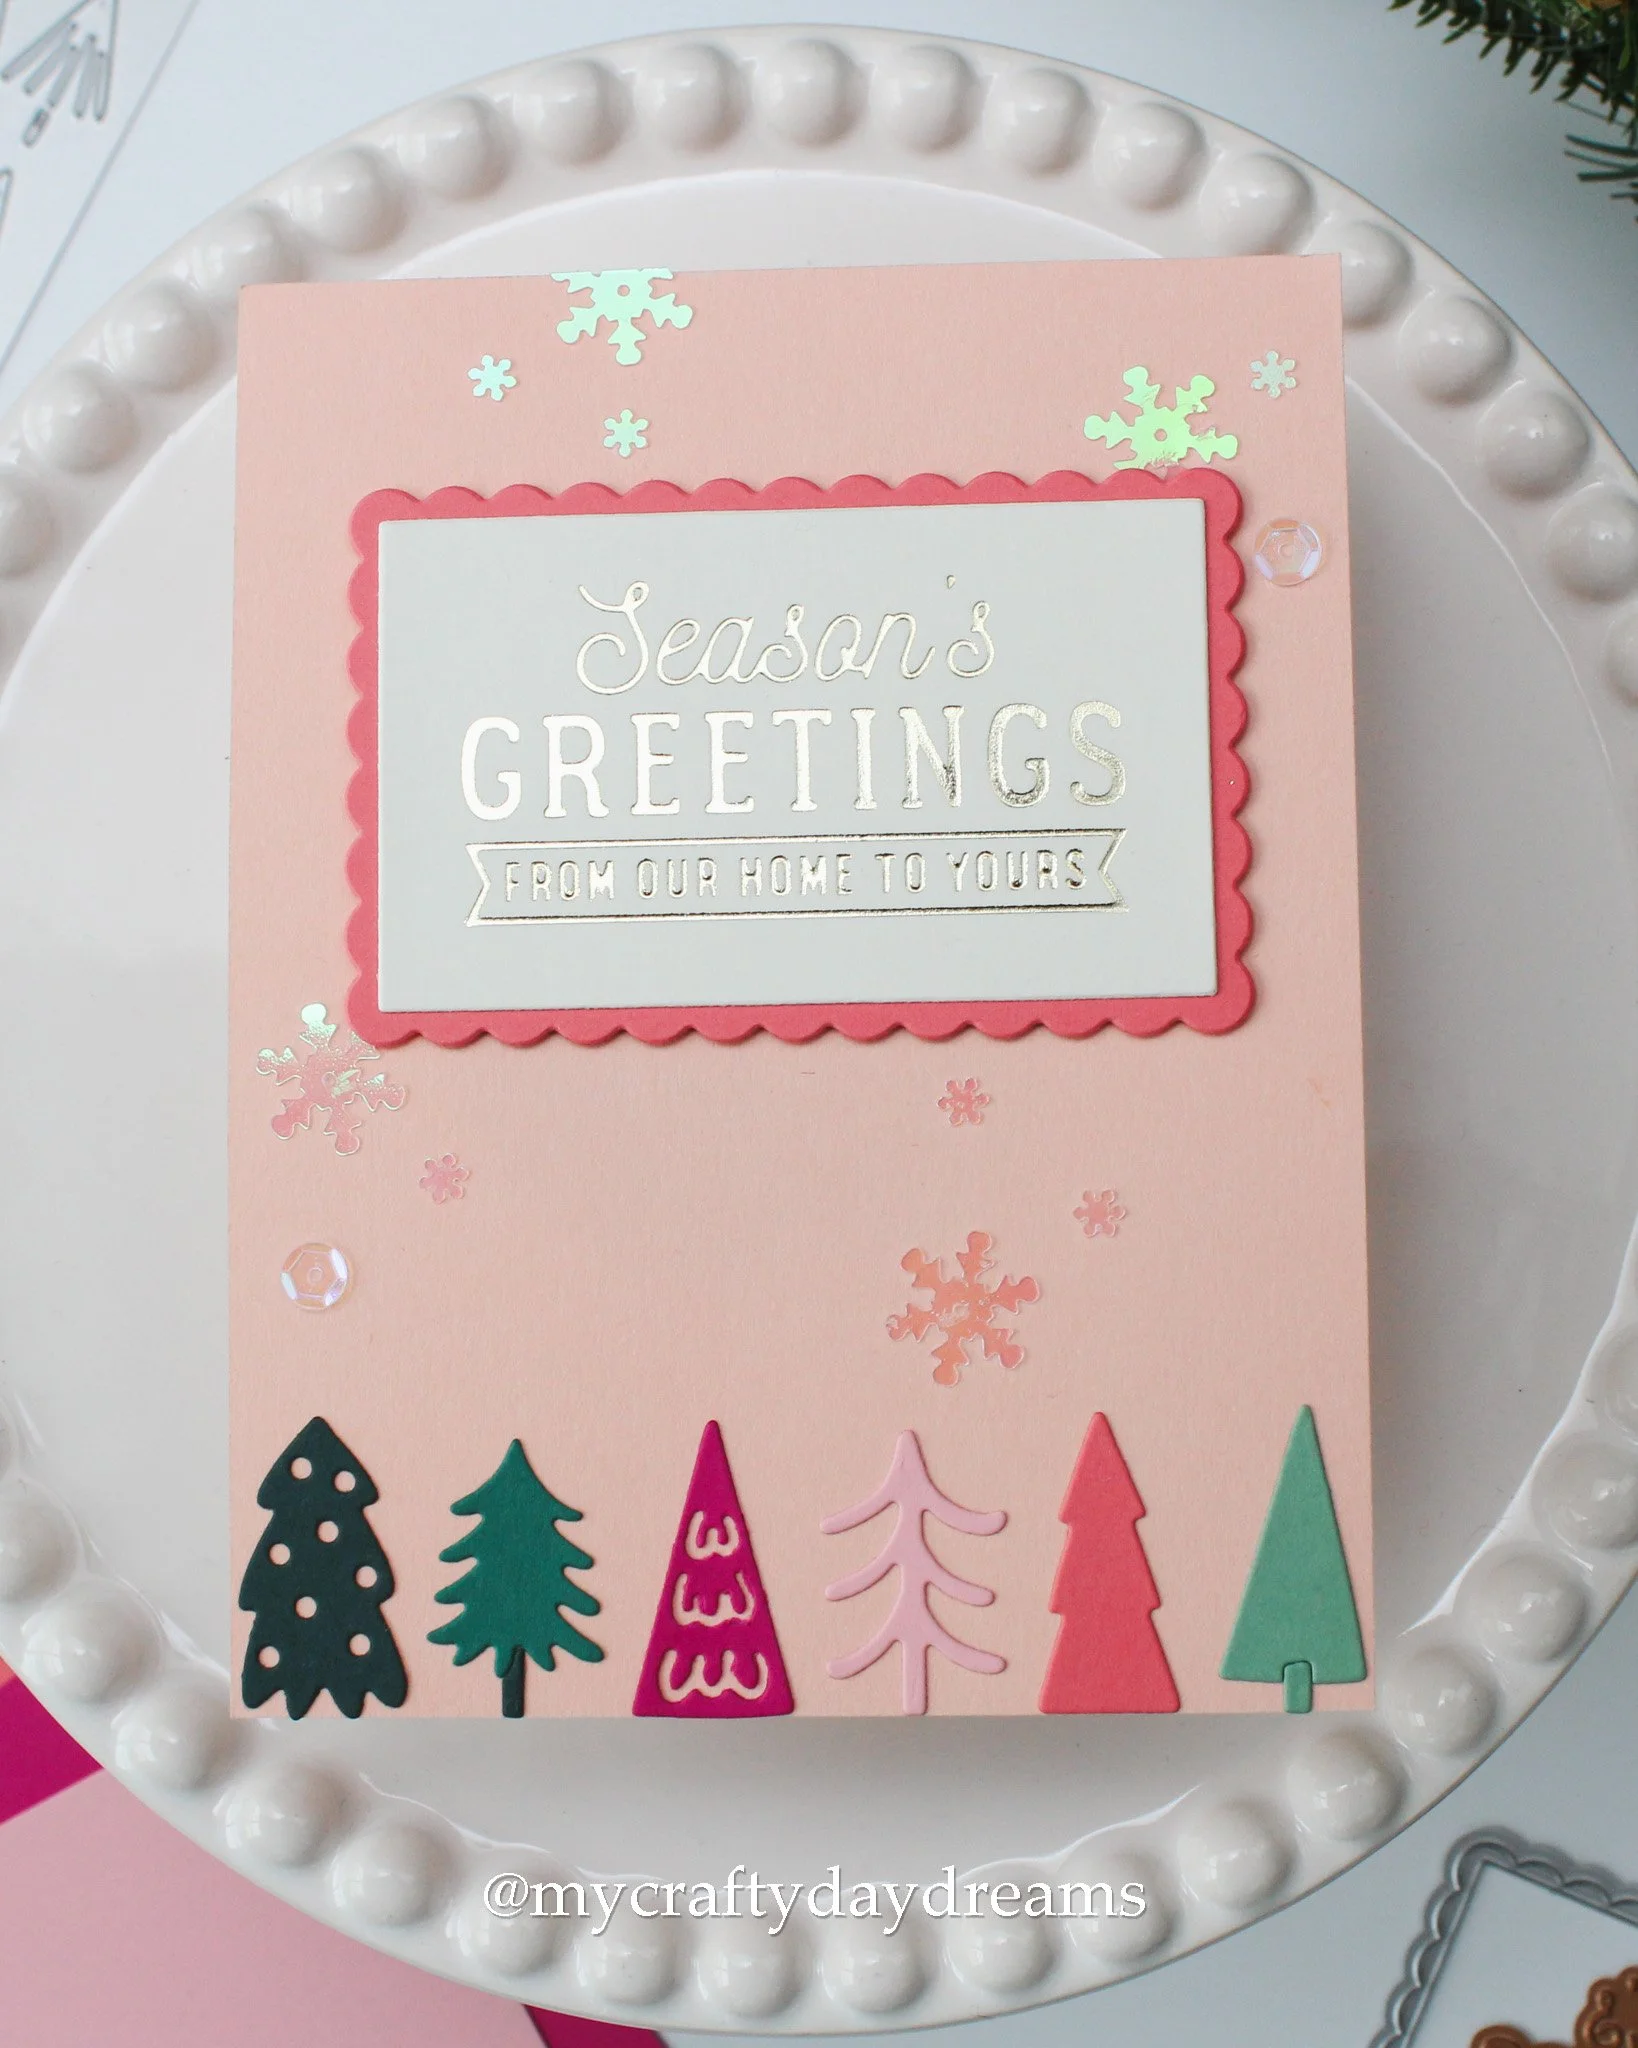
First off, I want to apologize for some rough pictures of this card! That gold foil and the soft Nectar cardstock and my lighting sure played my DSLR camera as a fool. I created this card with some leftover trees since I didn’t have enough to complete a Nectar cardbase with them and I really didn’t want to cut more. I love the little line of trees at the bottom of this card!
For the sentiment, I pulled out yet another discontinued Glimmer plate (that I hadn’t used in the 5-6 years since I bought it!), this time it was the Essential Christmas Greetings Glimmer plate. I used Champagne hot foil on an Almond cardstock rectangle that I cut from the Season’s Greetings Die Set, that I then matted on a Watermelon ruffled rectangle from the same die set.
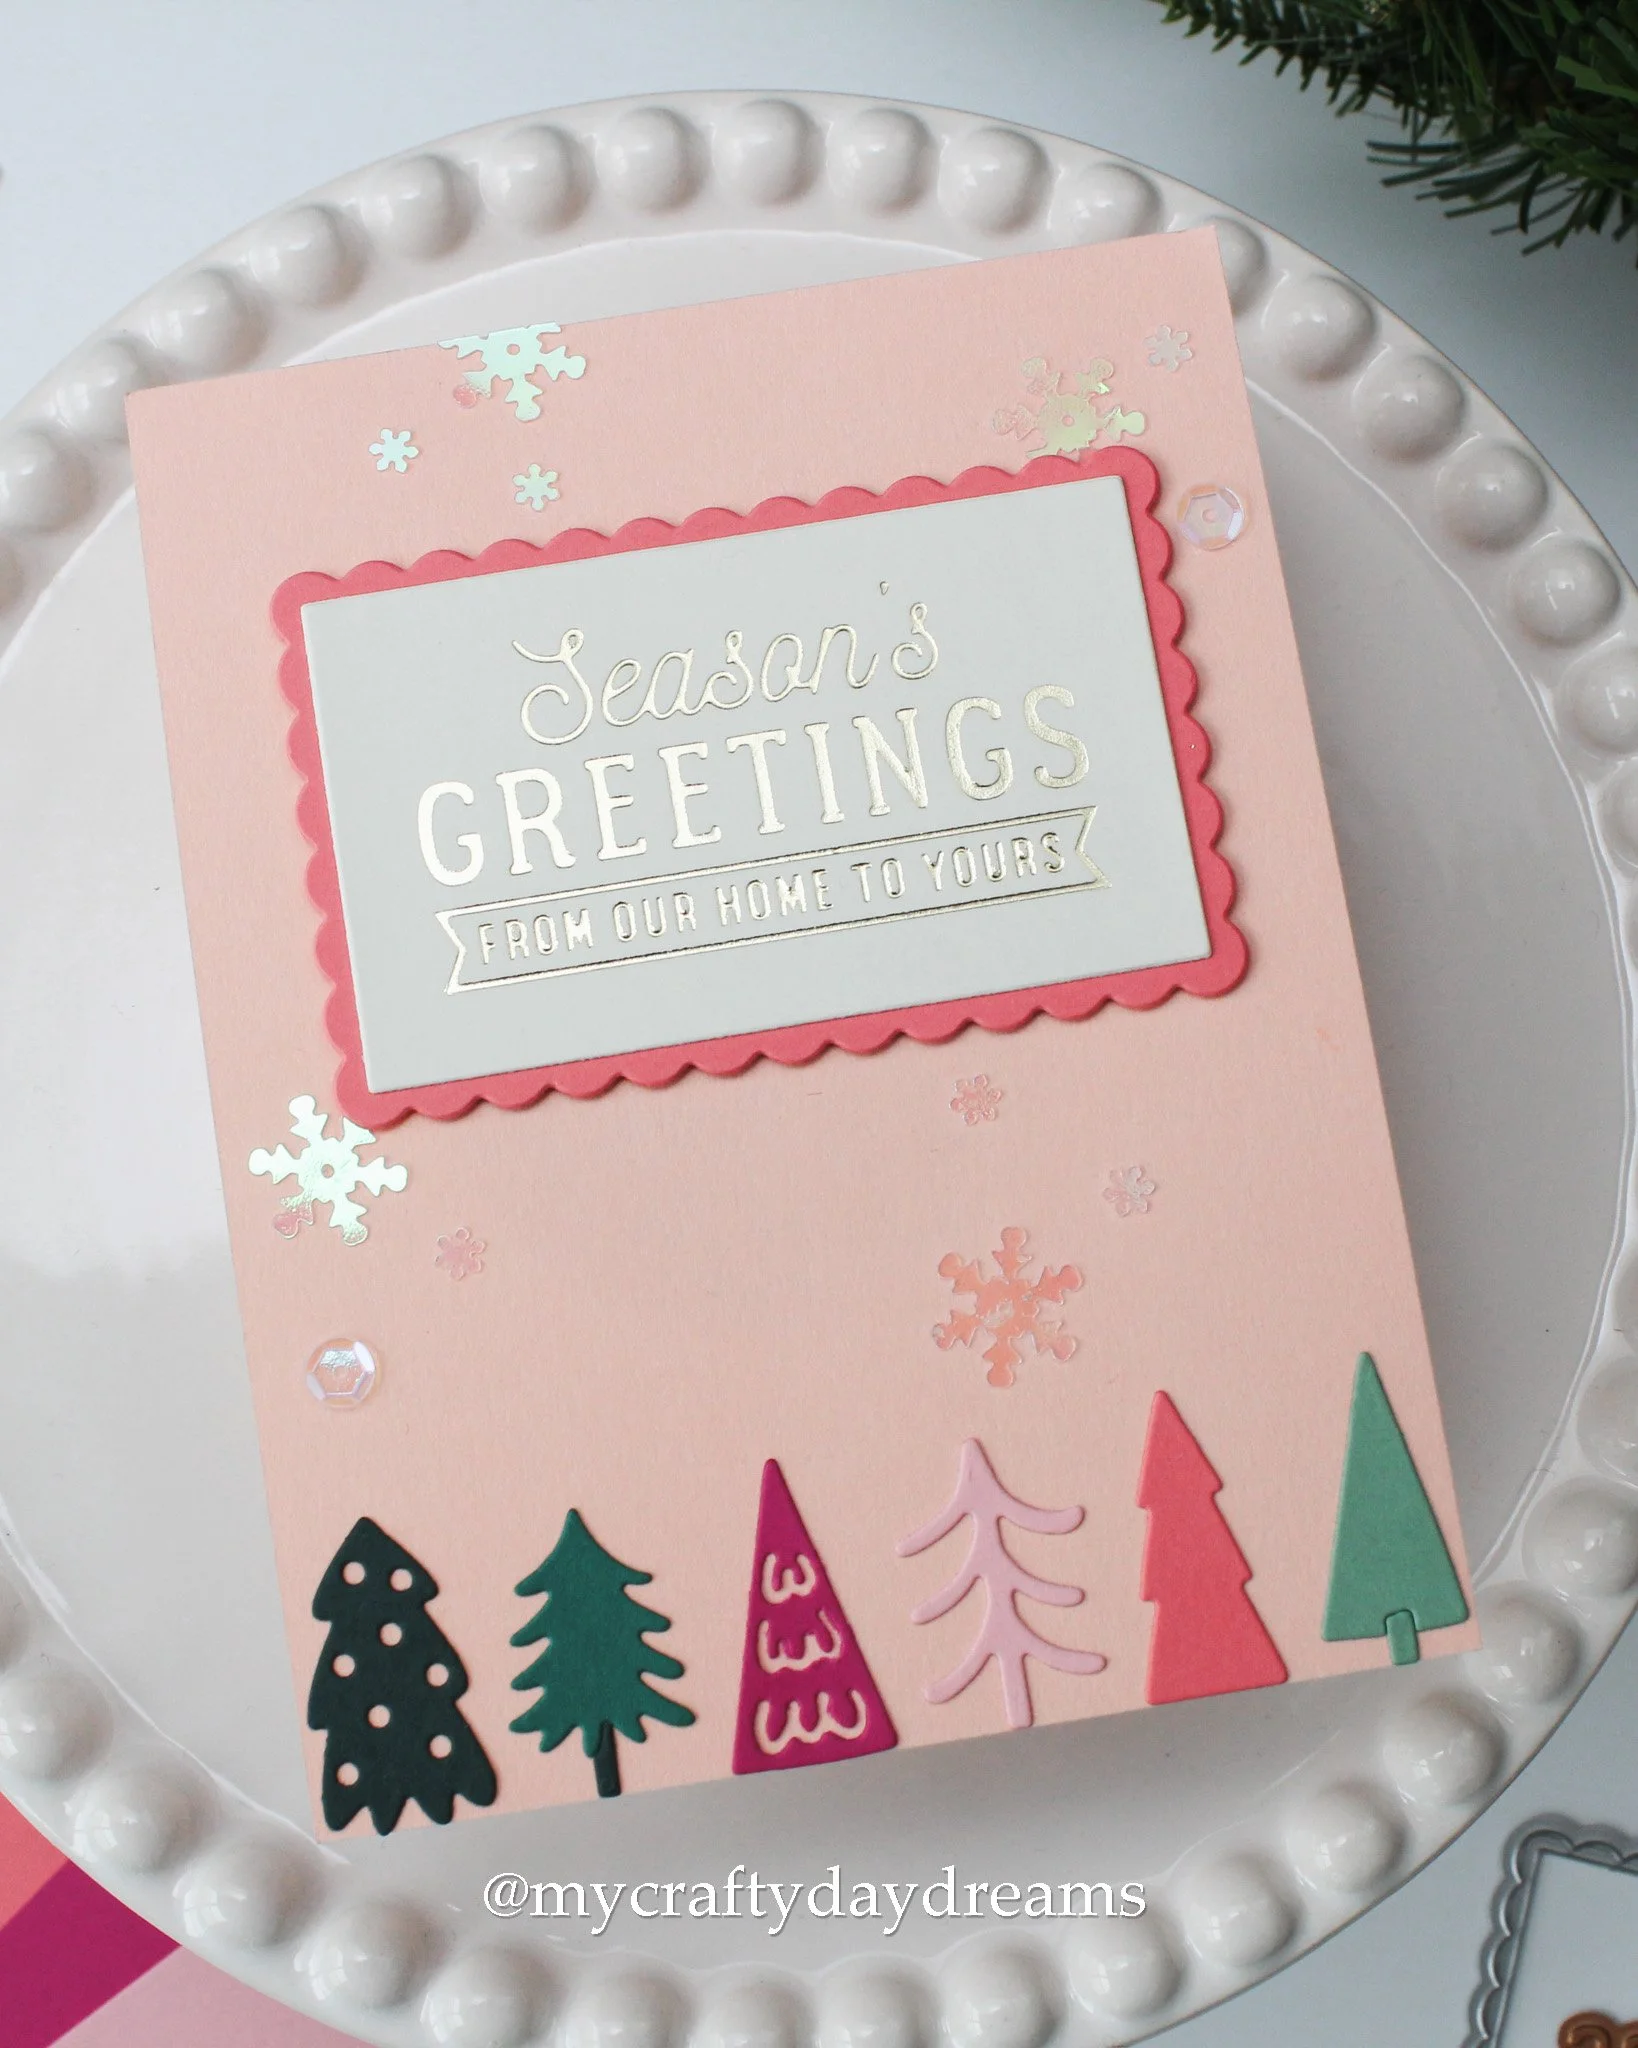
I popped the sentiment up on some 1mm foam squares and stuck it down. All that was left was to add some shine! I pulled out the Packed Powder Sparkletz mix from Buttons Galore & More and spread them around the card. There was no rhyme or reason to this, but I love how it turned out with that soft iridescent shine.
Well, that wraps up all these cards! Six cards in total, five with the same base design, plus a quick and easy CAS bonus card. I’m so thrilled to have finally finished these cards and to have used lots of products from my stash, some of which I’ve never used, so that feels like a win to me! So, are you team mass production for Christmas cards? Or do you love creating many designs? Let me know below!
As always, thanks so much for stopping by the blog today, I hope to catch you next time with more inspiration! 💗
Affiliate disclaimer: all links to Waffle Flower, Concord & 9th, Altenew, Scrapbook.com, and Spellbinders products are affiliate links. These links allow me to get a commission at no extra cost to you if you use them to shop! All other links provided are links to supplies and shops I am not affiliated with and I do not get a commission from